16
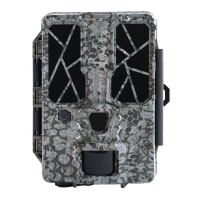
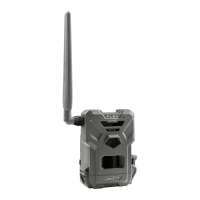
FORCE-PROSPYPOINT
CAMERA SOFTWARE UPDATES
Go to www.spypoint.com/en/support for instructions on how to perform
camera software updates.
OPERATION
Once the setup is complete, turn the button from SETUP to ON. You may also
switch from SETUP to OFF and turn the device ON later.
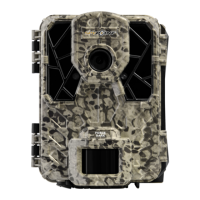
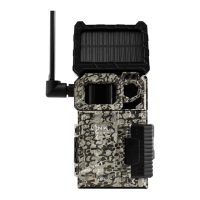
RED LED INDICATOR
In SETUP mode: The light flashes when motion is detected. It also allows
the user to verify that the targeted detection distance is adequate during
installation.
In ON mode: The light flashes for 30 seconds to allow the user to leave the
area, after the installation, without being photographed. When the light turns
off, the camera is ready for use.
Red LED
indicator
Installation and Updates
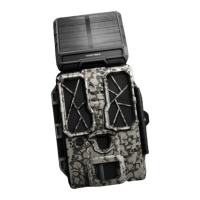
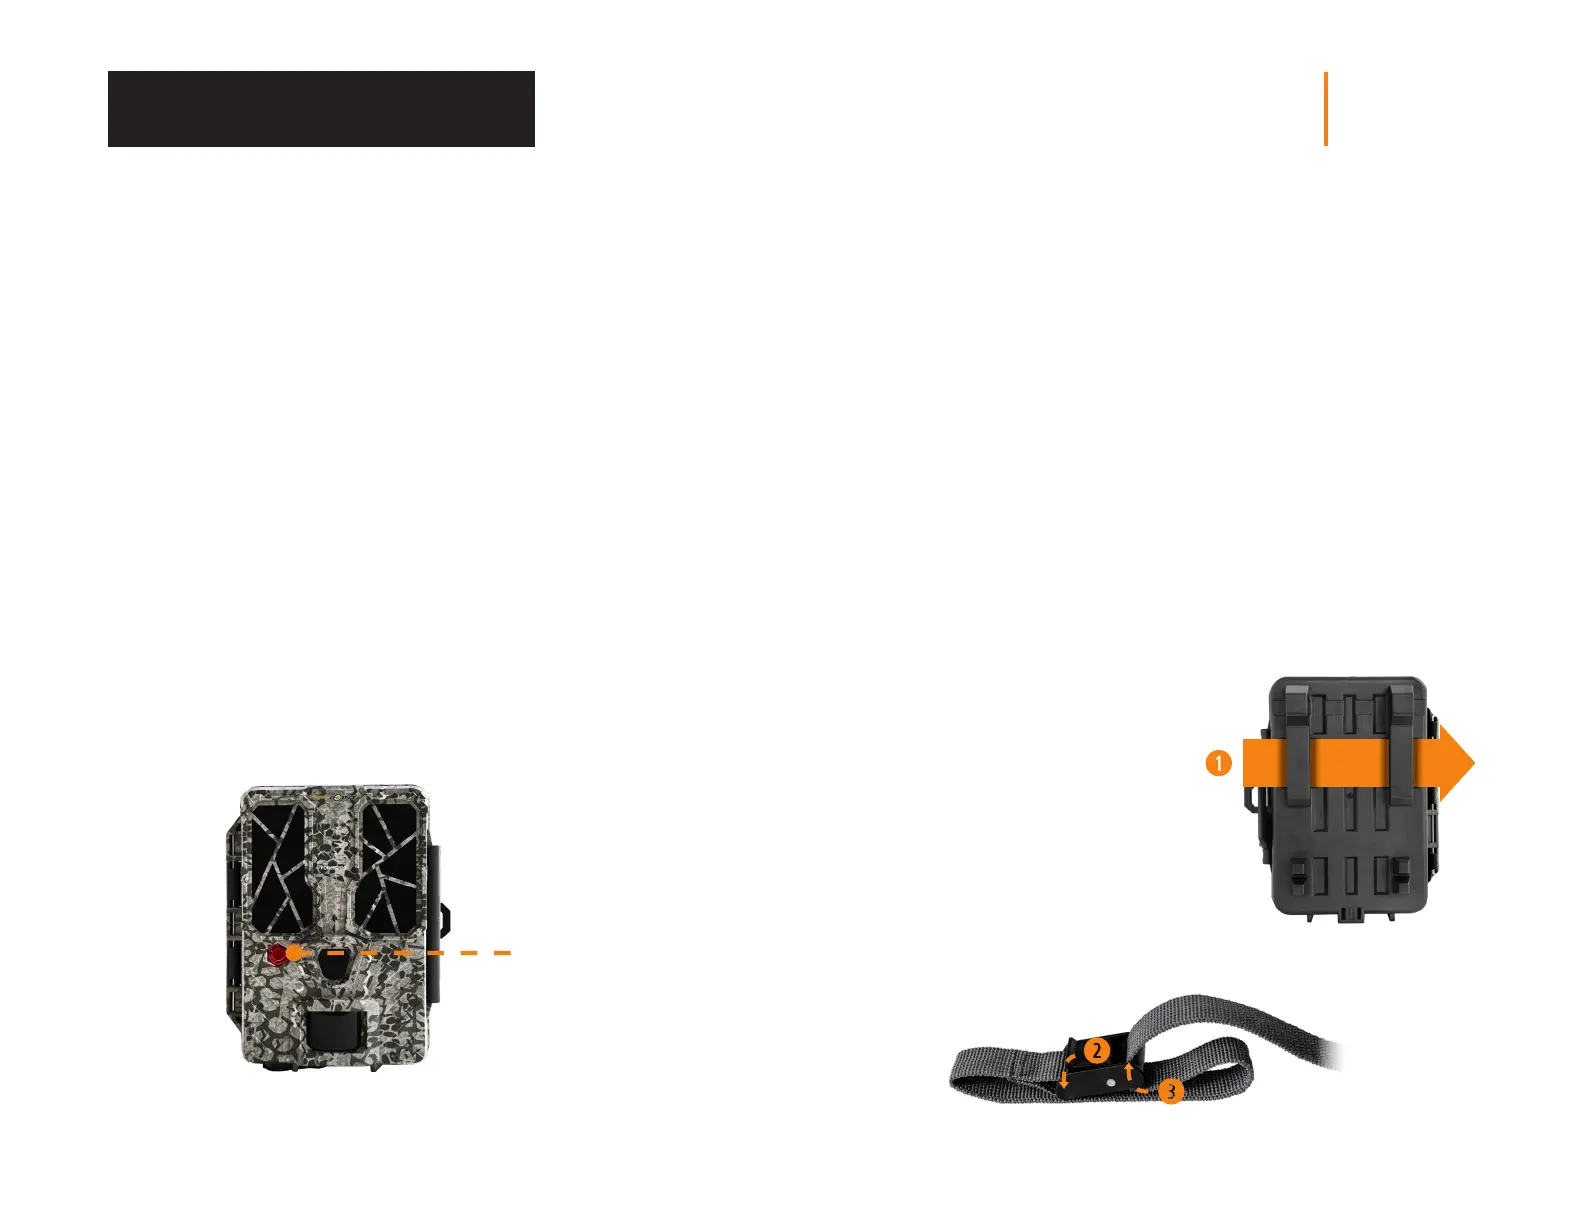
INSTALLING YOUR CAMERA
1. To install the camera, loop the installation strap through the intended slot
(see diagram).
2. Choose a solid tree that does not move in the wind, as movement will
cause false detections.
3. Make sure the area immediately in front of your camera is free of branches
or twigs that could be blown away by the wind.
4. The camera should be at the same height of the animal’s mid-body.
5. The targeted animal should be at 25 feet (7.5 meters)
away from the camera.
6. To produce brighter photos at night, there should be items reflecting the
camera's flash in the background.
INSTALLATION WITH THE
SUPPLIED STRAP
The dimensions of the included strap
are 2.5 cm (1’’) X 152 cm (60’’).
1. Thread the strap through the slot
for the installation strap found at
the back of the camera.
2. Press and hold down the latch.
3. Thread the strap through the latch
from behind, as shown below.