4. Installation(Product connection, Cartridge Setup and
Software installation)
4.1 Device Connection
1
On the rear side of the machine, connect the power cable to the power socket.
Next, connect the power cable to the power outlet.
2
Press the power button, located on top of the machine.
3
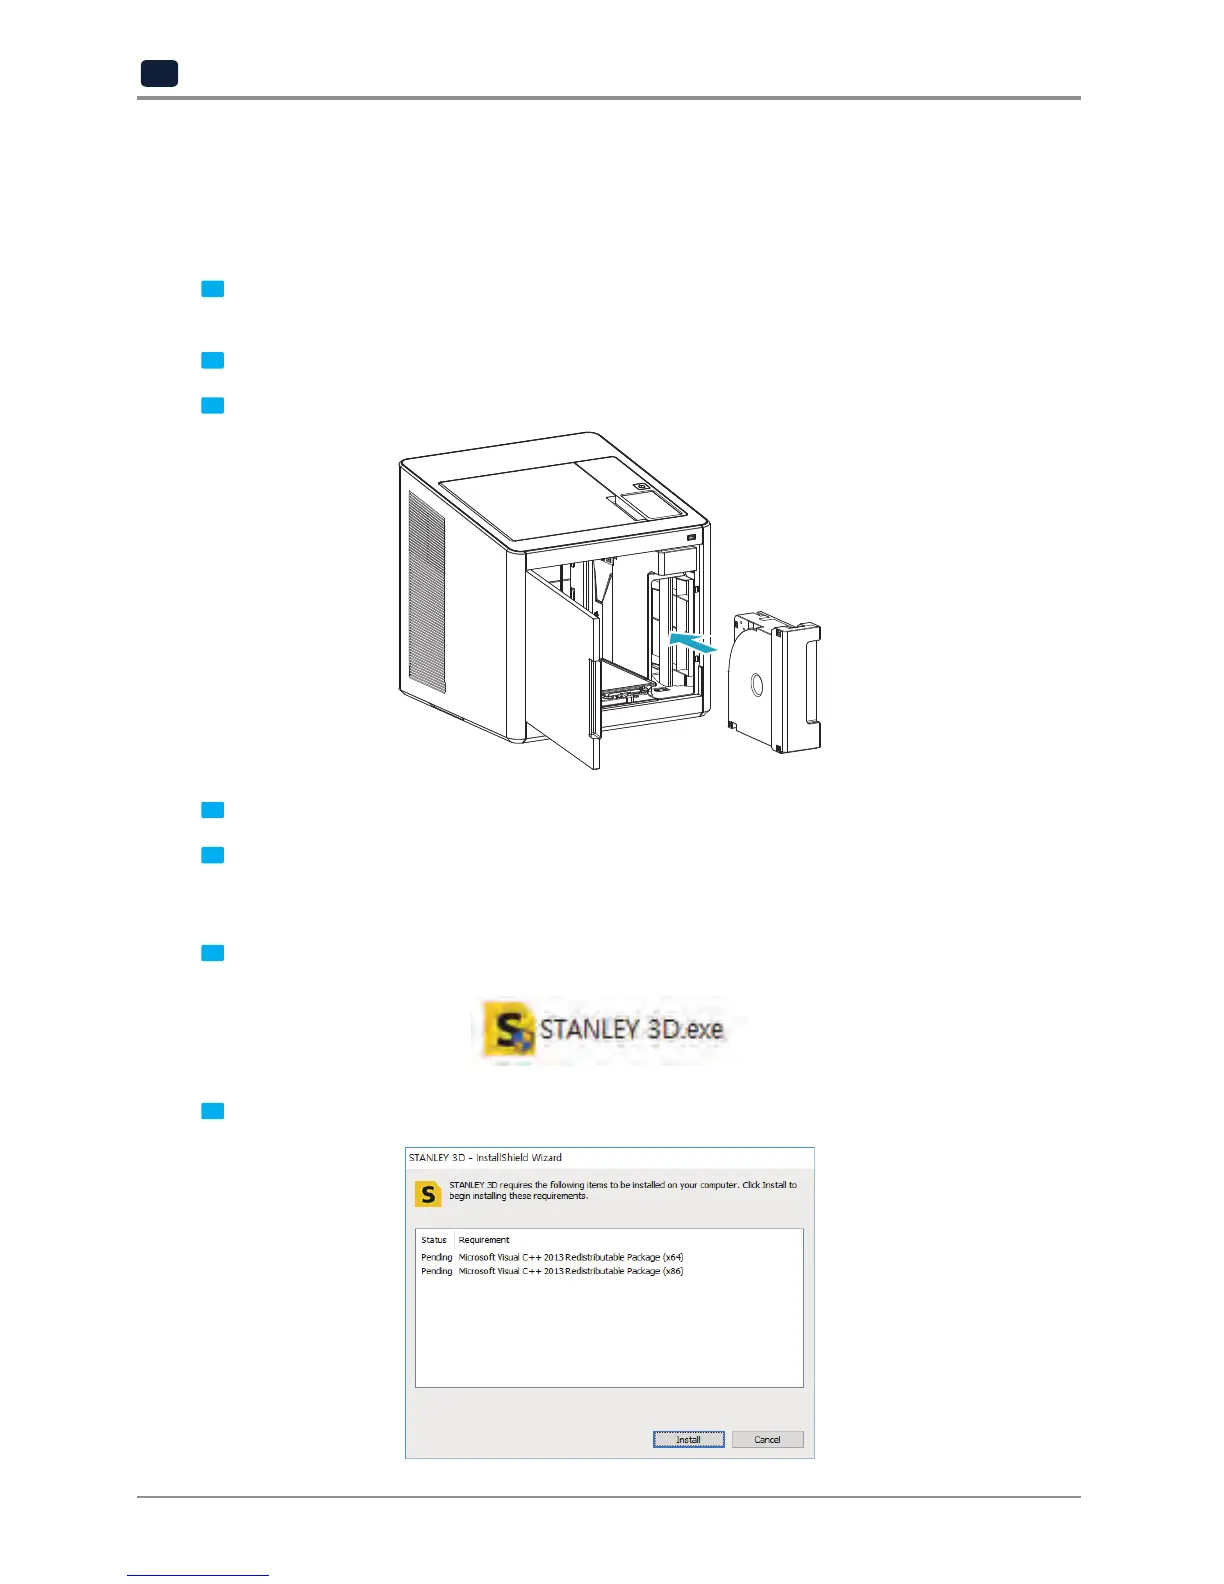
After main menu is displayed on the LCD screen, install the cartridge (Refer to UI manual “LOAD”).
4
Connect the one end of the USB cable to the back of the printer and the other to the computer.
5
Plug USB flash drive in, and install machine drivers and Slicer program.
4.2 Program Installation
1
Start the installation of STANLEY 3D program by clicking on “STANLEY_3D.exe” file in the enclosed USB
thumb drive.
2
Install the additional files required by the software first.