36 • ENGLISH
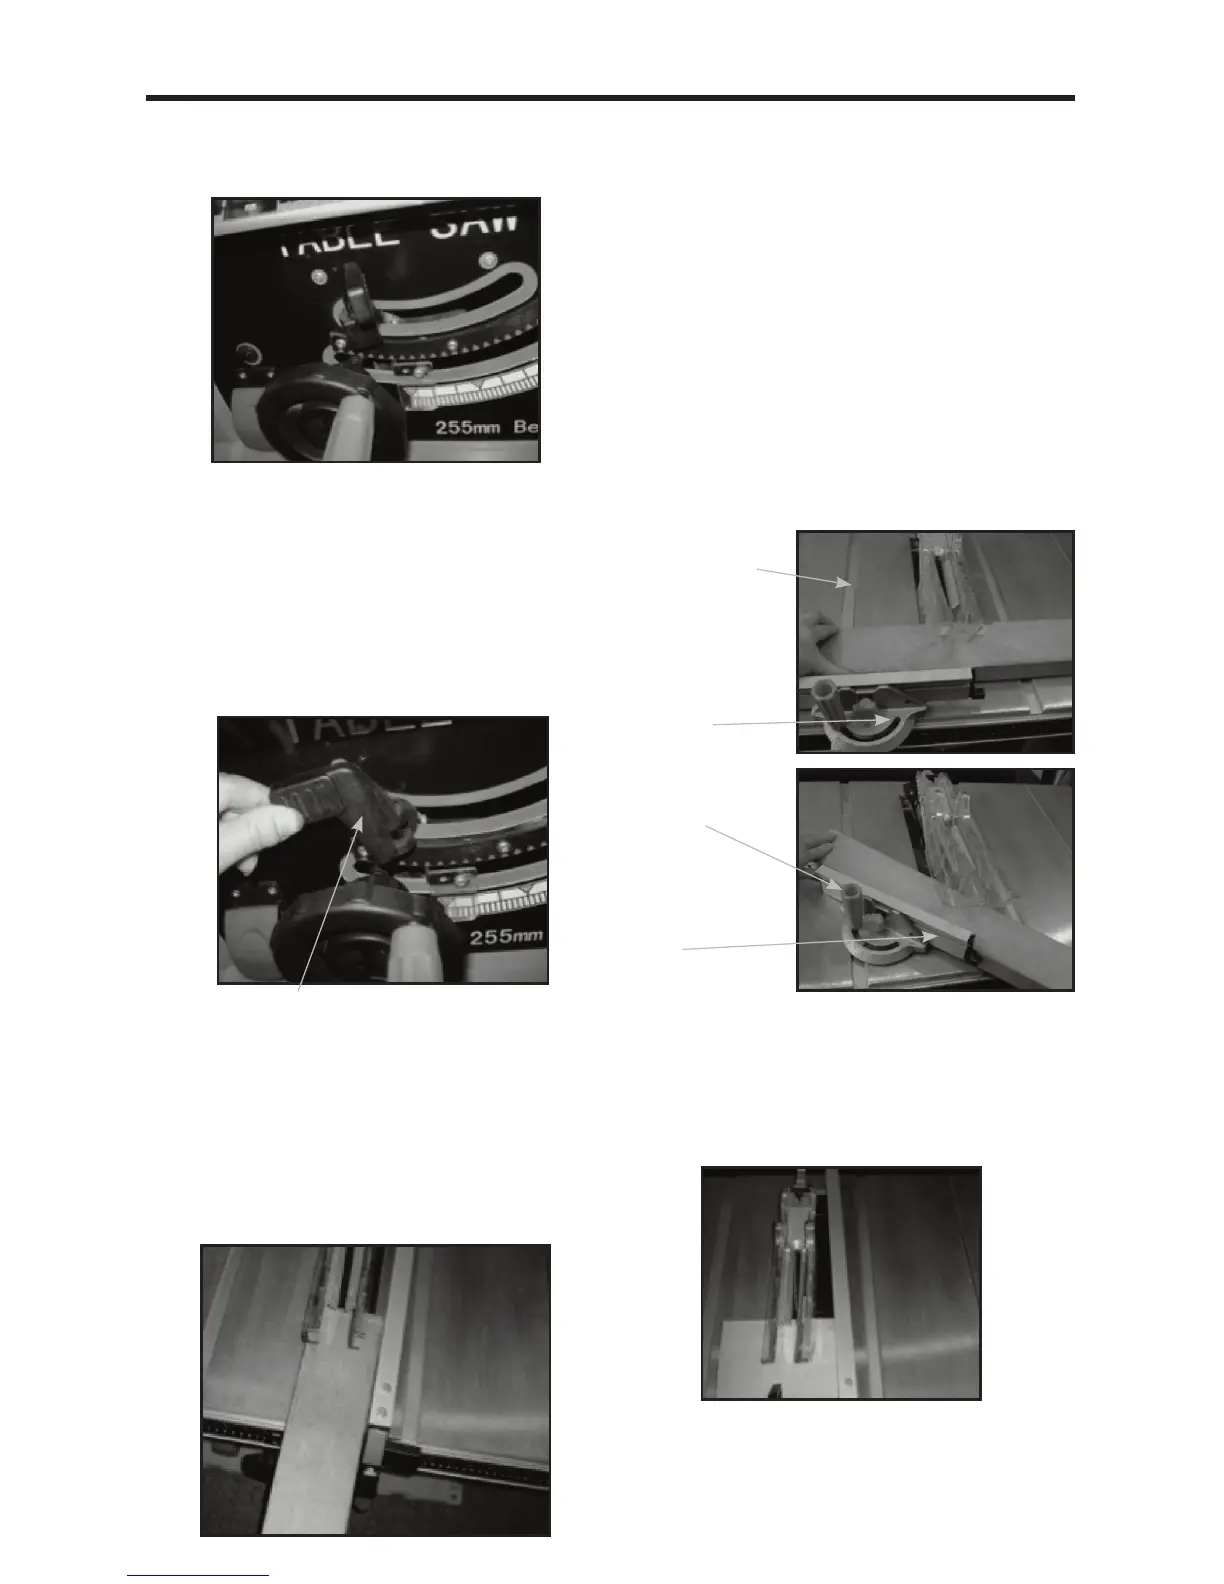
Blade tilting wheel
The blade tilting wheel (10) is used to tilt the saw blade for
bevel cutting. (See Fig. O).
The stop collar holds the bevelling mechanism in the
desired position. (See Fig. P).
When setting the angle of the cut, loosen the stop collar by
turning it counter-clockwise. Rotate the blade tilting wheel
and use the bevel scale. Set the blade at the desired
angle. Tighten the stop collar by turning it clockwise.
Before turning the table saw “ON”, be sure all adjustments
are securely tightened to prevent the blade from shifting
during operation.
The splitter
The Splitter (3) separates the two pieces of wood that
result after the work-piece is pushed through the saw
blade. The splitter prevents binding and kickback.
Rip fence (see Fig. Q)
This rip fence is used for all ripping operations. Never rip
freehand without the fence in place and securely locked.
Miter gauge (see Fig. R, S)
The miter gauge (5) is used for performing cross cuts and
miter cuts. The gauge head is locked in the desired position
by tightening the lock knob. Always ensure the lock knob is
securely fastened before starting a cut. To adjust the miter
gauge angle, loosen miter gauge lock handle and rotate the
miter gauge body so that the “0” mark on the end of the sliding
bar points to desired position. Then tighten the lock handle.
Note: The miter gauge body has marks at 5-degree
increments. The sliding bar has marks at 1-degree
increments. Read both to get an accurate angle
degree. To adjust the miter gauge fence, loosen the
lock knob and slide the fence to the desired position.
Then tighten the lock knob.
Push stick (see Fig. T)
Device used to feed the work-piece through the saw
during narrow ripping cuts. The push stick (13) helps to
keep the operator’s hands well away from the blade. Use
the push stick for ripping widths less than 6” (150 mm) and
more than 2” (50 mm).
Changing the saw blade
Always unplug the saw from the power source before
maintenance to avoid risk of serious personal injury.
To remove the blade:
O
Stop collar
P
Q
Sliding
bar
Lock knob
R
Lock
handle
Fence
S
T