ENGLISH • 35
Adjustment of the rip fence
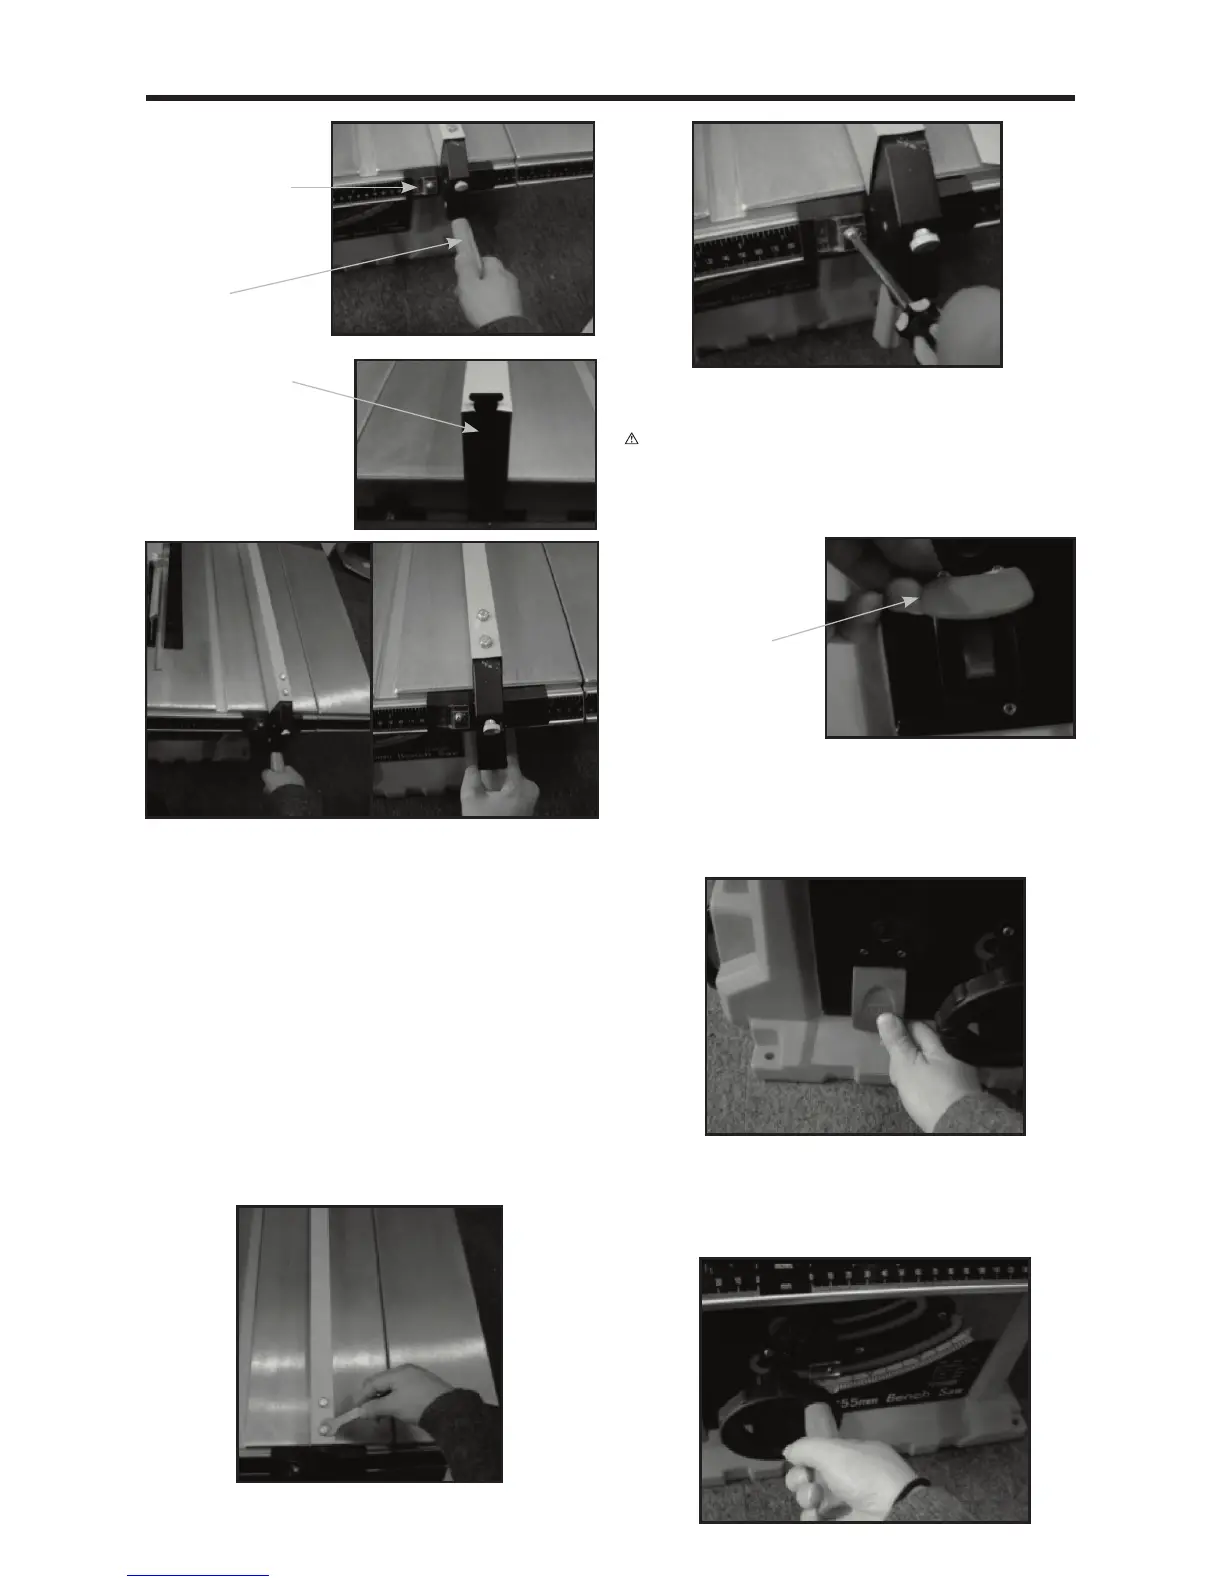
4. The rip fence has been adjusted at the factory to be
at a 90° angle to the front side of the table. If it is not
at a 90° angle to the table, loosen the two bolts at
the top front side of the rip fence and adjust the rip
fence angle so it is at 90°. (See Fig. K1)
5. Move the rip fence to contact the side of the blade
(the zero point) and then check that the rip fence
position indicator is on the “0” mark on the scale. If it
is not, loosen the screw and position the indicator on
“0” and then retighten the screw. (See Fig. K2)
Note: The blade guard and splitter will need to be
removed to perform this adjustment.
OPERATION
On/off Safety Switch
Warning! Before turning on the On/Off switch, make
sure the blade guard is correctly installed and operating
properly. To start the machine, open the safety key and
press the switch to the “ON” position. (See Fig. L)
When turning the switch “ON”, stand to either side of the
blade and never directly in front of it. Allow blade to reach
full speed before cutting. To stop the machine, press the
switch in the “OFF” position (See Fig. M), or open the safety
key to lock the ON/OFF switch in the “OFF” position.
Blade elevation handle
The blade elevation handle is used to raise and lower the
saw blade. Turn clockwise to lower the blade and counter-
clockwise to raise it. (See Fig. N).
J1
Front locking
plate
Locking
handle
Rear locking
plate
J2 J3
K1
K2
Rear locking
plate
L
M
N