40
Installation
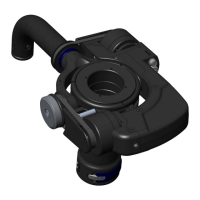
Afx the pan encoder horseshoe to the top of the
gimbal, using a 3/32” Allen wrench to turn the
included 3/8” long 8-32 button head screws (part
SCI-B012B1230.)
Screw location may differ from illustration.
NOTE: The M-2 pan encoder slots into the front of
the gimbal, see the M-2 manual.
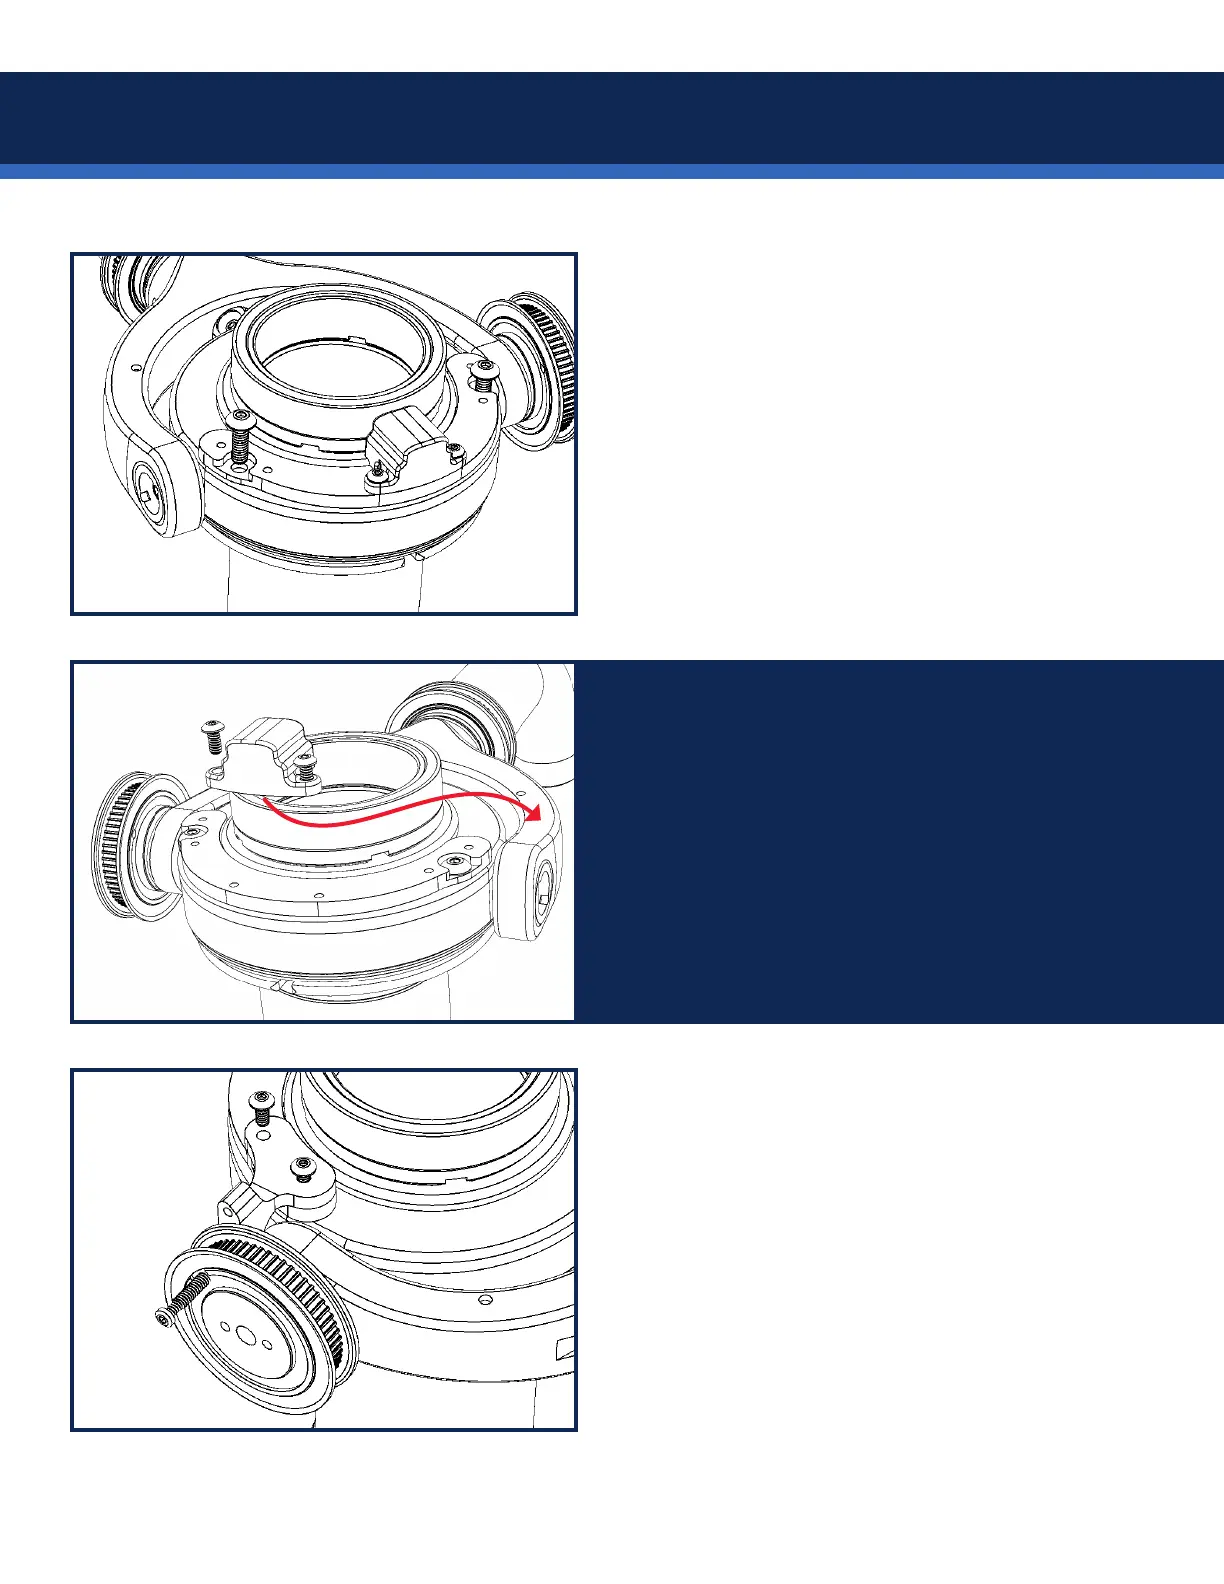
For LEFT side motor installs on M-1 or upgraded
gimbals, remove the encoder from the horseshoe
bracket with your 1/16” Allen key, and re-route
the cable so it exits opposite the pulley side and
re-attach.
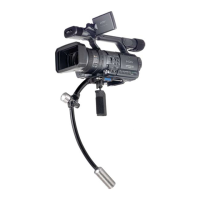
Use a 1/16” Allen key to attach the pulley lock
bracket to the pulley side of the gimbal with the
SHORT 4-40 screws (part SCI-4008B1230.)
Use the same wrench to lock the pulley in place
using the LONG 4-40 lock screw (part 817-7958)
through the lower hole in the lock bracket.
Right side install shown here.