63
BALANCE PROCEDURE
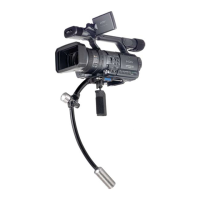
1. Mount simulated camera weight (maximum payload capacity of sled recommended) onto sled and
place onto appropriate balance spud.
2. Fine tune fore-aft and left-right balance by adjusting fore/aft and side/side adjustment knobs on
stage. Verify balance using a bubble level attached atop the stage on a at surface.
3. Balance sled with an approximate 3-4 second drop time by ne tuning vertical position of gimbal.
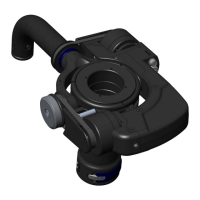
4. With the front of the sled facing left, and the stage perpendicular to the curved gimbal handle, raise
the sled to the right to a horizontal position and release until it swings back to a vertical position.
5. The sled should always return to the established vertical position as noted by the bubble level. If it
does not, ne-tuning of the gimbal spacers 800-7179-XX or 815-7110-XX on either side of the yoke will
be required as noted in the next steps to shift the gimbal center with respect to the yoke to help achieve
balance.
a) If after the swing test in step 4 the sled has the right side of the sled is slightly raised, this will in-
dicate that the gimbal bearing housing will need to be shifted to the left with respect to the positioning
in the yoke. (See image below with respect to gimbal orientation.)
b) If after the swing test in step 4 the sled has the left side of the sled is slightly raised, this will indi-
cate that the gimbal bearing housing will need to be shifted to the right with respect to the positioning
in the yoke. (See image below with respect to gimbal orientation.)
RIGHTLEFT
U2, Shadow, Clipper, PRO gimbal balancing