15
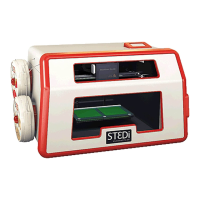
INSTALLING CARTRIDGES
Before you can print you must install a lament cartridge (or two, if you have the ModelSmart Pro 280 and wish to
print with both extruders, i.e for models in two colours or a more complex model that requires support structures.
See our Model Library for examples).
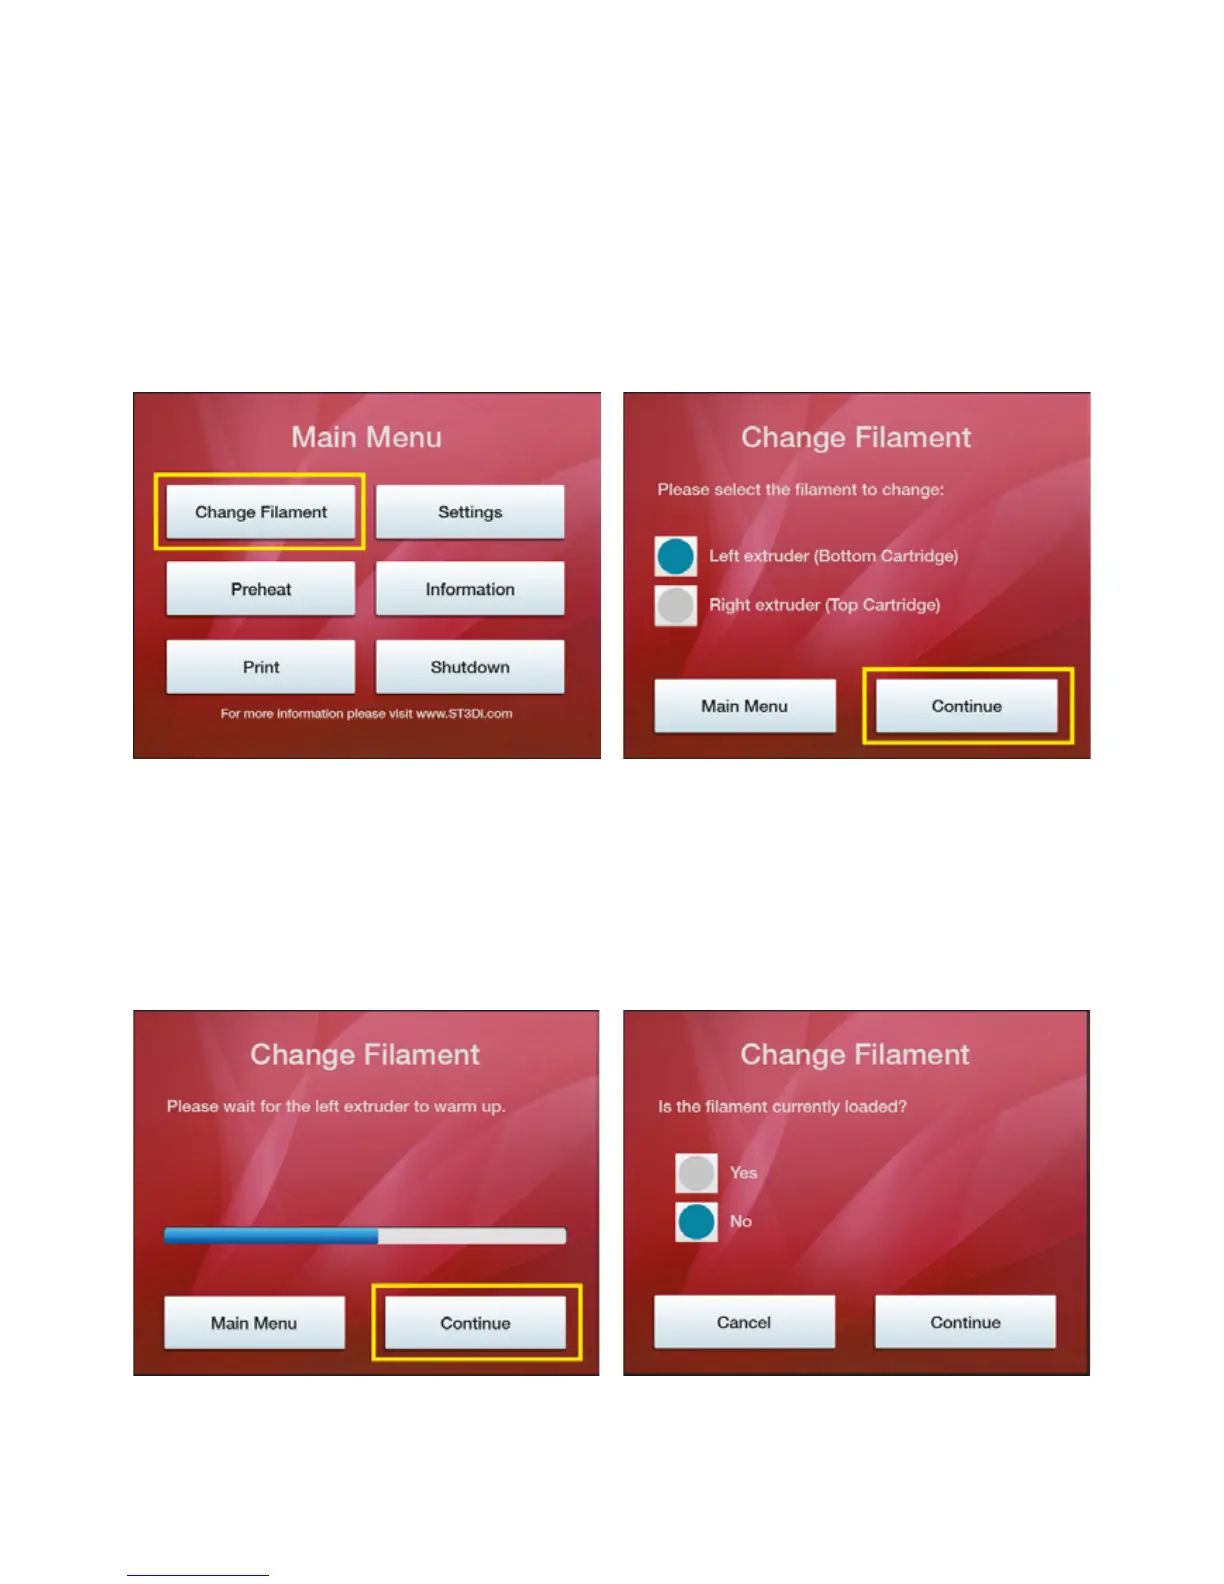
In order to do this you must use the menu controls on the touchscreen LCD on the top of the printer. Please follow
the process below:
From the Main Menu please select ‘Change Filament’
If you have the ModelSmart Pro 280 please select the
cartridge that you wish to install/change. You will not be
presented with this step if you have the ModelSmart Pro
200 as there is only one extruder.
Please then wait a few moments for the selected
extruder to warm up. This is necessary because in
order to successfully load a cartridge a small amount of
material needs to be extruded through the nozzle. The
‘Connue’ buon will remain inacve unl the extruder
is warmed to the correct temperature.
1.
3. 4.
2.
 Loading...