18
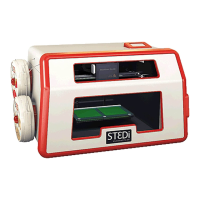
When prinng on a 3D printer, the rst layer of material is all-important. It absolutely has to adhere to the print
bed in a consistent and even applicaon to ensure that the rest of the model sits on top correctly and isn’t out of
alignment. Any small movement or imperfecon could cause your print to not re-produce correctly.
That’s why ST3Di have created the Z Axis sheets. These are a transparent adhesive material that is easy to apply to
the print bed before each print. Your model then prints on top and when nished, you simply remove the glass bed
from the printer (once it has cooled!) and peel o the Z Axis sheet. The model then also easily peels from the sheet
leaving you with a smooth and blemish free model.
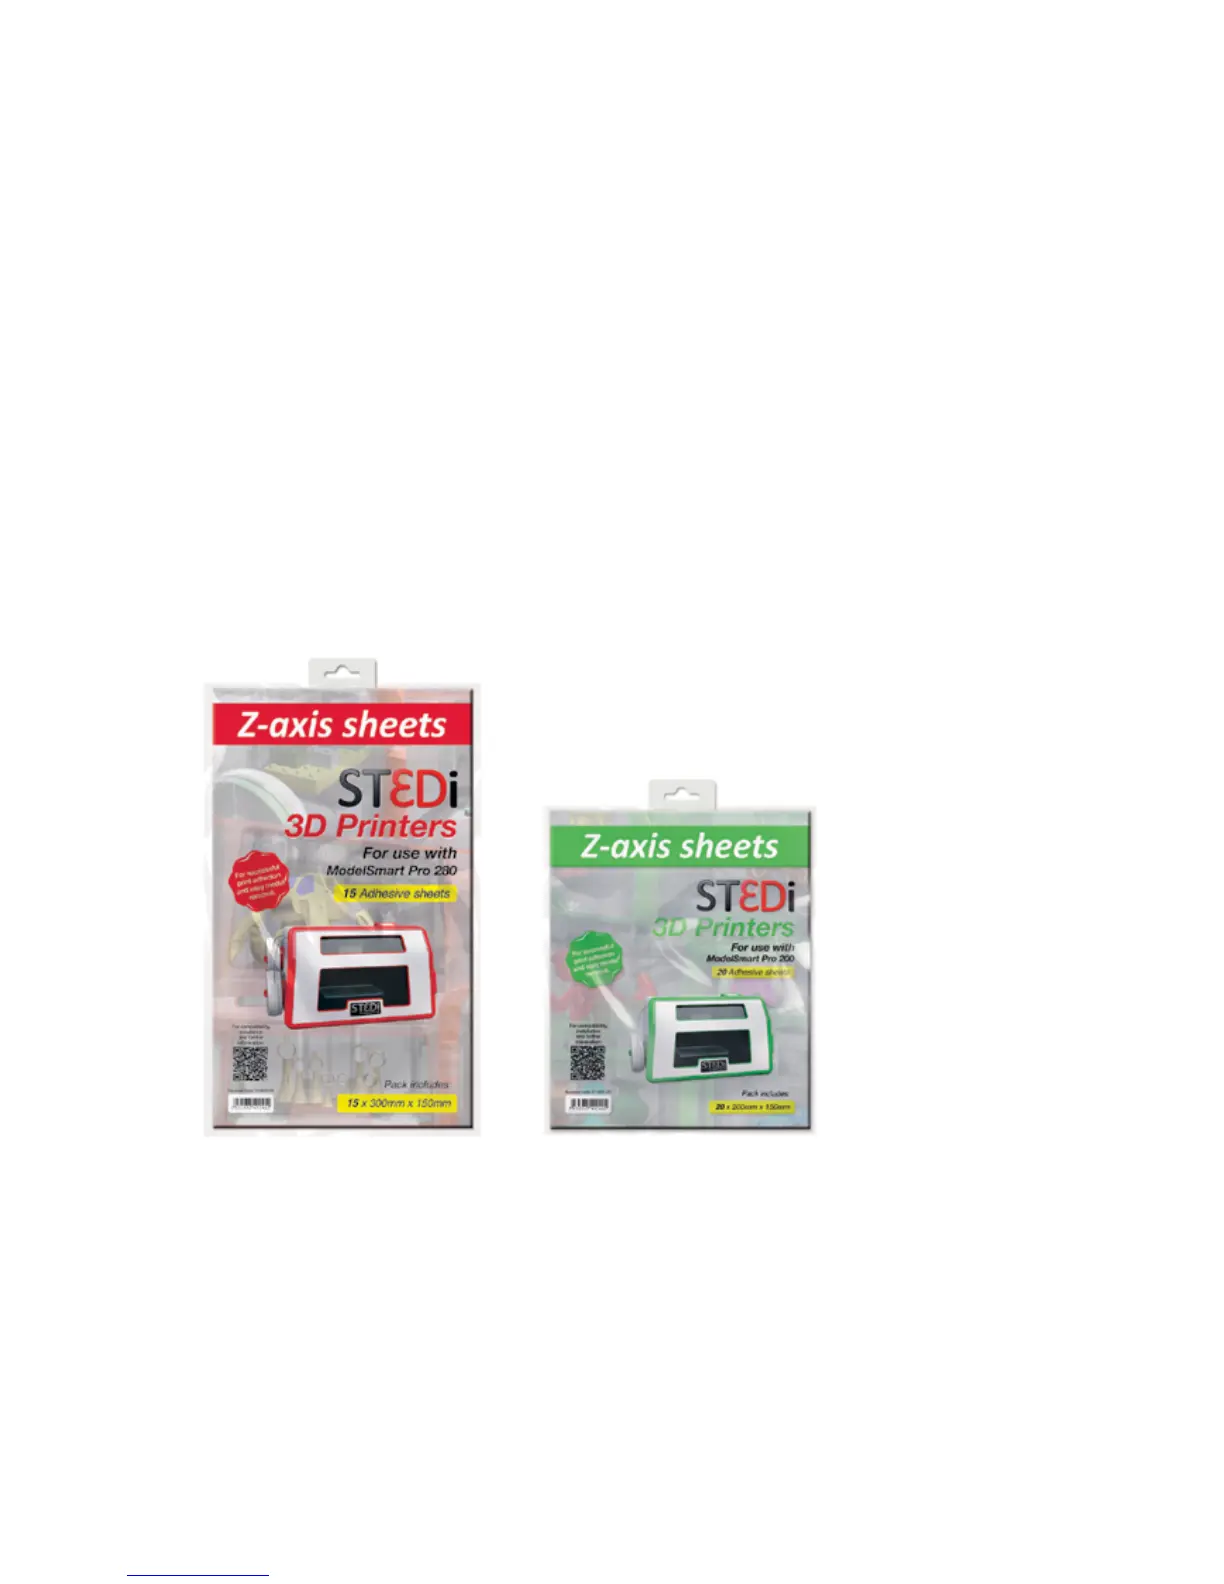
APPLYING THE Z-AXIS SHEET
1. Please ensure that the glass bed is clean and free from grease or dirt.
2. Remove the darker yellow backing sheet to reveal the adhesive side that needs to be applied to the glass bed.
3. Apply this adhesive side to the glass bed, slowly, from one edge and taking care not to leave any air bubbles as
this will cause an uneven surface for the rst layer of the model and may cause the print to fail.
4. Once the sheet has been applied fully, please remove the pale yellow backing sheet, leaving the top adhesive
layer exposed and ready for prinng. It is recommended that you begin prinng within 15 minutes of removing the
rst darker yellow backing sheet.
Z AXIS SHEETS
 Loading...