16
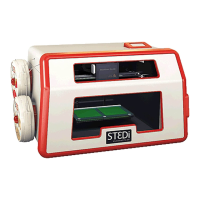
You will then be asked if a lament cartridge is already installed. Inially this will be ‘No’ as this is the rst me a
lament cartridge has been loaded; but when changing a cartridge in future you will select ‘Yes’. Selecng ‘Yes’ will
uninstall the exisng lament before allowing you to load a new lament.
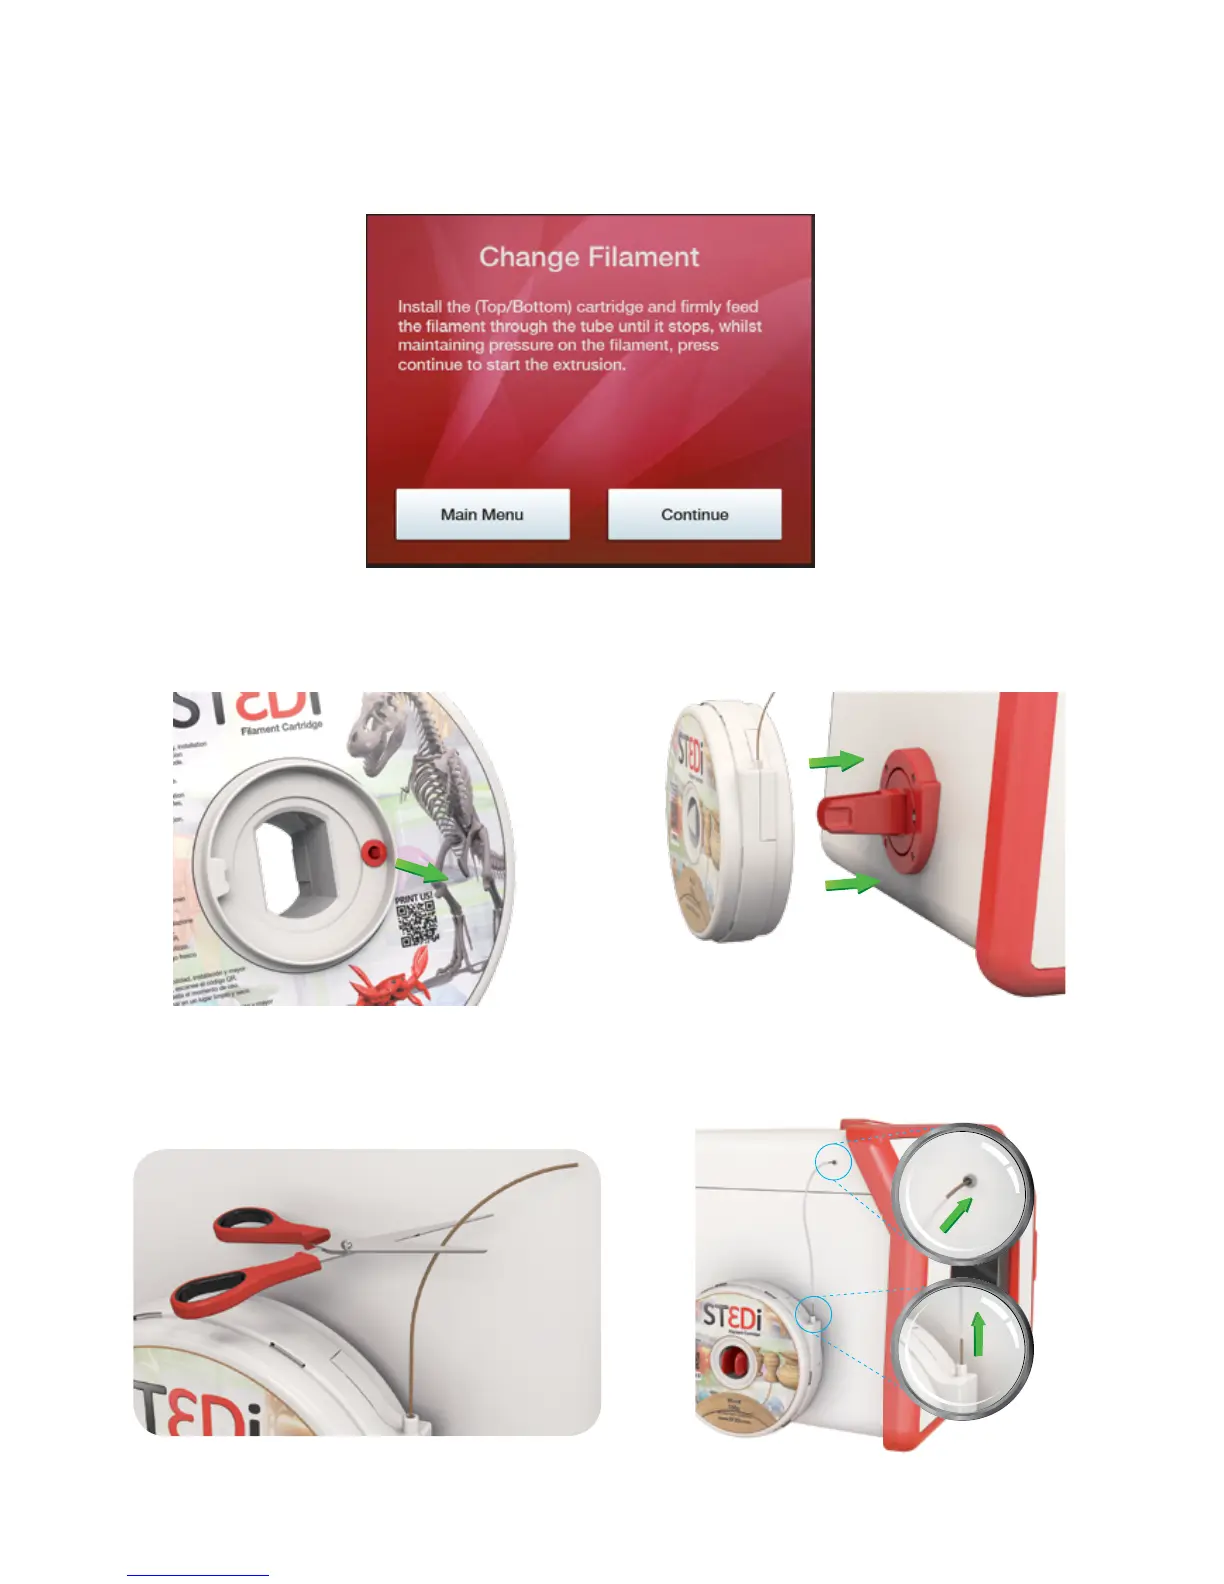
You then need to install the cartridge onto the side of the printer. Firstly, remove the lament cartridge from
the outer packaging and take out the red plug from the side of the cartridge casing. Slide the cartridge onto the
lament holder on the side of the printer and gently push unl you hear it click into place.
Next, Gently pull out sucient lament from the cartridge (5cm to 15cm). Cut o the rst 5cm of the lament and
push through the lament tube (item H). Feed the lament through the lament tube into the corresponding ng
on the side of the printer.
5.
Feed the lament into the printer unl it stops. Approximately 30cm of lament will be required.
 Loading...