– 14 –
If you are in any doubt, identify the conductors
using a voltage tester; then disconnect from the
power supply again. Connect phase (L) and neu-
tral conductor (N) to the terminal block.
Wiring diagram (Fig. 4.1 / 4.2)
Reach diagram (Fig. 4.3)
Note:
A mains switch for switching the light ON and OFF
can be installed in the mains supply lead.
This is required for the manual override function
➜ "6. Functions"
Important:
Mixing up the connections will produce a short
circuit later on in the floodlight or your fuse box. In
this case, you must identify the individual conduc-
tors once again and re-connect them.
Note: the light source in this light cannot be
replaced. If the light source needs to be replaced
(e.g. at the end of its service life), the complete
light must be replaced.
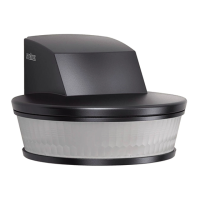
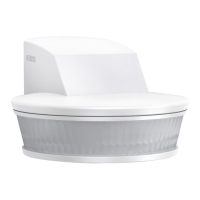
5. Mounting
• Check all components for damage.
• Do not use the product if it is damaged.
• Aiming the sensor (Fig.4.4)
The most reliable way to detect movement is given
by mounting the light to point across the direction
in which people walk and by making sure no
obstacles (e.g. trees, walls etc.) interrupt the line
of sensor vision.
Mounting procedure
• Select appropriate site of installation, giving
consideration to reach and detection of move-
ments (Fig. 4.5)
• Switch OFF power supply (Fig. 5.1)
• Undo retaining screws (Fig. 5.1)
• Detach enclosure from wall mount (Fig. 5.1)
• Mark drill holes (Fig. 5.2)
• Drill holes and insert wall plugs (Fig. 5.3)
– Concealed installation (Fig. 5.3)
– Surface-mounted installation (Fig. 5.4)
• Connect conductors (Fig. 5.5)
• Fit enclosure onto wall mount. Ensure correct
plug connection (Fig. 5.6).
• Screw in retaining screws (Fig. 5.6)
• Switch ON power supply (Fig. 5.7)
• Open cover over controls (Fig. 5.7)
• Make settings ➜ "6. Function"
6. Function
Factory settings
Basic brightness: OFF
Time setting: 5 seconds
Twilight setting: daylight mode
Once you have installed the wall mount and con-
nected the floodlight to the power supply, it can
be put into operation. If the floodlight is put into
operation manually at the light switch, it will switch
OFF after 40 s for the calibration phase and is then
activated for sensor mode. It is not necessary to
operate the light switch a second time.
Function (Fig. 6.1)
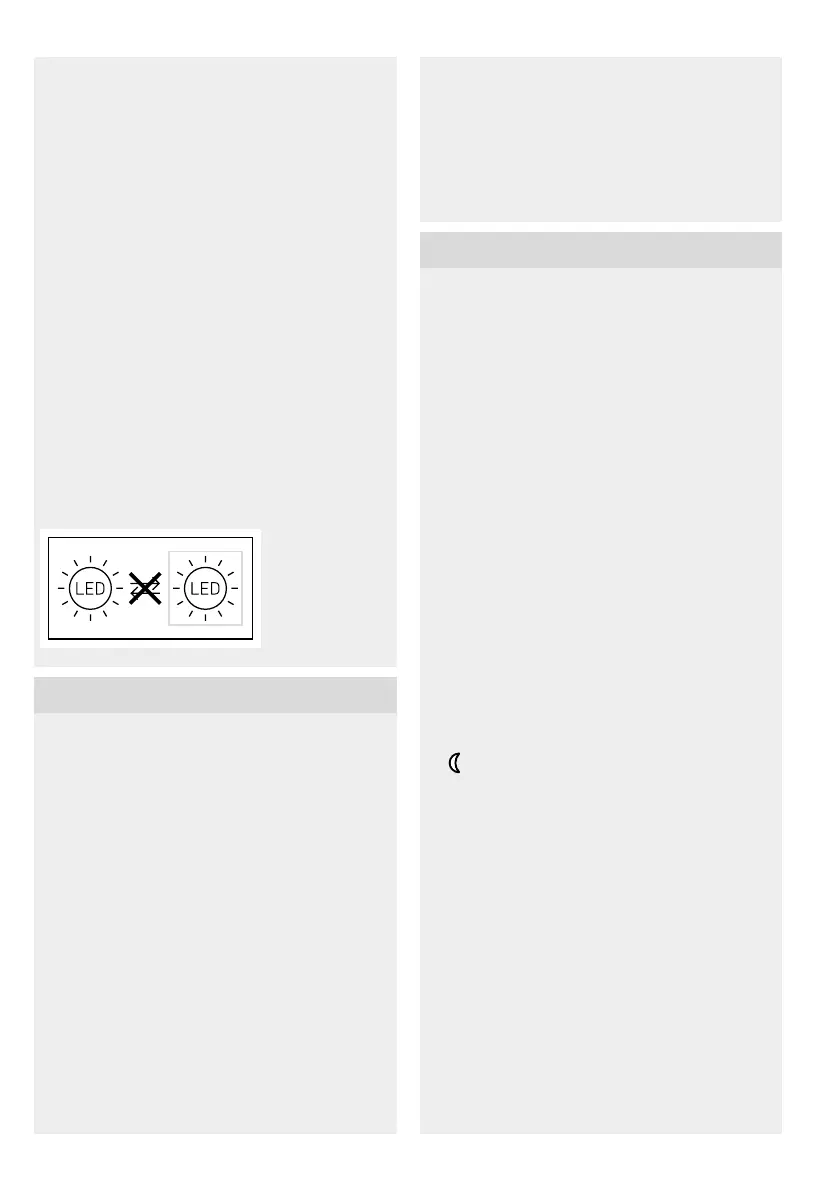
Basic brightness (Fig. 6.1 / J)
Basic brightness by means of basic light LEDs
provides a low level of illumination. The main light
is only switched on for the time selected when
movement occurs in the detection zone. The light
then switches to the selected level of basic
brightness
– OFF = no basic light
– 10min = basic light for 10min upon expiry of
the time selected
– "
" = basic light all night
Time setting / stay-ON time (Fig. 6.1 / K)
The time you want the floodlight to stay on for
(main light) is infinitely adjustable from approx. 5 s
to a maximum of 15min. Any movement detected
before this time elapses will restart the timer.
Note:
Whenever the light switches OFF, motion detection
is interrupted for approx. 2 s. The light will only
switch ON in response to movement once this
period has elapsed.
 Loading...