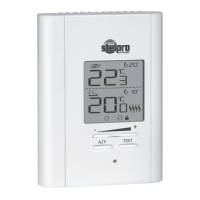
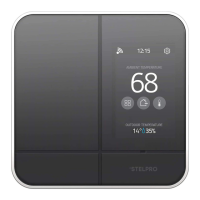
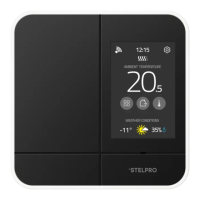
INSSTCP5MA0116
11
After programming a day of the week, you can copy this set-
ting; see “Copy of the Programming”.
1. To access the Programming mode, press down the day of
the week button that you want to program (Mon to Sun).
Once you release the button, the selected day of the week is
displayed, the
icon blinks and the period number 1 blinks
too.
2. Select the period number (1 to 4) that you want to program
using the + or - button. For each period, the hour and the set
point are displayed. The hour displays --:-- and the set point
displays -- if there is no programming for the period. You
must conrm the period by pressing down the Mode button.
3. The two gures representing the hour blink to indicate that
you can adjust them (from 00 to 23) using the + or – button.
You must conrm the adjustment by pressing down the
Mode button.
4. After conrmation, the gures representing the minutes (the
last 2 gures) blink. You can adjust and conrm them in the
manner described in point 3. Note that the minutes can only
be adjusted by increments of 15 minutes.
5. The period set point blinks and you can adjust it using the
+ or - button. You must conrm the adjustment by pressing
down the Mode button.
6. After set point conrmation, the programming is completed.
The following period number blinks. For example, if the
previously programmed period was 1, period 2 blinks. It is
then possible to continue the programming of this period by
pressing down the Mode button. You can also select another
period using the + or – button.
7. At the end of period 4 programming, you automatically exit
the Programming mode.
At any time, you can exit the Programming mode
using one of these 3 methods:
1- Press down the button of the day you are adjusting.