PART 1 • English
6
8. VIDEO (YELLOW RCA)
This connector gives you the possibility to connect the video signal to the TV set without a
SCART connector.
9. Coax S/PDIF (BLACK RCA)
To connect your receiver to digital audio amplifier
10. RS-232 Serial Port
Connect a PC to your receiver to download new software versions.
11. Main power switch
12. Power Cord
Your receiver requires a current of 90 ~ 240 V AC (Auto-selectable), 50 ~ 60 Hz ±5%. Make
sure to check the power specification before connecting your receiver to the wall outlet.
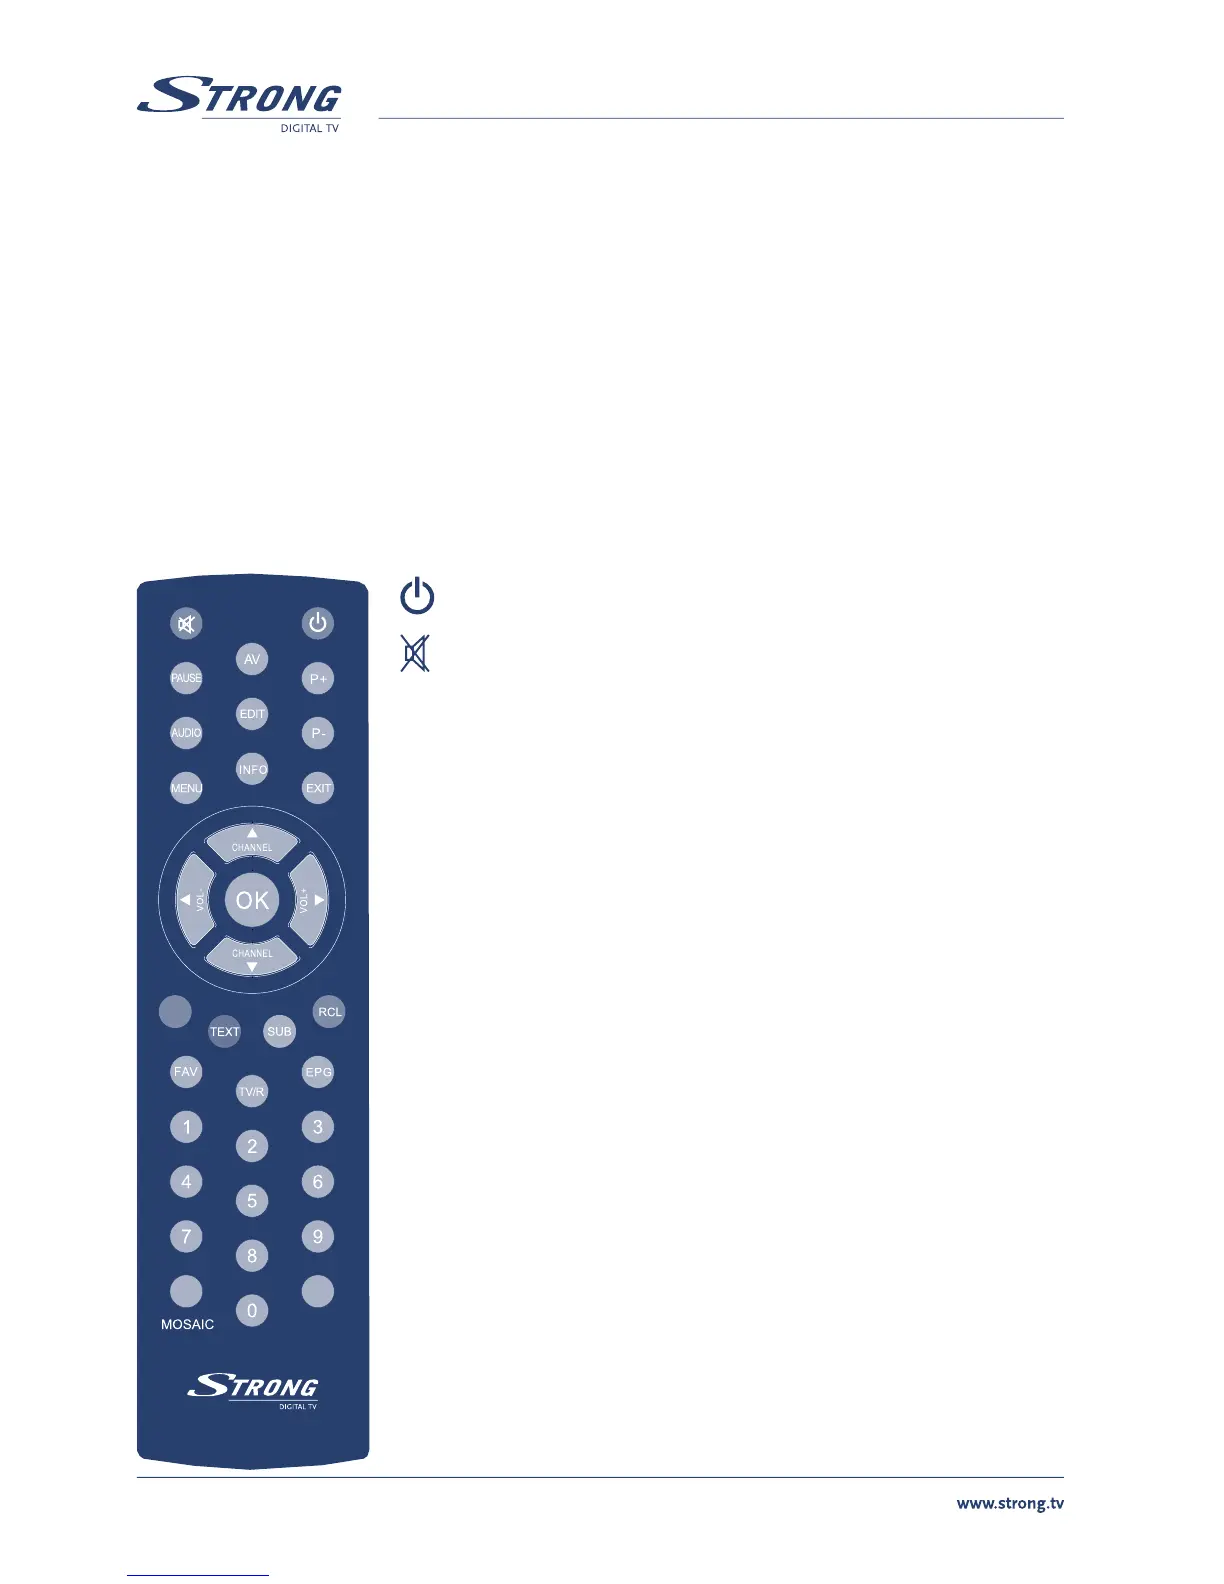
3.3 Remote Control
Turns the receiver On/Standby
Mutes audio output of the receiver
AV Toggle between TV and AV mode
0 ~ 9 Channel selection
FAV Toggle Favourite mode ON / OFF
TV/R Toggle between TV or RADIO mode
MENU Opens the main menu
INFO Shows information of the current channel
EPG Shows the EPG (Electronic Program Guide) during No-menu
state only
EXIT Exits from the menu or sub-menu and cancels the progressing
function if applicable
pq Menu Off: Change the current program to the previous/
next program
Menu On: Moves the cursor up/down
tu Menu Off: Increases/decreases the volume level
Menu On: Change the setting values in specific Menu item
OK Activates the highlighted menu item. Displays a channel list
according to TV / Radio Mode
V+ / V- Use to increase or decrease the receiver volume level
P+ / P- Page up and down in menu list
MOSAIC Show pictures of 9 channels on the screen
PAUSE Freeze/Resume picture
AUDIO Shows list of available audio languages for the channel you are
watching. In addition it sets the current channel audio to stereo
((•)), left-mono ((• or right-mono •))
EDIT Program edit
TEXT Shows current service’s Teletext on OSD (On Screen Display)