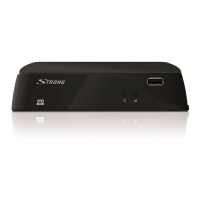
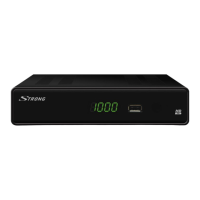
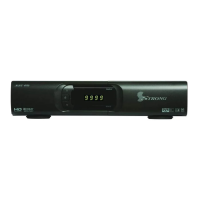
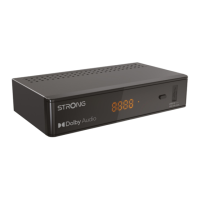
This document describes the Digital Terrestrial HD Twin Tuner Receiver SRT 8222, a device designed to enhance your television viewing experience with high-definition digital terrestrial broadcasts. It offers a range of features for channel management, recording, and multimedia playback, all accessible through a user-friendly interface.
Function Description
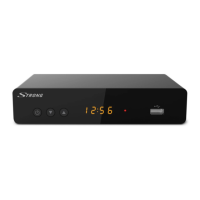
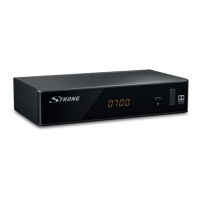
The SRT 8222 is a digital terrestrial receiver equipped with twin tuners, allowing you to record one channel while simultaneously watching another, even if they are on different frequencies. It supports high-definition video and various audio formats, including Dolby Digital Plus. The receiver connects to your terrestrial antenna to receive broadcast signals and outputs video and audio to your TV via HDMI or SCART. For digital audio, it offers an S/PDIF coaxial output. An Ethernet port allows for network connectivity, enabling access to network applications. The USB port supports external storage devices for recording and multimedia playback.
Usage Features
Initial Setup: When first powered on, the receiver guides you through an "Installation Guide" menu. Here, you can select your preferred On-Screen Language (OSD) and Country. The "Antenna Power" setting can be toggled On for active antennas (providing 5V power) or Off for passive antennas. "Scan mode" allows you to choose between scanning for "All" channels (scrambled and free-to-air) or "FTA" (Free-To-Air) channels only. After configuring these settings, initiate a "Channel Search" to find all available channels. If the "Installation Guide" doesn't appear, you can reset the receiver to factory settings via the "MENU" button and "System" submenu, using the default PIN 1234.
Channel Management:
- Changing Channels: You can change channels directly by inputting the channel number using the 0~9 buttons on the remote, by navigating the "Channel List" (accessed with the "OK" button), or by using the ▲▼ or PG+/PG- keys.
- Channel List: Pressing "OK" in viewing mode displays the "Channel List." You can toggle between "TV List" and "Radio List" using the ◄► buttons and access "Favourite Lists" with the "FAV" button.
- Programme Edit: This menu, accessible with a password (default 1234), allows you to customize your channel lists.
- Moving Channels: Select a channel, press "RED," move it to the desired position using ▲▼, and confirm with "OK."
- Skipping Channels: Select a channel, press "GREEN" to mark it for skipping. Skipped channels will be bypassed when zapping but remain available in the channel list.
- Locking Channels: Select a channel, press "YELLOW," and enter the PIN code to lock it. Locked channels require a password to view.
- Deleting Channels: Select a channel, press "BLUE" to mark it for deletion, and confirm.
- Favourite Lists: Add channels to up to four different favourite groups by pressing "FAV" in the "Programme Edit" menu, selecting the channel, pressing "FAV" again, choosing a "Favourite Type," and confirming.
- Rename: Rename channels using the "Recall" button to bring up an on-screen keyboard.
- LCN (Logical Channel Numbering): If activated and supported by the broadcaster, channels will be stored in a broadcaster-defined order. You can set LCN to "On" or "Off" in the "Channel Search" menu.
- Info Banner: Pressing "INFO" displays information about the current channel and event. Pressing it twice provides more detailed programme and technical information.
- Teletext: Access Teletext with the "TEXT" button. Use 0~9 to input page numbers and coloured buttons for quick navigation.
- Subtitles: Press "SUB" to view and select available subtitle languages.
- Audio Language: Press "AUDIO" to select different audio streams or languages if available for a channel.
- Picture Settings: The "Picture" menu allows you to match the receiver's output to your TV. Settings include "Aspect Ratio" (4:3 Letterbox, 4:3 Pan&Scan, 4:3 Full, 16:9 Widescreen, 16:9 Pillarbox, 16:9 Pan&Scan), "Resolution" (576i, 576p, 720p, 1080i, 1080p(50Hz), Auto), and "TV Format" (PAL, NTSC).
Recording and Timeshift:
- Timeshift: Pause live broadcasts and resume playback later by pressing "II/TIMESHIFT." A connected USB storage device with sufficient speed and free space is required.
- Instant Recording: Press ● to start recording the current programme. Press ■ to stop. The twin tuner allows you to record one channel while watching another.
- EPG (Electronic Programme Guide): Access the EPG with the "EPG" button. View event schedules, detailed information, and mark programmes for recording. You can set timers for recording, changing the "Mode" from "View" to "Record." Coloured buttons allow adding, editing, or deleting timers. A suitable USB device must be connected for recording.
- USB Multimedia: The USB port supports playback of various file types from connected USB storage devices (HDD or memory stick). Select "Music" for MP3s, "Photo" for JPGs, and "Movie" for video formats. "PVR" allows you to view recorded programmes. The unit supports FAT32 and NTFS formatted devices.
- Photo Configure: Set preferences for photo viewing, including "Slide Time" and "Slide Mode" (e.g., random order).
- Movie Configure: Adjust subtitle settings for movie playback, including "Subtitle Specific" (normal, big, small), "Subtitle BG" (background colour), and "Subtitle FontColor" (font colour).
- Record Device: If multiple partitions exist on your USB device, select the one to use for recording.
- Timeshift Size: Allocate free space on the USB device for the Timeshift function (default 1GB).
System Settings:
- Sleep: Press "SLEEP" repeatedly to set an automatic switch-off time for the receiver.
- Parental Guidance: Block programmes based on age ratings (Off, 1 to 18) using a password.
- Set password: Change the default password.
- Information: View receiver-specific details like hardware and software versions.
- Recall List: If set to "On," pressing "RECALL" displays a list of last-watched channels. If "Off," it instantly returns to the previous channel.
- Network Setting: Configure network connectivity via the Ethernet port. "DHCP" can be set to "On" for automatic IP settings or "Off" for manual configuration.
Maintenance Features
- Battery Installation: Open the remote control cover, insert 2x AAA batteries, observing correct polarity, and replace the cover.
- Remote Control Usage: Point the remote towards the front of the receiver within 5 meters and an angle of approximately 30 degrees. Ensure no obstacles block the sensor.
- Software Update: Update receiver software via the USB port. Download the software file from the manufacturer's website, place it in the root directory of a USB storage device, and then select "Software Update" in the "System" menu.
- Restore Factory Default: Reset the receiver to its default factory settings via the "System" menu. This will delete all channels, favourite lists, and settings, and the receiver will reboot to the initial "Installation Guide."
- USB Device Formatting: The receiver can format USB devices to FAT32. Be aware that this will delete all data on the device.
- Troubleshooting: The manual provides a comprehensive troubleshooting guide for common issues like no power, no signal, picture/sound distortion, no access to scrambled services, and remote control unresponsiveness. It suggests checking connections, antenna settings, power supply, and remote control batteries. For persistent issues, contact customer support.