29. 3 In Multimedia mode: Stops the playback of the selected file
30. RED In menu for specific functions
31. GREEN In menu for specific functions
32. YELLOW In menu for specific functions
33. BLUE In menu for specific functions
* Depending on the System setting Recent channel list settings; allows you to call the channel list with up to 30 recently watched channels
2.5 Inserting the batteries
Fig. 4
NOTE: The batteries must not be recharged, disassembled, electrically short-
circuited, be mixed or used with other types of batteries.
2.6 Using the remote control
Fig. 5
NOTE: The remote control will not operate if its path is blocked or affected by
bright/stroboscopic light.
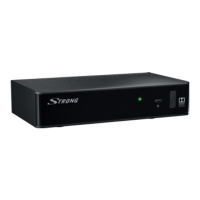
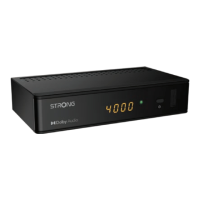
3.0 CONNECTIONS
3.1 Connection via HDMI or SCART
Fig. 6
a) Connect the LNB of your satellite antenna to the SAT IN connector of your receiver using a good
quality coaxial cable and suitable ‘F-connector' plugs.
b) Connect one end of a good quality HDMI cable to the HDMI connector of your receiver and the
other end to the HDMI input of your TV set.
c) Plug the power adapter jack to the receiver and the other end to a suitable wall outlet.
Optional: Connect one end of a good quality Scart cable to the TV SCART of your receiver and the other
end to the SCART input of your TV set.
3.2 Optional connection via DiSEqC 1.0 switch for up to 4 LNBs
Fig. 7
a) Connect the LNBs of your fixed antenna to the desired inputs of a DiSEqC 1.0 switch using a
good quality coaxial cable and suitable ‘F-connectors'.
b) Connect the output or “to receiver” of the DiSEqC 1.0 switch to the SAT IN connector on your
receiver using a good quality coaxial cable and suitable ‘F-connectors'.
c) Plug the power adapter jack to the receiver and the other end to a suitable wall outlet.
7
English