10 www.stryker.com
EN 5400-052-700-EN Rev-D
11 Instructions
WARNING: Before using this equipment, or any
compatible equipment, read and understand the
Instructions For Use. Pay particular attention to
safety information. ALWAYS become familiar with
the equipment before use.
11.1 Before the Procedure
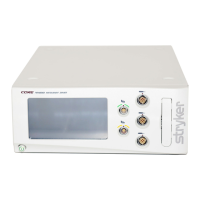
1. Verify the console is placed on a sturdy, flat surface.
2. Verify the console is not within the sterile field.
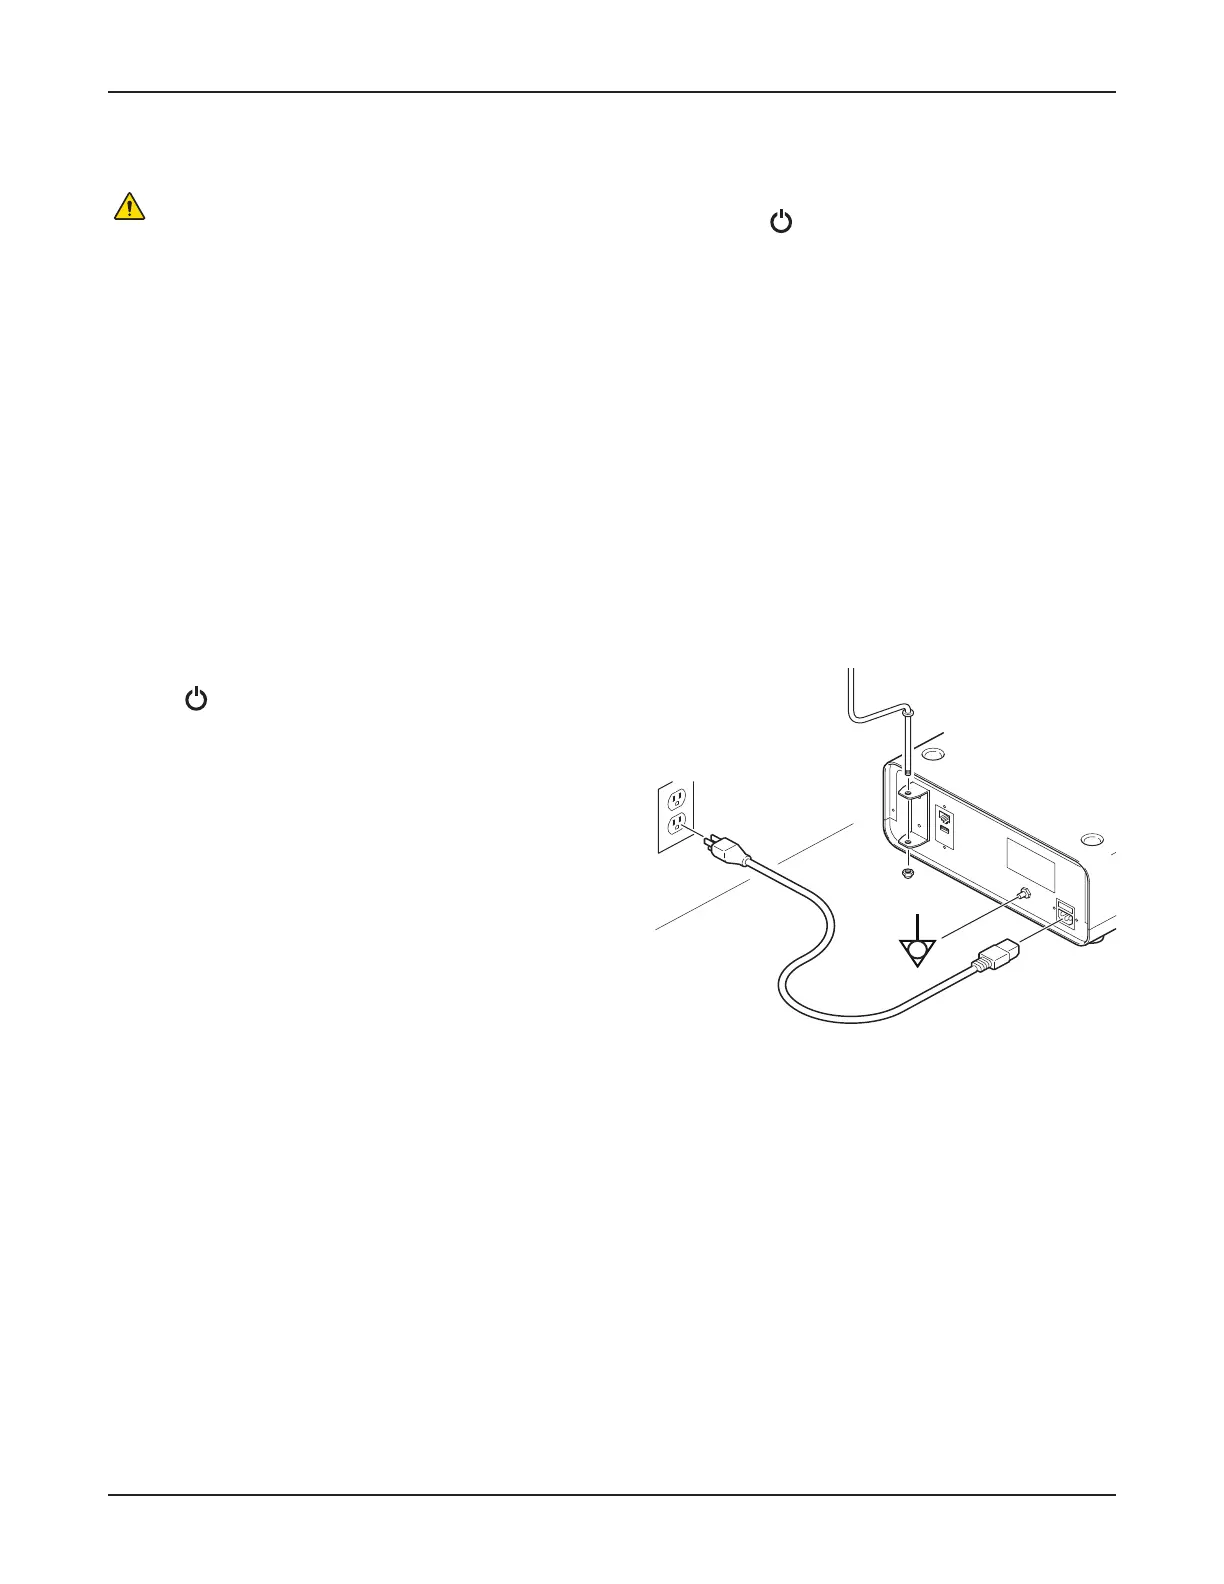
3. Verify the following items are connected; connect as
necessary (Figure 5):
▪ (Optional) Equipotential cable
▪ Power cord
4. Verify the equipment is clean and not damaged.
5. Connect the following devices as necessary:
▪ Motor(s) (Figure 6)
▪ Footswitch(es) (Figure 7)
6. Press to power the console on.
7. (Optional) Prepare the console for irrigation as follows:
7. 1. If required, install an irrigation pole into the pole
bracket on the rear of the console (Figure 5).
7. 2. Insert an irrigation cassette (Figure 8).
7. 3. Attach the irrigation clips onto the motor and
connect the tubing to the irrigation bag.
7. 4. Prime the irrigation cassette (Section 11.6.6.1).
8. Manage presets as necessary (Section 11.5).
9. Manage system settings as necessary (Section 11.6).
11.2 During the Procedure
▪ Connect and disconnect devices as necessary.
▪ If using irrigation, flush irrigation tubing as necessary
(Section 11.6.6.2).
▪ Refer to the following sections for guidance during the
procedure as necessary:
▪ Section 11.4 Home Screen Instructions
▪ Section 11.5 Preset Instructions
▪ Section 11.6 System Settings Instructions
11.3 After the Procedure
1. Remove power from the console as follows:
1. 1. Press to set the console in standby mode.
CAUTION: Some power cords have a locking mechanism,
press the colored tab prior to disconnection.
1. 2. Disconnect the power cord.
1. 3. If used, disconnect the equipotential cable.
2. If irrigation was used, perform the following:
2. 1. Detach the irrigation clips from the motor and
disconnect the tubing from the irrigation bag.
2. 2. Remove the irrigation cassette (Figure 9).
3. Disconnect the following devices as necessary:
▪ Motor(s) (Figure 6)
▪ Footswitch(es) (Figure 7)
4. Clean and disinfect the console (Section 12).
5. Inspect the equipment for damage.
Figure 5 – Console (Rear View)
0000221359, Rev. D Effective Date: Jun 1, 2017 10:00:55 AM
Print Date: Jun 08, 2017 08:54:46 AM