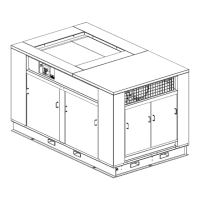
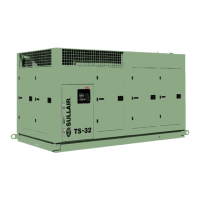
Section 7
MAINTENANCE
41
Figure 7 ---8 Drive Coupling (P/N 02250043 ---132 for 400HP/300KW, P/N 250039---660 for 500---600HP/375---450K W)
* Repair Kit P/N 02250044---346
1. Disassemble the coupling. Note arrangement of
bolts, washers, and nuts as they must be re-
placed in the same order.
Figure 7---9 Bolt Tightening
2. Inspect both shafts and hub bores, making sure
they are free of burrs. File if necessary. Be sure
the key fits the motor shaft properly. For installa-
tion of the drive coupling, follow the steps below:
STEP 1 --- MOUNT HUBS
Motor Hub --- This hub has an interference fit. Heat
the hub using an oven, oil bath or an induction
heater up to 300_F (149_C). Mount the hub to the
motor shaft as quickly as possible. The hub face
must be flush to the motor shaft. Allow hub to cool
before proceeding.
Compressor Hub --- This hub has a slide fit to the
compressor. A special shri nk disc hub is used to
transmit power. Slide compressor hub and shrink
disc assembly on to the compressor shaft. Shaft
should be recessed #@8” (9.5mm) from the face of
the hub. Gradually tighten all shrink disc locking
screws to 42 ft.---lbs. (57 Nm) (see Installation of
S hr ink D isc and Figur e 7 --- 9 ) .
STEP 2 --- CHECK ALIGNMENT
Angular --- Take readings with an inside microme-
ter at 90_ intervals between flange faces. If a dial in-
dicator is used, compensate for sag and attach it
on one shaft and rotate the hub 360_ while taking
readings on the flange face as shown. DO NOT ex-
ceed installation ANGULAR limit specified in Table
2. When using a dial indicator, the best results are
achieved by rotating both driver and driven shafts
together.
 Loading...