Questions? Call or Text +1-801-658-0015 • 11
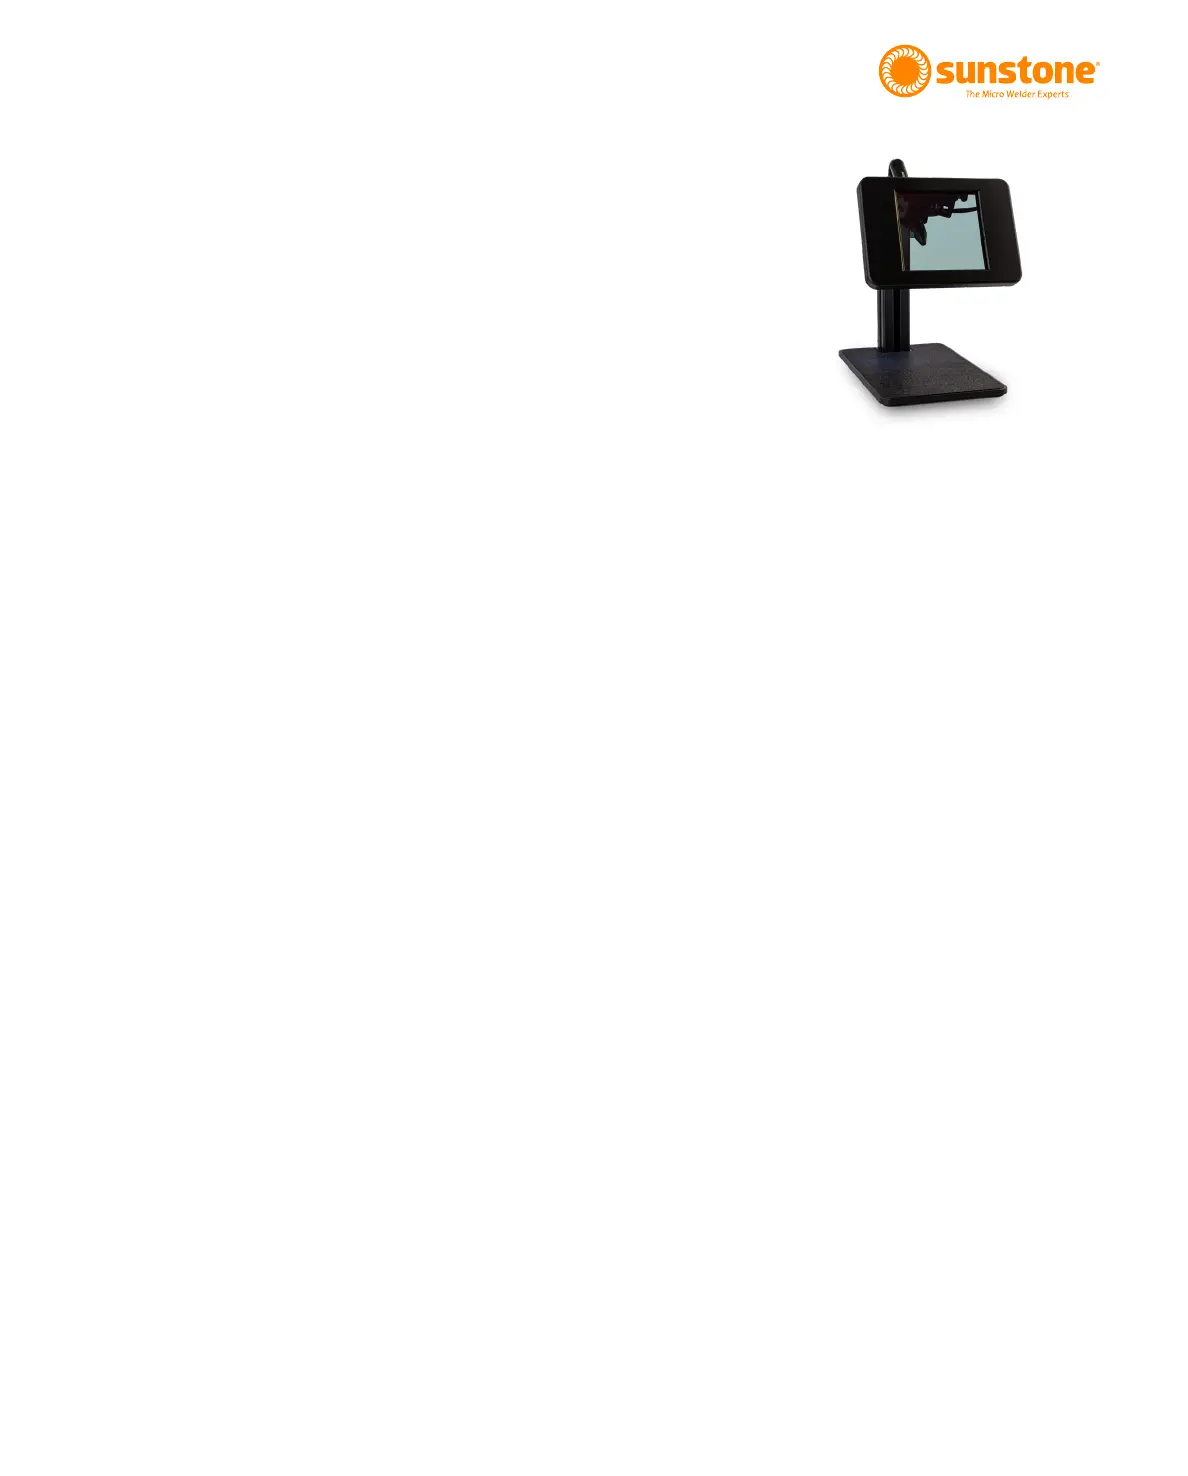
Figure 11.1. Stylus mounting for the Auto
Darkenng Lens System.
• Connect the alligator clip to the grounding port (D) on
the front panel.
• Connect the stylus to the back of the welder (B).
• The basic Auto Darkening Lens darkness can be
adjusted by turning the shade dial above the darkening
lens screen. Turn clockwise for a lighter shade and
counter-clockwise for darker shade.
How to Place the Welding Stylus
• Insert the Welding Stylus into the holder located
behind the screen. See Figure 11.1 (Right).
• Adjust the stylus holder to approximately a 45-degree
angle as shown in Figure 11.1 (the stylus should be
angled down).
• Connect the Stylus Cord to the back of the Zapp Plus
to the stylus port as seen in Figure 10.1.
Mounting Zapp Plus Stylus in Upgraded
Darkening Lens:
• Remove gray spacer (See Figure 11.2) from stylus
holder. This is lightly glued into place to not come loose
during operation with the Orion Stylus. The spacer is
not required when using the Zapp Plus stylus. One end
-
stylus holder until the spacer slides out the end of the
holder.
• Connect Included shutter cable into the RJ45 port I
both the welder and the ADL.
• Place Zapp Plus Stylus in stylus holder and secure
using thumb screw.
• Adjust stylus to desire position inside of viewing area
of ADL.