3-5
Chapter 3: Troubleshooting
Proper Battery Disposal
Warning: Please handle used batteries carefully. Do not damage the battery in any
way; a damaged battery may release hazardous materials into the environment. Do
not discard a used battery in the garbage or a public landll. Please comply with the
regulations set up by your local hazardous waste management agency to dispose of
your used battery properly.
Note: The SPI BIOS chip installed on this motherboard is not removable.
To repair or replace a damaged BIOS chip, please send your motherboard
to RMA at Supermicro for service.
Question: I think my BIOS is corrupted. How can I recover my BIOS?
Answer: Please see Appendix C-BIOS Recovery for detailed instructions.
Question: Why do I get an error message “IASTOR.SYS read error” and "press F6
to install Intel RAID driver" when installing Windows on my motherboard?
Answer: To solve this issue, disable the IPMI jumper. Another solution is to use a
USB oppy drive instead of the onboard oppy drive. For the IPMI jumper location,
please check Chapter 1.
Question: What is the heatsink part number for my C7Z87 motherboard?
Answer: For the 1U passive heatsink, ask for SNK-P0046P (back plate is included).
For the 2U active heatsink, use SNK-P0046A4.
Question: Why can't I recover the BIOS even when I’ve followed the instructions
in the user’s manual for the motherboard?
Answer: Please disable the IPMI jumper and try it again. For the jumper location,
please check Chapter 1.
3-4 Battery Removal and Installation
Battery Removal
To remove the onboard battery, follow the steps below:
1. Power off your system and unplug your power cable.
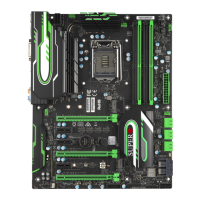
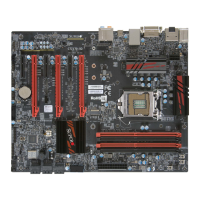
2. Locate the onboard battery as shown below.
3. Using a tool such as a pen or a small screwdriver, push the battery lock out-
wards to unlock it. Once unlocked, the battery will pop out from the holder.
4. Remove the battery.