WIT.RU
WIT Company – поставка серверов, СХД,
сетевого оборудования, лицензионного ПО
Chapter 5: Advanced Serverboard Setup
5-55-4
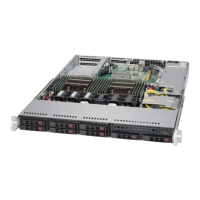
SUPERSERVER 1028R-TDW User's Manual
1. Unplug the power cord from the power supply.
2. Unscrew and remove the heatsink screws in the sequence shown in the
picture below.
3. Hold the heatsink and gently wiggle it to loosen it from the CPU. (Do not use
excessive force when doing this!)
4. Once the heatsink is loosened, remove it from the CPU.
5. Clean the surface of the CPU and the heatsink to get rid of the old thermal
grease. Reapply the proper amount of thermal grease before you re-install
the heatsink.
Removing the Heatsink
Warning: We do not recommend removing the CPU or the heatsink. If you do need
to remove the heatsink, please follow the instructions below to prevent damage to the
CPU or other components.
Screw #1
Screw #3
Screw #2
Screw #4
Installing a CPU Heatsink
1. Place the heatsink on top of the CPU so that the four mounting holes are
aligned with those on the retention mechanism.
2. Screw in two diagonal screws (i.e. the #1 and the #2 screws) until just snug
(do not over-tighten the screws, which may damage the CPU.)
3. Finish the installation by fully tightening all four screws.
8. Make sure the locking mechanism
on the "Close 1st" lever catches
the lip of the load plate. Close and
lock the "Close 1st" lever.
Push down and lock
the
lever labeled "Open 1st"
OPEN 1st
OPEN 1st
Push down and lock the
lever labeled "Close 1st".
9. Close and lock the "Open 1st"
lever.
Engage the lip of
the load plate and
locking portion of
the lever."
7. With the "Close 1st" lever fully
retracted, gently close the load
plate.
Gently close
the load plate.
 Loading...