11
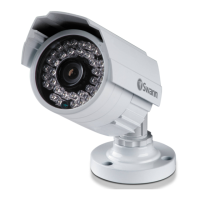
Camera: Select a camera that you would like to edit.
Period 1 & 2: This function gives you the ability to assign a particular
pre-set mode or customised settings for two time segments. For ex-
ample, one time segment for day time and the second time segment for
night time.
Mode: You can select from a number of different pre-set modes.
Brightness: This changes how light the image appears to be.
Contrast: This increases the difference between the blackest black and
the whitest white in the image. Don’t set the contrast too high as it will
degrade the image quality.
Saturation: This alters how much colour is displayed in the image. The
higher the saturation, the more bright and vivid colours will appear.
Hue: This changes the colour mix of the image.
Sharpness: Increase or decrease the overall sharpness of the image.
Increasing the sharpness will also increase the level of video noise that
is visible.
Denoising: This will reduce the overall noise content in the image.
• Use the “Copy” function to apply all settings to the other cameras.
• Click the “Restore” button to revert back to default settings.
• Don’t forget to click “Apply” to save settings.
• Click the “Back” button to go back to the Menu.
You can adjust the var-
ious image settings
available to help fine-
tune your Motion De-
tection sensitivity. At
night, images that you
see from the camera
may seem to flick-
er or have increased
noise. By tweaking
these settings, you can
eliminate noise and in-
crease image quality.
Please note, any changes made to Image Settings will affect your
recordings.
Camera: Image
Camera 1
26-05-2015 Tue 09:30:15
 Loading...