-10-
Front
Back
Left Right
Front
Back
Left
Right
8.Wireless Real-Time Transmission Function
①Downloading the installation software
Tips: QR codes are provided on the packaging box and at the bottom of
the user manual. Please visit website www.symatoys.com or the
App Store/Google Play to obtain the newest SYMA FLY App.
②For more information on the connection, refer to the APP
operating instructions.
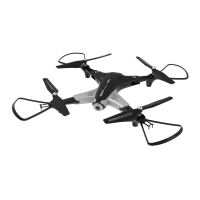
②.Toggling between headless function and normal function:
● After the drone is matched with the corresponding
frequency, the drone would be in normal pattern by
default. At this time the indicator light on the drone would
be in a state of on for a long time. After pressing in on
the right joystick of the remote control for 2 seconds, the
remote control would make a sound of “beep, beep,
beep” to show that it has entered into a state of headless
mode. Press in the right joystick for 2 seconds then a
long sound of “beep” would be heard to show an exit
status. (When under the state of headless mode, four
indicator lights on the drone flash slowly once every four
seconds).
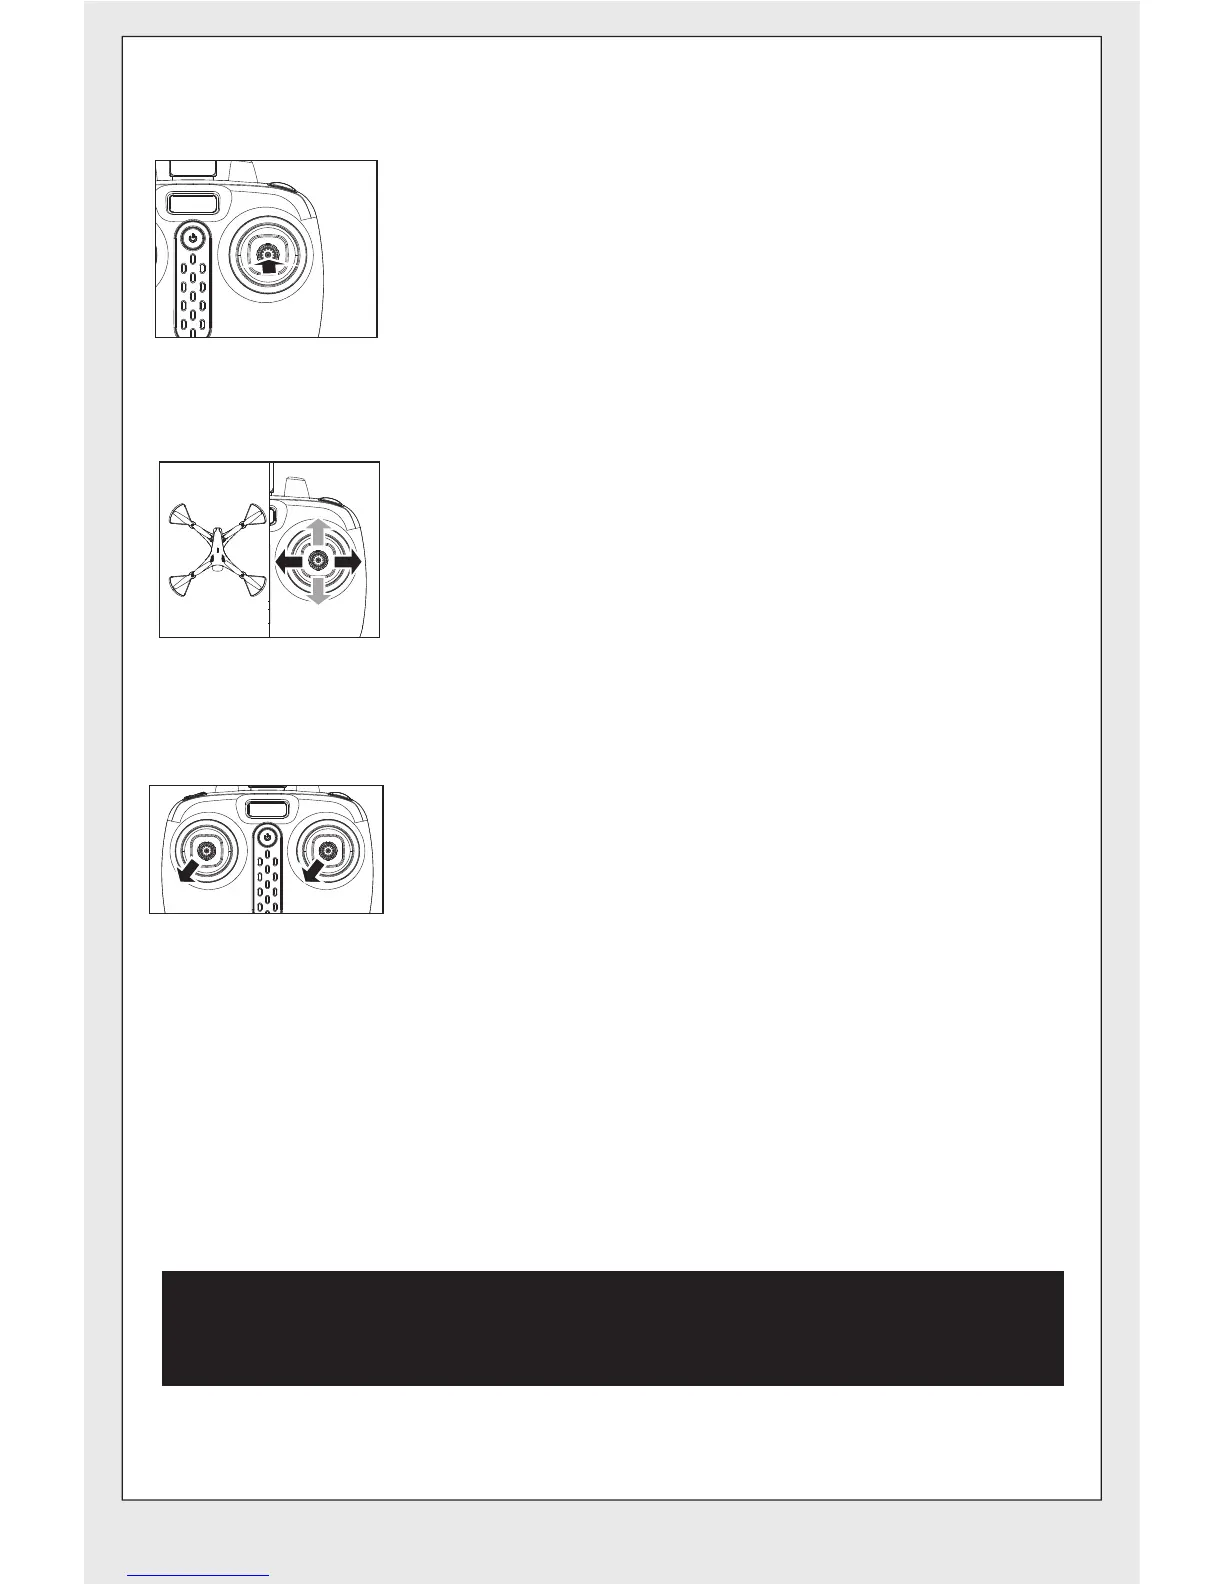
● Under the headless mode, the operator does not need
to differentiate the head position of the drone, and only
needs to control the drone’s direction front / back / left /
right by using the right joystick direction on the remote
control.
For Android phones, download and install the SYMA FLY APP by visiting the
www.symatoys.com or by scanning the QR code.
For IOS Apple phones, download and install the SYMA FLY APP by visiting
the App Store or by scanning the QR code.
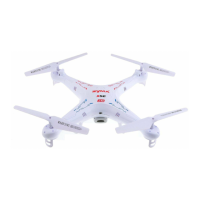
③. Calibration for the definition of the front:
When the drone encounters a direct impact with
foreign objects in the headless mode, if there is an
occurrence of deviation of the defined direction, it
is only required to push both the left and right
joysticks to the bottom left corners simultaneously
after placing the flying direction of the drone in the
correction position. When the led light indicator of
the drone is in a long “ON” mode after slowly
flashing for 3 seconds, it indicates the calibration
is complete.