FRONT PANEL BUTTONS – WHAT THEY DO
The front panel buttons are Reset, Disable and Test, They have
limited functionality unless the detector is in Maintenance mode.
When pressed, each button will blink an associated front panel
LED as shown below:
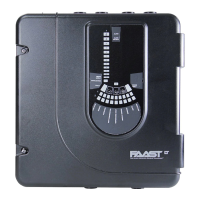
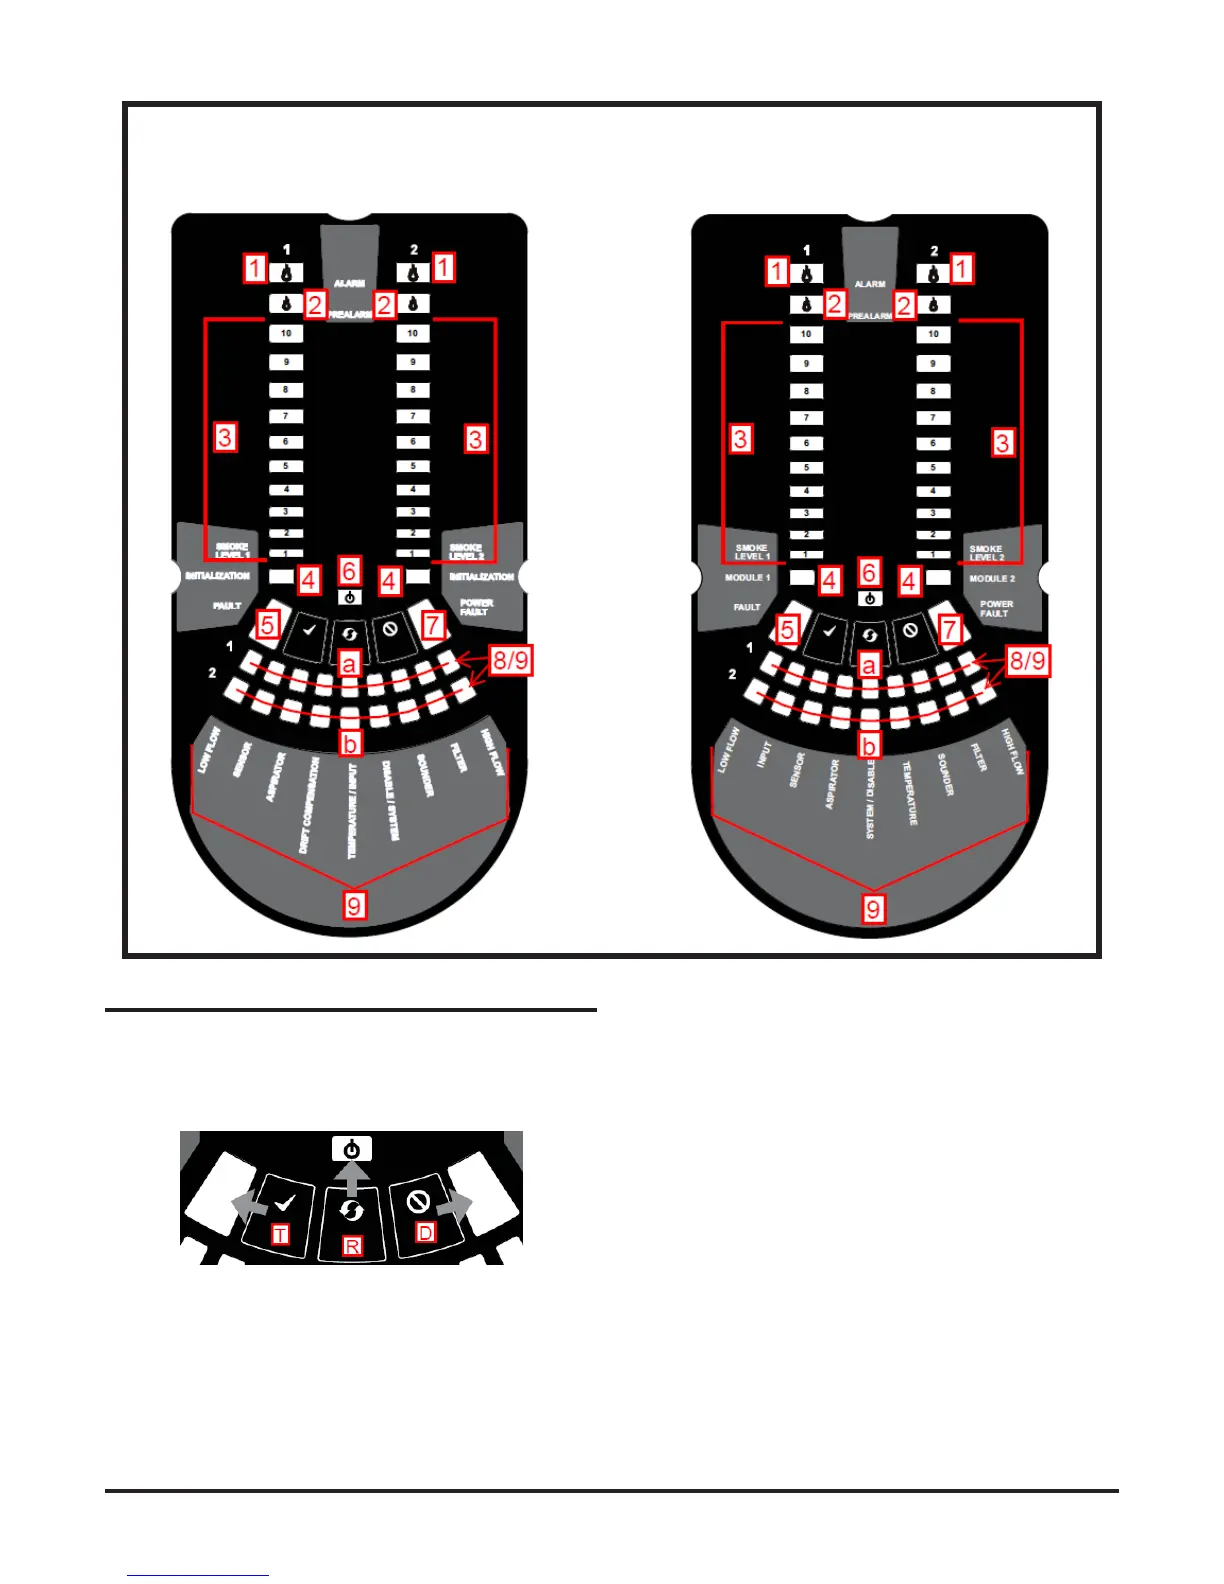
The position of the indicators on the stand-alone device front
panel are shown in the Figure 2A:
Figure 2A: Stand-alone device front panel
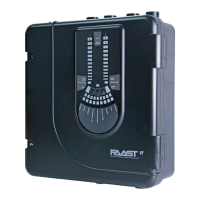
The position of the indicators on the loop-based device front
panel are shown in the Figure 2B:
Figure 2B Loop-based device front panel
Figure 3 Front panel push buttons
Reset
Used to reset the FAAST LT device from alarm (requires pass-
code access). Also resets the device from a simulated alarm in the
Test mode and will return a device to normal operation from the
Disabled state.
Test
Different simulated alarm tests can be invoked by pressing the Test
button when the FAAST LT unit is in Maintenance state.
● In stand-alone mode all the alarm levels, pre-alarm and alarm
LEDs are switched ON. The pre-alarm and alarm relays are
activated after any programmed delay.
● In loop-based operation, the alarm LEDs are switched ON. The
alarm relays are activated after any programmed delay.
To exit Test mode, use the Reset button.
The test button can also be used to nd out the device rmware
revision number. Press the TEST button while the device power is
switched on. The rmware version number will be displayed for 2
seconds on the Channel 1 smoke level LEDs
Disable
Disable mode is entered by pressing the Disable button when the
FAAST LT unit is in Maintenance state. The Disabled LED will turn
on and the device will not report any alarms or faults, or activate
any relays. This mode allows the FAAST LT device to be taken
ofine for a period of time (up to 4 hours – default set to 1 hour)
while working on the re system. At the end of the set time, the
FAAST LT unit will leave the Disable mode. By pressing the Reset
button, the FAAST LT unit will exit the Disable mode immediately.