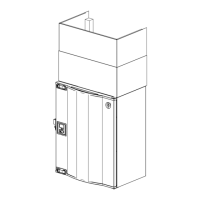
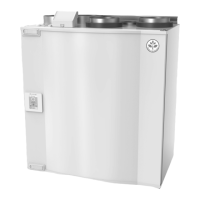
3.Lifttheunitinplace
Warning
Bewareofsharpedgesduringmountingand
maintenance.Useprotectivegloves.
Considertheunitweightwhenmounting!
Note:
Makesurethattheunitiscompletelyvertical
andhorizontaloncemountedonthewall.Check
withaspiritlevel.
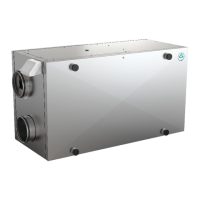
4.Connecttheunittotheductsystem.Makesurethatallnecessaryaccessoriesareusedtocreatea
functionalventilationsolution.
Warning
Theinstallationoftheunitandcompleteventilationsystemmustbeperformedbyanauthorized
installerandinaccordancewithlocalrulesandregulations.
5.Remounttheheatexchangerifitwasremovedbeforetheinstallation.Seechapter5.3.1steps4and5.
5.3.1Howtoremoveandremounttheheatexchanger
1.Openthefronthatch.
2.Disconnecttheheatexchangerpowersupplyandtherotorsensor.Bothcablesarefoundbesidethe
heatexchanger.
3.Pullouttheheatexchanger.Someforcemaybeneeded.
4.Remounttheheatexchanger.Don’tforgettoreconnecttheheatexchangerpowerandsensorcables.
5.Closeandlockthefronthatch.
5.4Condensationdrainage
Ingeneralnocondensationdrainageisneededforrotationalheatexchangersatdryconditions.However,
ifalotofhumidairispresentintheresidence,acondensationdrainagemightbeneeded.Drainage
connectionisavailableasanaccessoryandcanbeorderedseperate.Installationinstructionsforthe
drainageareenclosedinthedrainagepipesdelivery.
Note:
Thedrainageconnectionispluggedinthebottomoftheunitatdelivery.Tousethedrainage:removethe
rubbersealandandconnectthedrainagepipe.Connectthedrainagepipetothesewer.Thewatercan
notbeledstraighttothesewerwithoutawatertrap.
SAVEVTR300/BInstallationandService
208348
8
SystemairAB
 Loading...