73
74
Customer Service Toll Free: 833.3TACTILE (833.382.2845)
Alternative Option for Preparing Your Vest and Arm Garment
for the First Time
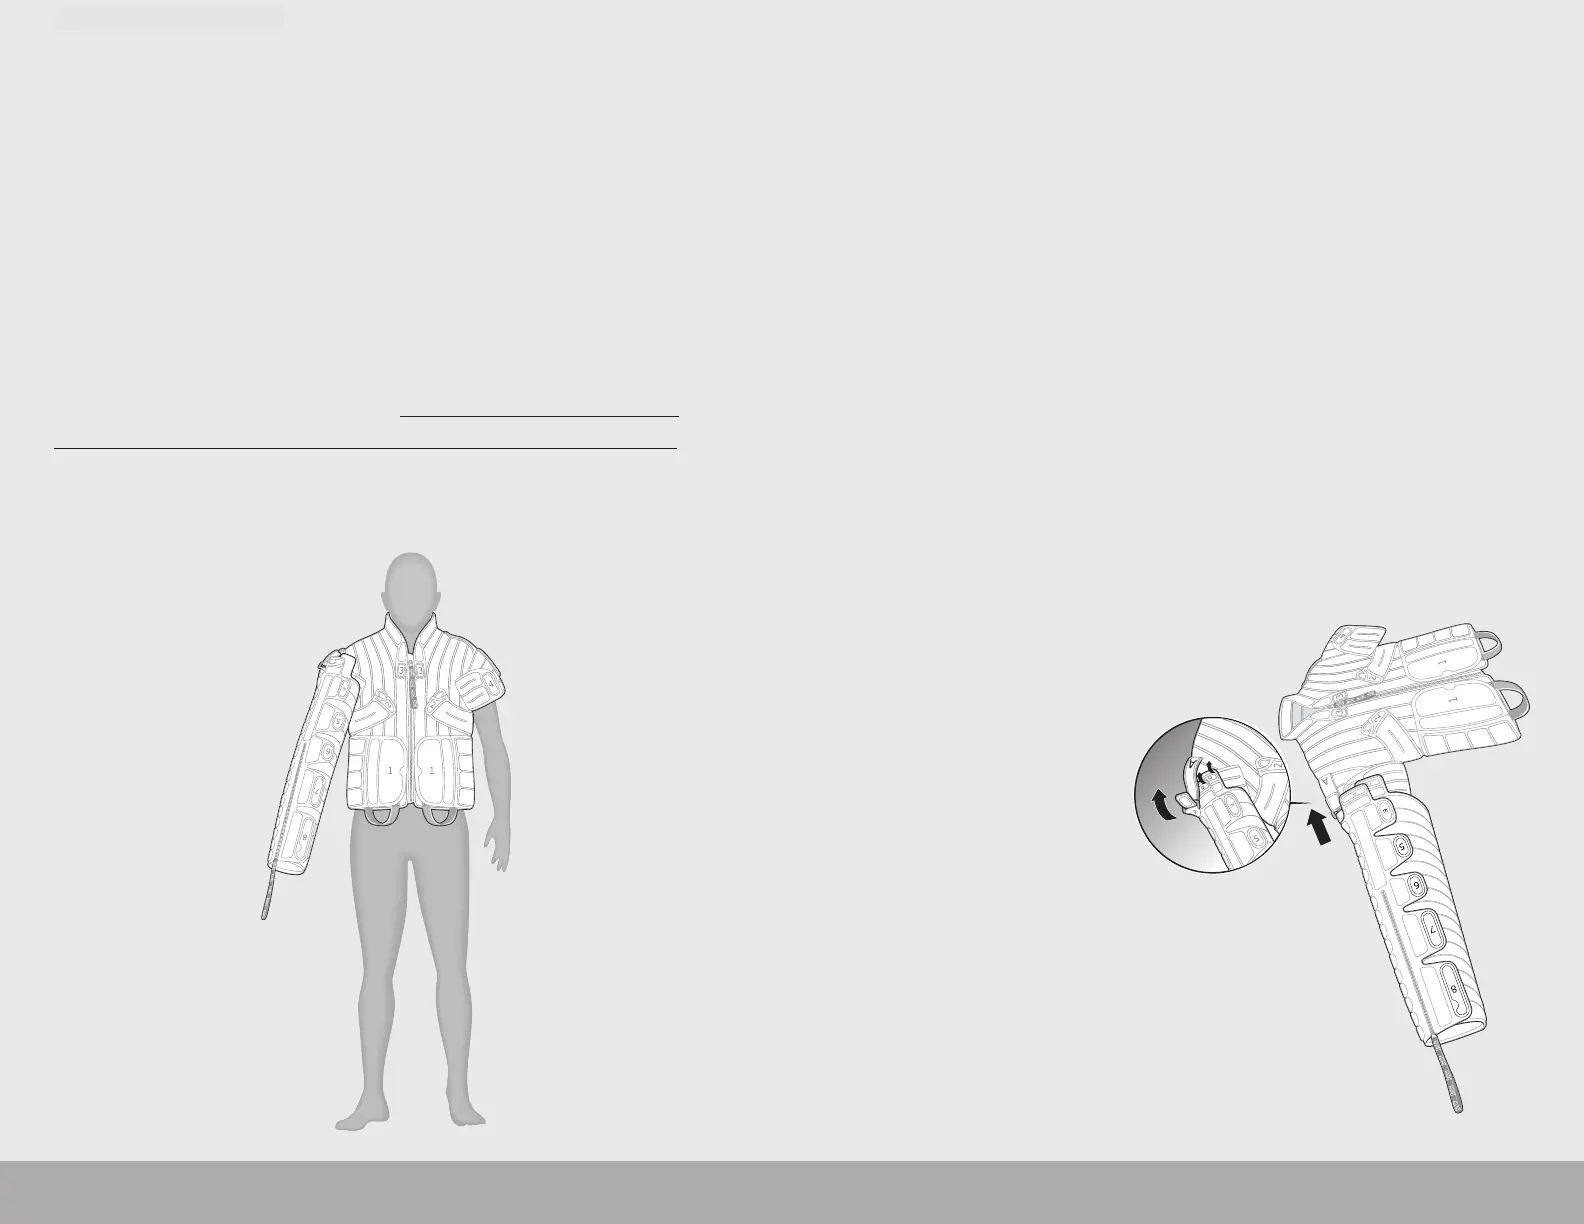
1. Unfold and place your arm garment on a bed or sofa with the
zipper closed. Ensure all adjustment tabs are folded onto
themselves to prevent accidental sticking as you prepare your
arm garment (Figure 7.2.o.).
2. Grab the plastic D-ring and inner fabric to expose the inside of
your arm garment. Next, grab the biceps portion of your vest
garment, and insert it into your arm garment.
3. Locate strap ‘A’ on your vest garment and thread it downward
through the plastic D-ring on your arm garment. After inserting it
into the plastic D-ring, fold over strap ‘A’ to close. Ensure strap ‘A’
lays at once threaded through the plastic D-ring (Figure 7.2.o.).
NOTE: This adjustment sets your arm garment length and orientation.
4. Next, locate the adjustment tabs
labeled ‘D,’ ‘C’ and ‘B.’ Unfold
these tabs, and attach them
to your vest garment
(Figure 7.2.o.).
NOTE: You may need to
ip over your combined
vest and arm garment to
locate the tabs labeled
‘B’ and ‘C.’
NOTE: Your arm garment should not feel as tight as a compression
garment.
NOTE: If your ngers stick out the end of your arm garment, you can
lengthen your arm garment by adjusting the ‘A’ strap and the lettered
adjustment tabs during arm garment attachment (Figure 7.2.n.).
NOTE: Follow the above steps to properly attach your second
arm garment if you have been prescribed simultaneous bilateral
treatment. For help connecting both of your arm garments to the
controller unit, refer to the video, “Connecting Your Garments
to the Controller Unit,” located at https://tactilemedical.com/
training/#video-connecting-garments-to-the-controller-unit
You are now ready to begin your treatment session. See Chapter 9
for further instructions.
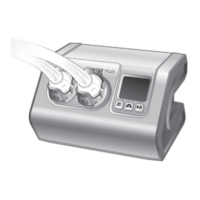
FLEXITOUCH PLUS with ComfortEase
Figure 7.2.o.
Figure 7.2.n.