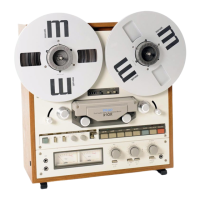
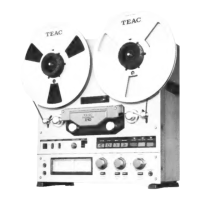
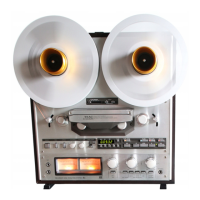
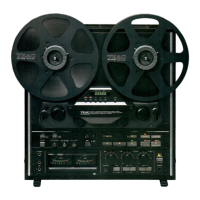
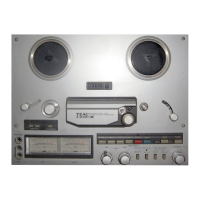
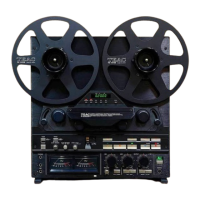
Do you have a question about the Teac X-10R and is the answer not in the manual?
Detailed technical specifications for the TEAC X-10R/X-10 tape deck, including reel size, tape speed, inputs, outputs, and motors.
Mechanical service data including tape speed deviation, wow and flutter, pinch roller pressure, and brake torque.
Electrical service data including frequency response, signal-to-noise ratio, and channel separation.
Procedure for checking the Control PCB assembly and its hook-up for proper function.
Step-by-step guide for adjusting the brake band bracket and solenoid for correct brake operation.
Methodology for measuring brake torque using a spring scale for forward, reverse, and deviation checks.
Procedure for measuring reel motor torques in various play modes, including take-up and back tension.
Adjusting the pause positioning nut for correct clearance between the capstan shaft and tape.
Adjusting the pinch roller pressure stroke for proper tape contact and clearance.
Measuring pinch roller pressure to ensure correct and equal force for both rollers.
Adjusting tension arm height to ensure proper tape path alignment and prevent curling.
Adjusting tension arm force by changing the spring hook position for correct operation.
Checking the damper string function and tension arm return for smooth operation.
Adjusting reel table height to prevent tape rubbing against flanges.
Adjusting the stop sensor PCB assembly for proper magnetic resistance element clearance.
Adjusting the solenoid stopper plate to prevent noisy contact in reverse solenoid release.
Checking thrust clearances for capstan shaft, guide roller, and tension arms.
Procedure for replacing the capstan motor, including lead wire and washer installation.
Adjusting tape speed using a frequency counter and oscillator for correct playback speed.
Measuring wow and flutter using test tapes and a meter for high and low speeds.
Procedure for converting voltage settings on general export models by adjusting the voltage selector.
Recommended lubrication points and procedures for maintaining the tape deck's moving parts.
Comprehensive guide to head and tape path alignment procedures for optimal performance.
Diagram and description of the head arrangement, including head adjusting screws.
Explanation of head regulation elements: tilt, azimuth, height, and tangency.
Step-by-step instructions for aligning tape heads for optimal performance, including tilt, azimuth, height, and tangency.
Fine-adjusting erase head height and correcting tape path for proper operation.
Correcting non-parallelism between pinch roller and capstan spindles to prevent tape curling.
Procedures for checking monitor performance, including dbx level, output level, VU meter, and microphone input level.
Evaluating playback performance, including head azimuth, playback level, frequency response, and phase shift.
Assessing recording performance, including bias trap, record head azimuth, record level, and distortion.
Identifying adjustment potentiometers and test points on the circuit boards for calibration.
Illustrating signal levels throughout the playback and recording systems for troubleshooting.
Mechanical breakdown and parts list for the X10-R model, covering main chassis components.
Mechanical breakdown and parts list for the X-10 model, covering main chassis components.
Mechanical breakdown and parts list for components related to reel drive or motor assembly.
Mechanical breakdown and parts list for chassis or mounting components.
Mechanical breakdown and parts list for components specific to the X-10R model.
Mechanical breakdown and parts list for components specific to the X-10 model.
Mechanical breakdown and parts list for internal mechanisms of the X-10R model.
Mechanical breakdown and parts list for internal mechanisms of the X-10 model.
Exploded view and parts list for the Control PCB assembly of the X-10R model.
Mechanical breakdown and parts list for components specific to the X-10R model, possibly chassis related.
Mechanical breakdown and parts list for components specific to the X-10 model, possibly chassis related.
Component layout and parts list for the Record/Play Amplifier PCB of the X-10R model.
Component layout and parts list for the Record/Play Amplifier PCB of the X-10 model.
Component layout and parts list for the Control PCB assembly of the X-10R model.
Component layout and parts list for the Control PCB assembly of the X-10 model.
Component lists for the Microphone Amplifier, Volume Control, and IN/OUTPUT (DBX) PCBs.
Component lists for Connector, Speed Switch, and Stop Sensor PCBs.
Schematic diagram illustrating the tape transport mechanism, including PCB connections and controls.
Schematic diagram of the amplifier section, detailing signal flow and component connections.
Functional block diagram showing the overall signal flow and interaction between major circuit sections.
Detailed schematic diagram of the DBX noise reduction unit, showing component layout and connections.
| Type | Stereo Tape Deck |
|---|---|
| Track System | 4-track, 2-channel stereo |
| Tape Speed | 3.75 ips / 7.5 ips |
| Inputs | Line |
| Outputs | Line Out |
| Motor | Capstan Motor |
| Reel Size | 7 inch |