AInstallation
D
Ref. DCD01/3078 - TD412_en_C
28/62
• Remove the sides (non-screwed).
• Remove the cover.
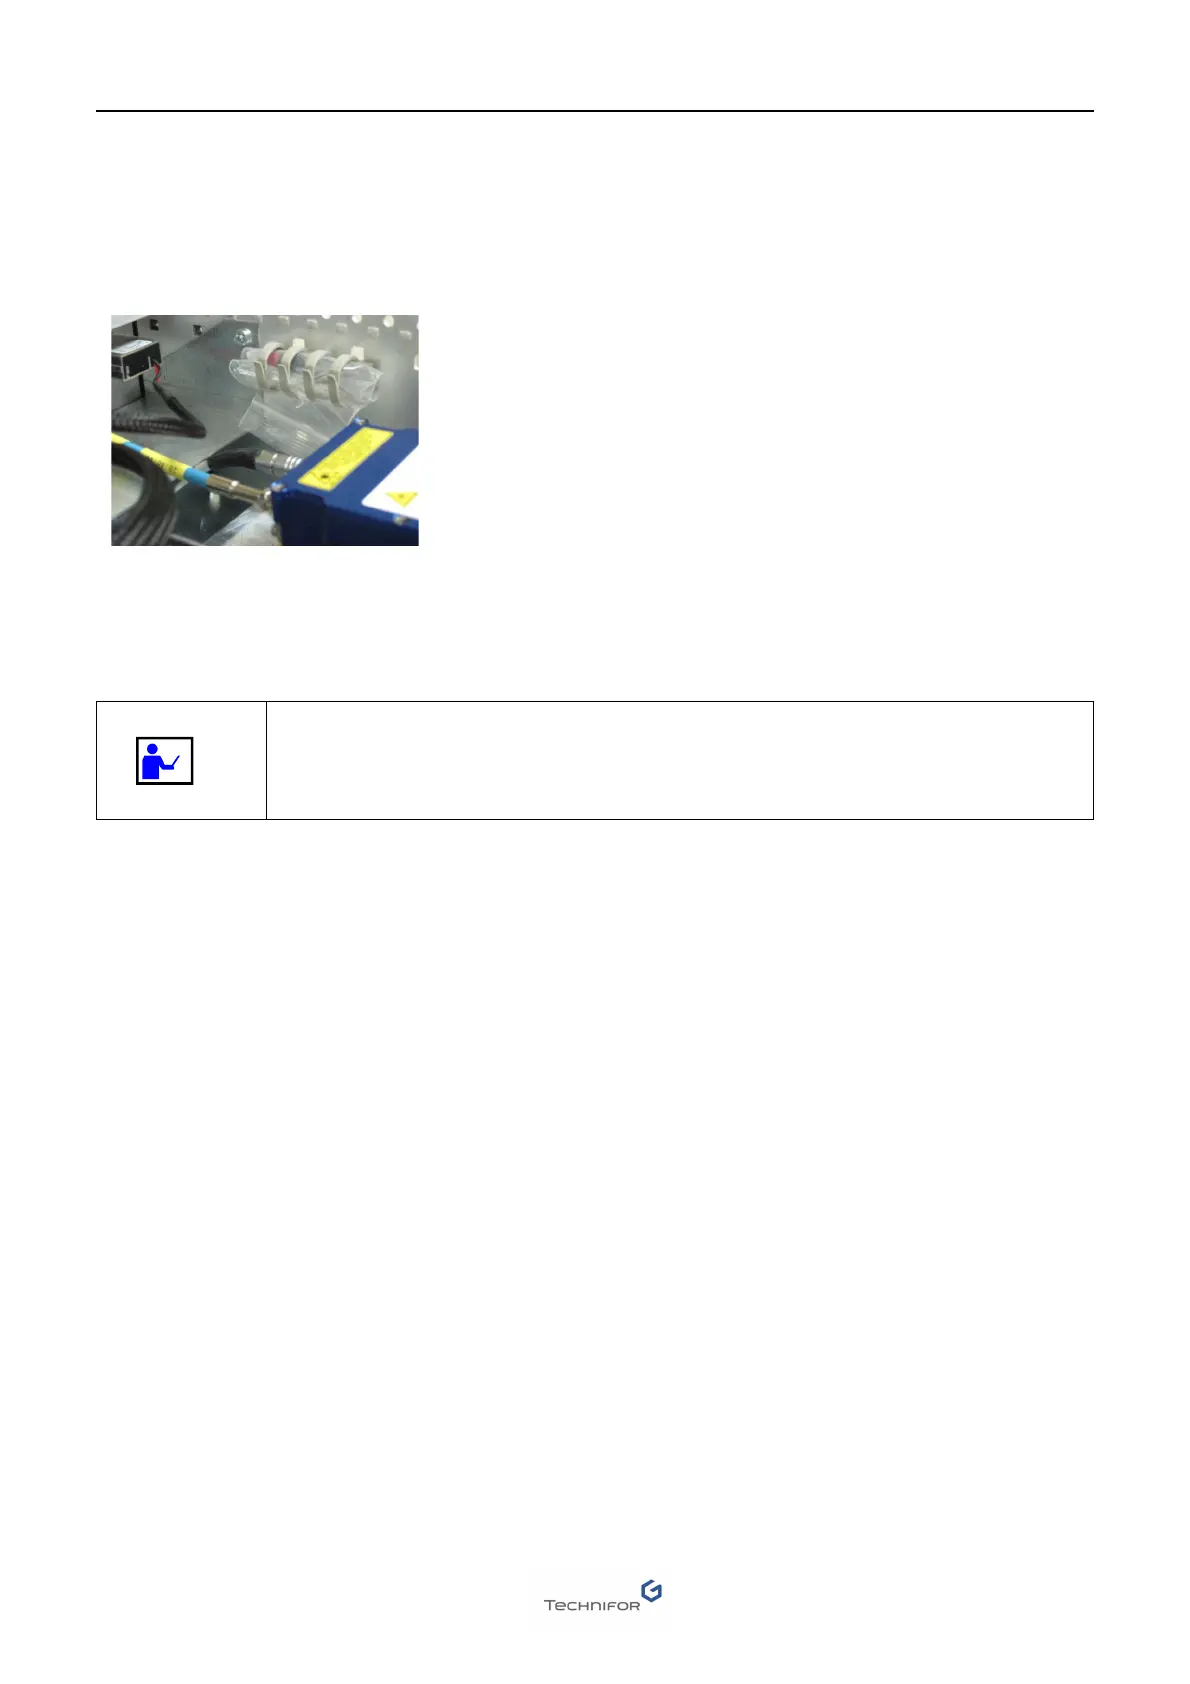
• Insert the fiber into the strain relief (remember to insert the spiral guide before inserting the fiber into the CCU).
• Remove the protection caps from the laser diode and the fiber.
• Keep the 2 plugs in the unit provided for this purpose (sheath + bag).
• Connect the fiber to the laser diode.
• Replace the cover and the sides of the CCU using the screws supplied in the bag.
Connection of the marking head to the CCU
Connect the marking head to the CCU with the two connection cables provided (17 points - 19 points). Push the
connectors into the socket and tighten the locking rings. Make sure the connection is correct.
Do not force the fiber when connecting it (twisting/bending the fiber’s sheath).
The optical fiber connecting the CCU to the Laser module must never be bent to a
radius of below 90 mm (3.543 in).