32 Challenger Series Installation and Quick Programming Manual
To clear the panel’s memory via RAS:
1. From the Install menu option 14 Defaults, press 99 [ENTER] to reset all
custom programming.
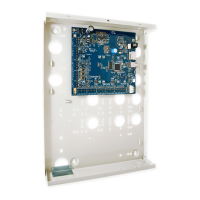
Clearing the memory via the Challenger panel PCB
You may want to perform a “panel default” to reset the panel to its factory default
state and erase all programming.
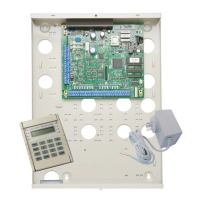
To clear the panel’s memory without Install menu access:
1. Remove power to the Challenger panel and wait for all LEDs to turn off.
2. Fit test link 1 (Figure 7 on page 15, item 22 or Figure 9 on page 18, item 20)
and repower the system. L1 (item 23) illuminates for about 20 seconds,
flashes quickly for about 20 seconds to indicate reset mode, and then flashes
slowly to indicate normal mode.
Note: The panel can only be defaulted in the 20-second interval when L1 is
flashing quickly (in reset mode). The panel returns to normal mode
automatically to help protect against accidental reset.
3. Remove test link 1 when L1 is flashing quickly to default the panel.
Basic programming sequence
This section provides an overview of how to use an LCD RAS to set up a basic
alarm system that uses PINs for access control.
To initially program a Challenger system:
1. Plan the system and fill out the programming sheets.
2. Disarm the system. See “Disarming the system” on page 27.
3. Access the Install menu. See “Accessing the Challenger menu” on page 27.
4. Default the system. See “Clearing the memory” on page 31.
4. Disarm the system and access the Install menu again, as described above.
5. Program the date and time via User menu option 15 Time and Date.
6. Change the default installer PIN. See “Changing the default installer PIN” on
page 34.
5. If the system will contain fewer than 99 areas, then modify Area Group 1
using Install menu option 36. Area Groups. See “Working with multi-area
systems” on page 33 for details.
7. Program the required system options via Install menu option 7 System
Options, if the default values are not suitable (see Table 3 on page 29).
8. Program holidays in User menu option 21 Holidays.