3-10
Fuel Pump Testing: The maximum lift is 24 inches
(610 mm). A fuel pump may be tested with our leak test
kit part number 670340 or a commercially available low
pressure gauge. Connect the low pressure gauge to the
fuel inlet fitting. Apply no more than 5 PSI (.35 Bar) of
pressure. The air pressure should pass freely through
the pump and out of the fuel outlet fitting. Next, attach
the low pressure gauge to the fuel outlet fitting. Apply
less than 5 PSI (.35 Bar) of pressure. Turn off the air
valve and watch for any pressure drop. The fuel pump
should hold a maximum of 5 PSI (.35 Bar) for one minute.
NOTE: Do not exceed 5 PSI (.35 Bar) of pressure or
fuel pump damage may occur.
CAUTION: DRAIN ALL FUEL INTO AN
APPROVED CONTAINER OUTDOORS, AND
AWAY FROM ANY OPEN FLAME OR
COMBUSTION SOURCE. BE SURE THE
ENGINE IS COOL.
NOTE: A crankcase overfilled with engine oil can affect
pump operation by splashing oil over the pulse line
passage causing erratic pump operation.
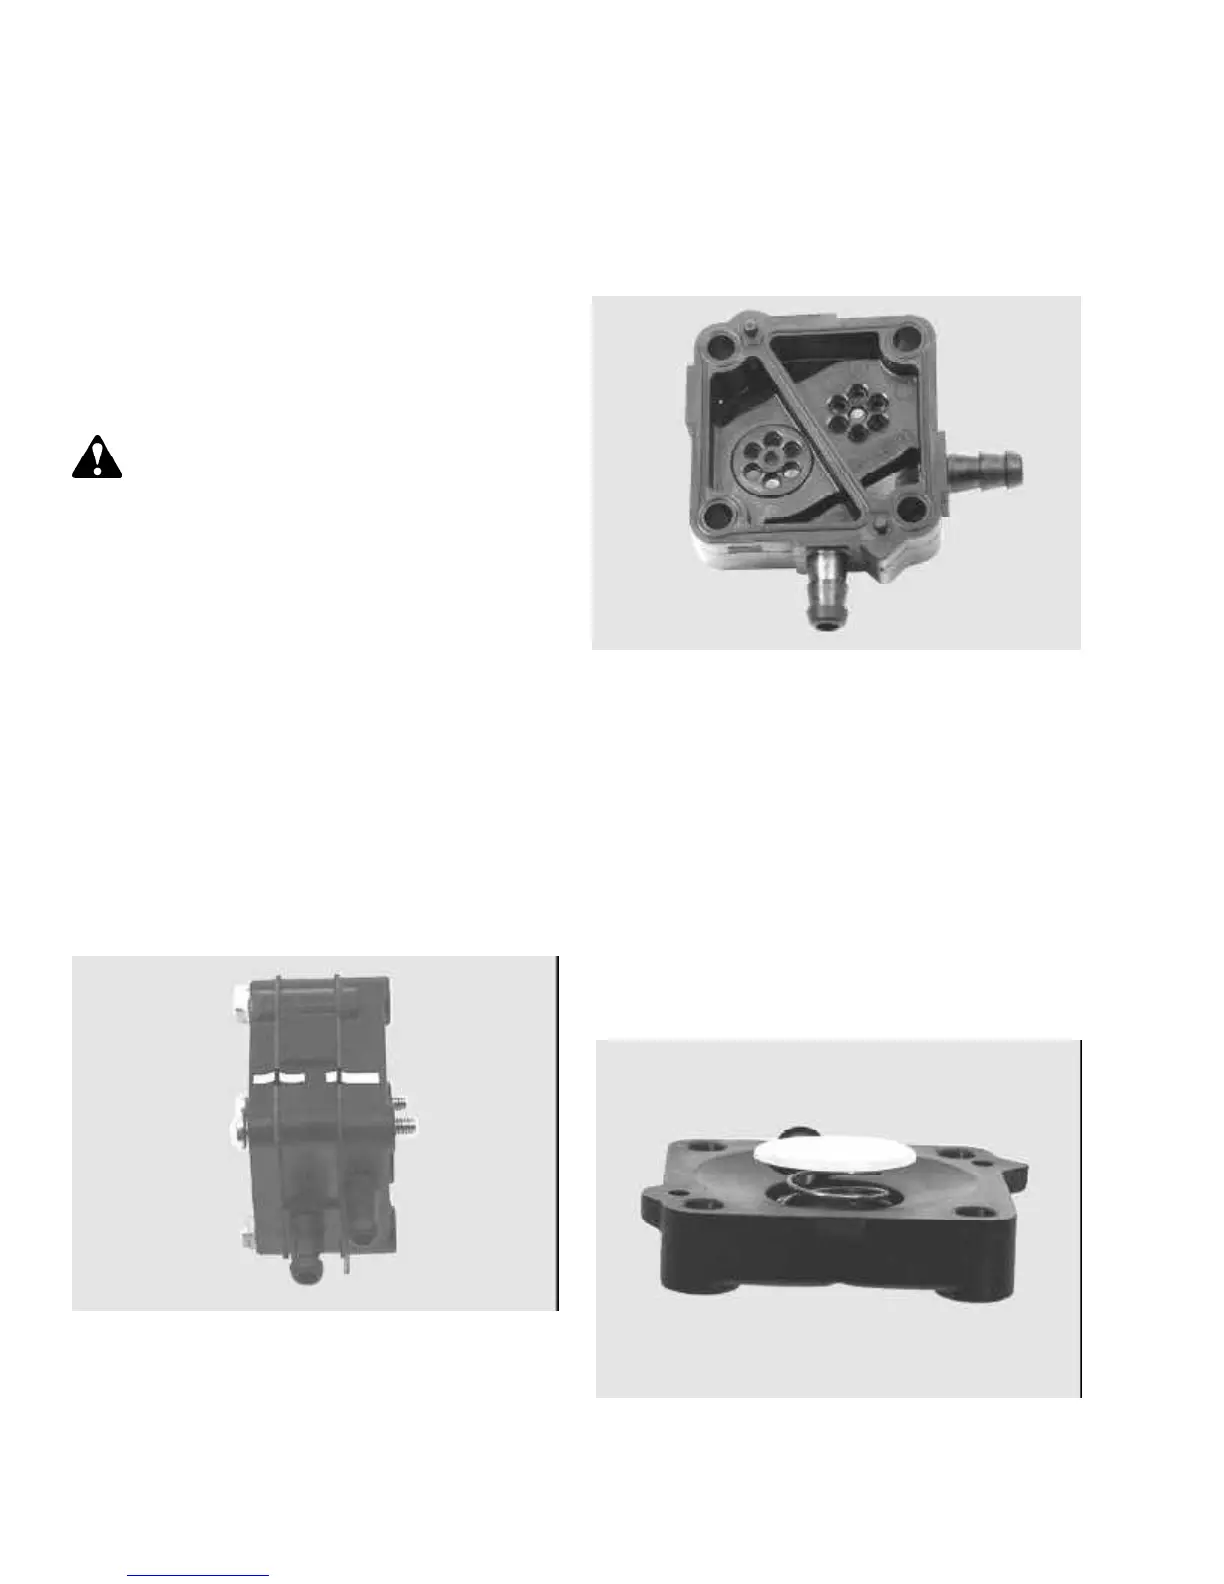
IMPULSE FUEL PUMP SERVICE
The valve type impulse pump can be serviced using the
following procedure.
1. Remove the pump from the engine noting its exact
mounting location and position.
2. Note or mark the pump body alignment by lightly
scribing lines at various mating joints. Remove the
four screws and disassemble the pump.
(Illust. 3-25)
3-25
3-26
3. Remove the gaskets, diaphragms, check valves,
springs and air filter. (If equipped).
NOTE: Retain the spring bearing. A replacement is
not supplied in the fuel pump kit.
4. Clean the body parts with solvent and blow out all
passages using compressed air.
5. After drying all parts, install the new check valves
with the face of the valve facing the raised portion of
the passage. (Illust. 3-26) After installation, cut off
the extended portion of the check valve stems flush
with the pump body.
6. Install the diaphragms against the center portion of
the body with the gaskets against the outside covers.
The parts can only be assembled one way without
damage.
7. Install the spring bearing on the new spring and place
into position. (Illust. 3-27)
8. Assemble the body sections, install the retaining
screws, and torque the screws to 12 - 16 inch
pounds (1.36 - 1.81 Nm).
9. Install new filter in pump cavity if present.
3-27
 Loading...