Configure the instrument
Set the time zone and clock readout format
Set the time zone to your region so that saved files are marked with the correct date and time information. You can also set the time format
(12 or 24 hour clock).
Procedure
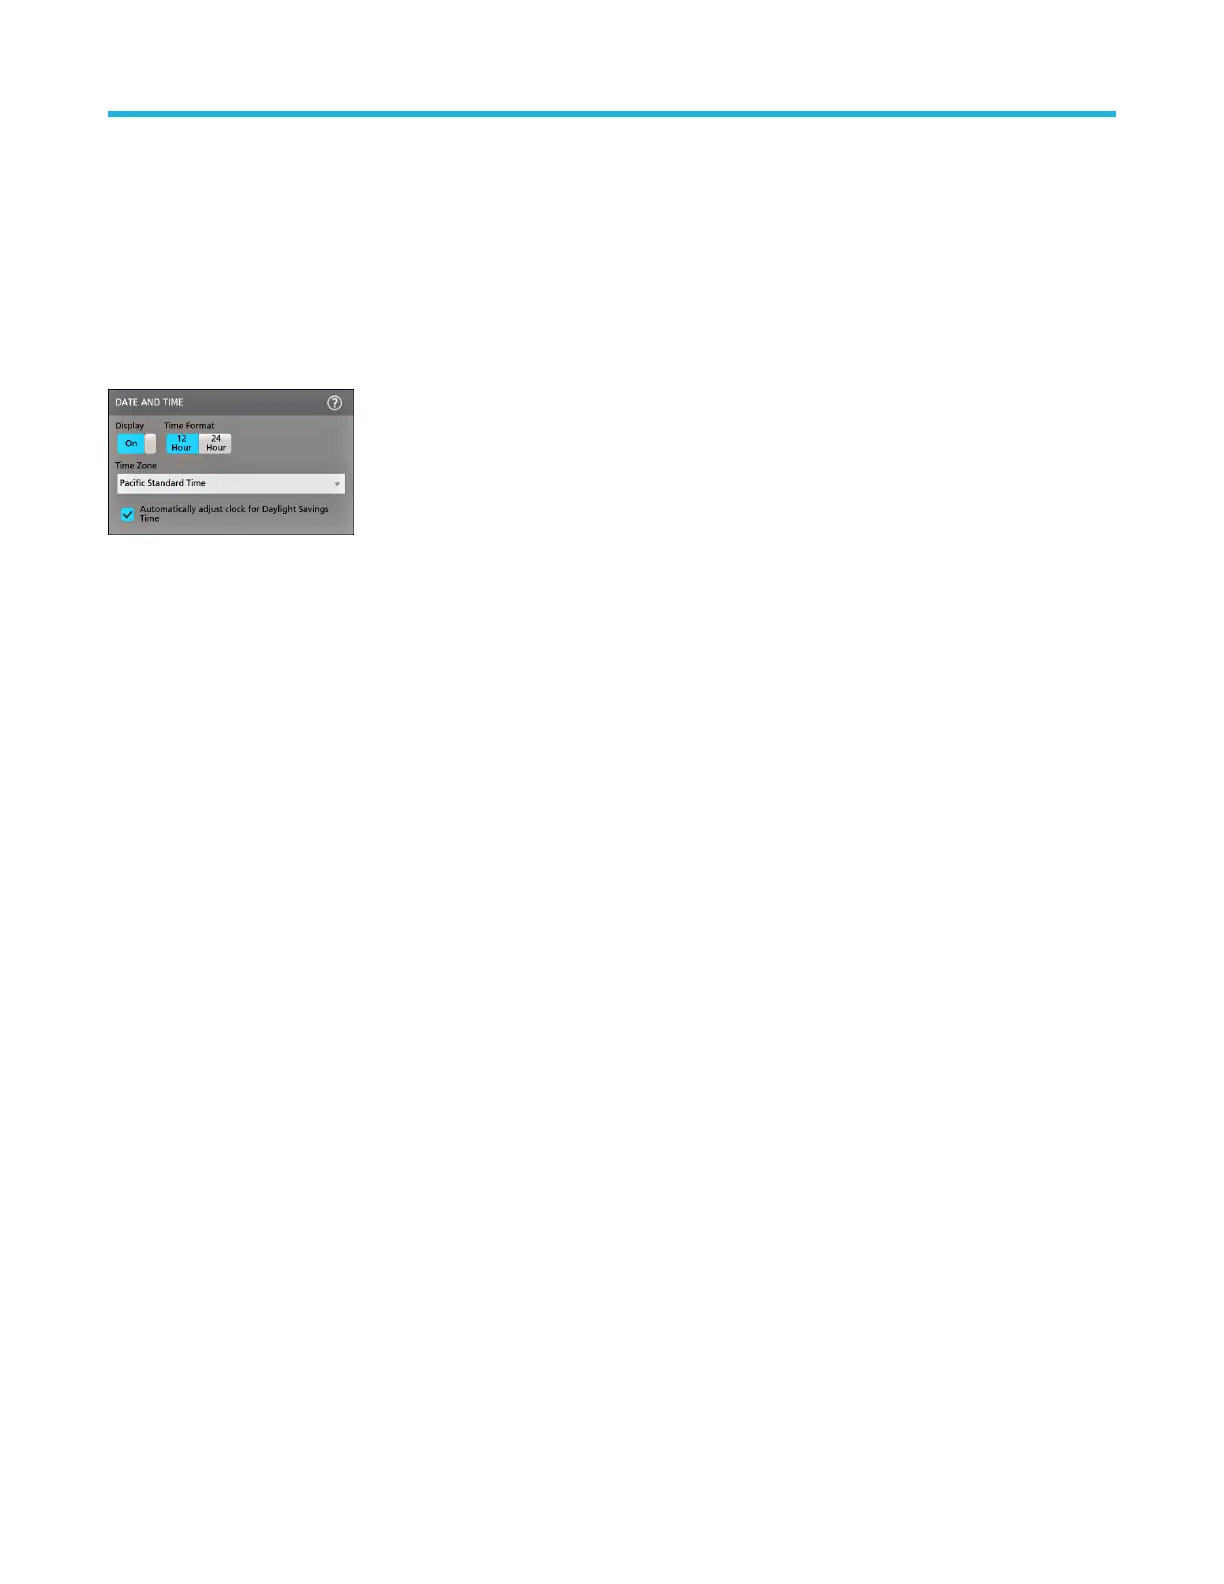
1. Double-tap the Date/Time badge (bottom-right of screen) to open the configuration menu.
2. To turn off showing the date and time on the screen, tap Display button to Off.
To turn on date/time display again, double-tap in the blank area where the date/time badge was displayed to open the configuration
menu, and set the Display button to On.
3. Select a time format (12 Hour or 24 Hour).
4. Tap the Time Zone field and select the time zone that applies to your location.
5. Tap anywhere outside of the menu to close it.
Download and install the latest instrument firmware
Installing the latest firmware helps ensure that your instrument has the latest features and is taking the most accurate measurements.
Prerequisite: Save any important on-instrument files (waveforms, screen captures, setups, and so on) to a USB drive or network. The
installation process does not remove user-created files, but it is a good idea to back up important files before an update.
Determine the current version of firmware installed on the instrument (see Help > About).
Update instrument firmware from a USB drive
1. To download the instrument firmware and install onto a USB drive:
a. Open up a Web browser on a PC and go to www.tek.com/product-support
b. Enter the instrument model number in the search field and click Go.
c. Scroll down the screen and click the Software tab.
d. If the listed available firmware version (Windows or non-Windows) is newer than what is on your instrument, select and download
that file to your PC.
e. Follow the installation instructions that are on the web site or that came with the downloaded firmware to create the firmware install
file.
f. Copy the firmware install file to a USB flash drive.
2. To install firmware on embedded OS instruments :
a. Power on the instrument and wait for the instrument to fully boot up.
b. Insert the USB flash drive into any instrument USB Host port.
c. The instrument detects the update firmware and opens a dialog box. Follow the on-screen instructions to install the firmware.
Configure the instrument
5 Series B Mixed Signal Oscilloscopes MSO54B, MSO56B, MSO58B Quick Start Manual 43