Installation Instructions
22
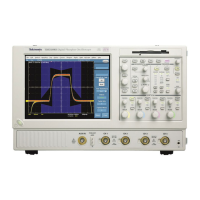
TDS5000B Series (Option 1R) Rackmount Kit
It is recommended that you secure the instrument to the rack. However, if you
expect to be accessing the CD drive or optional internal printer, for convenience,
you may decide not to fasten the instrument brackets to the rack. If this is the
case, reattach the power cord to complete the installation, and read Using the CD
Guard.
WARNING. To prevent the rackmounted instrument from sliding forward and
causing personal injury or instrument damage, always secure the instrument to
the rack if the rack is moved (for example, if the rack is repositioned or relocated
to another room).
c. Secur e the instrument to the rack:
H Locate and use one of the following types: 10-32 or 12-24 or M5-20
or M6-20 oval-head screws. Insert each screw through its nylon
finish washer as shown on the data sheet included with the hardware
kit.
H Using a number two Phillips screwdriver, install the screw/washer
assembly in one of the two mounting holes in the left front bracket.
Repeat for the second mounting hole. Tighten both screws using
25 inch-lbs of torque.
H Install one of the two remaining screw/washer assemblies in the
lower hole of the right-front bracket using the method just described.
H Reinstall the power cord.
Finishing the Installation

 Loading...


