3.2 Installation
3.2.1 Installation in a rack
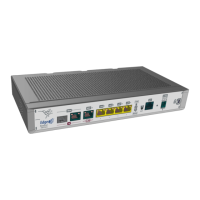
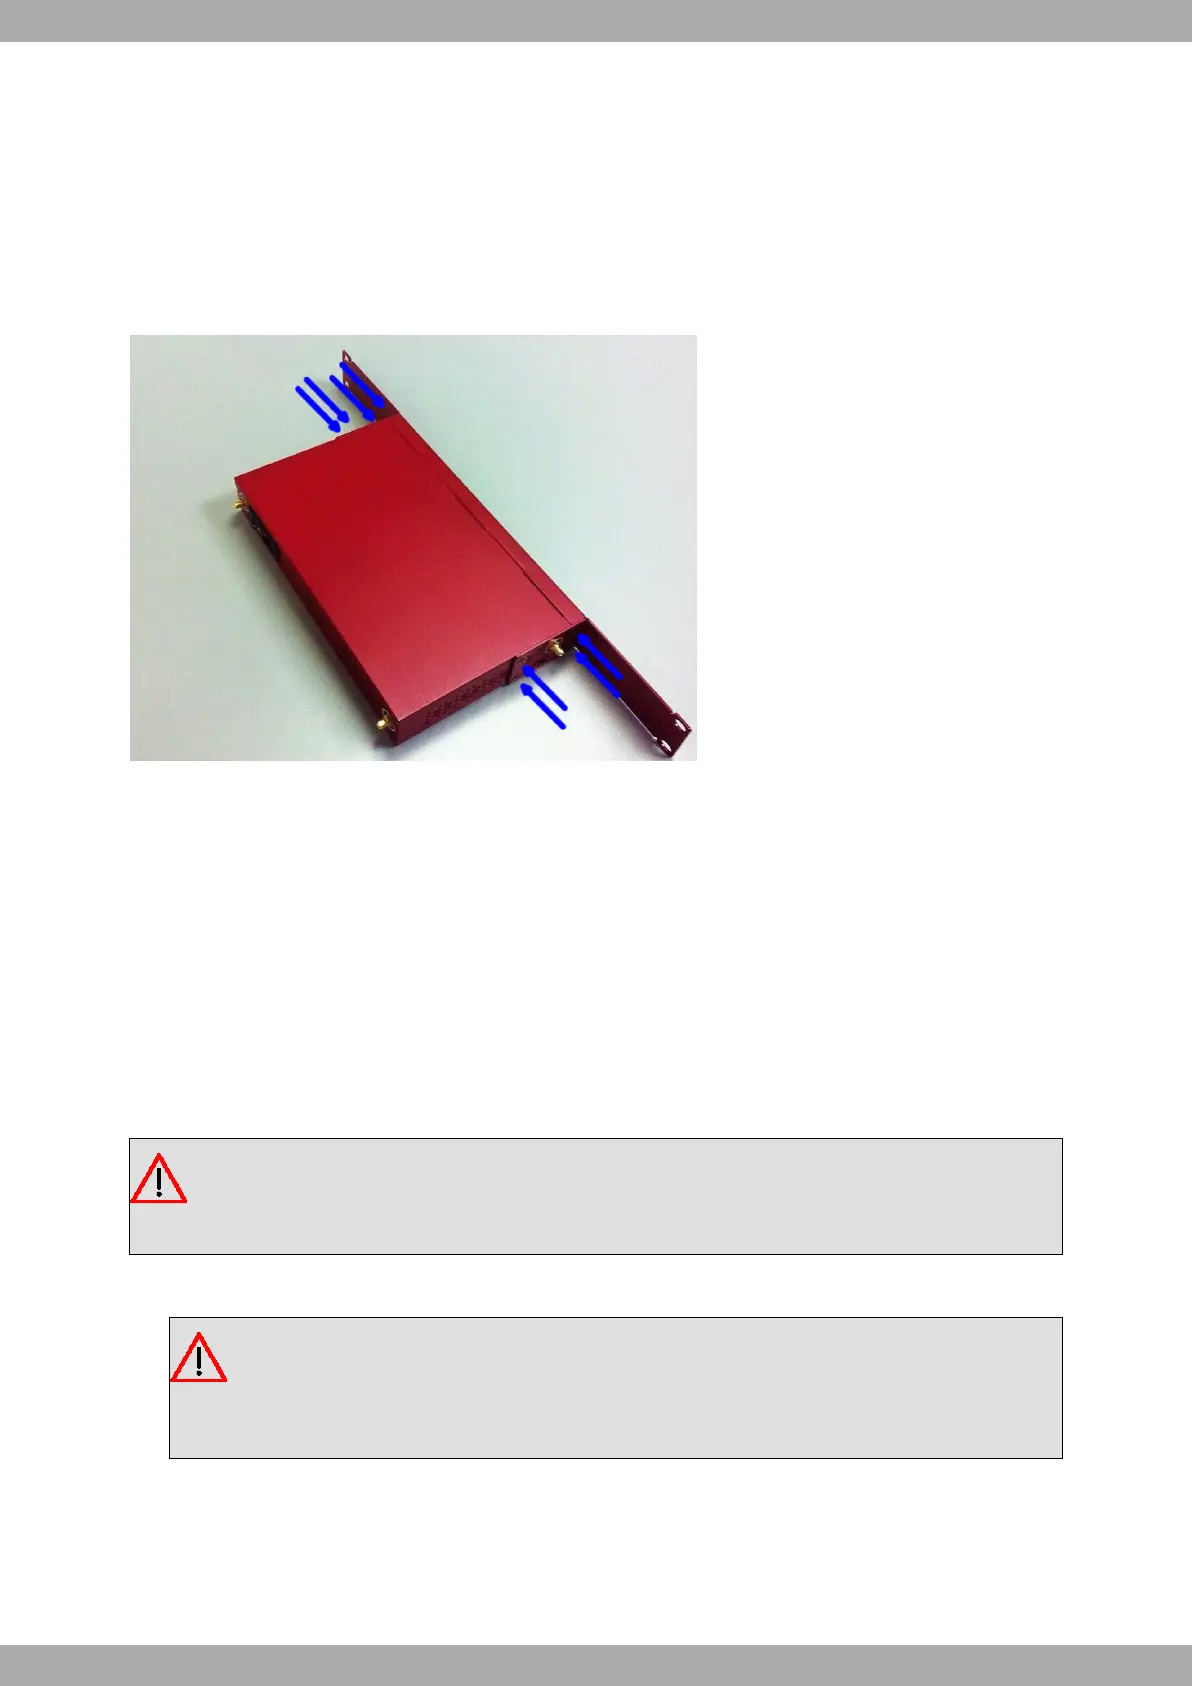
The RS123 can be installed in a 19” rack. The strips and screws needed are provided by default.
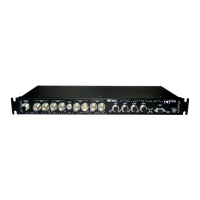
Both strips are attached to the device through 8 screws (4 on each side), as shown in the following figure:
Fig. 8: Anchor bolts for a rack
3.2.2 Standalone
RS123 devices can be placed as a standalone on a flat, stable surface. The adhesive rubber feet must be stuck to
the underside panel to prevent the router from sliding.
Make sure there is enough space around the router (for ventilation purposes) and check that the electricity cables
can easily reach it.
3.2.3 Wall mounting
To attach the RS123 on the wall, use the tabs on the back side of the housing.
Warning
The screws must go into wall studs (wood) or wall anchors that are appropriate for the type of wall.
Screws into drywall are not strong enough to support the router.
(1) Install the two wall studs horizontally and separately in a wall, or in any other vertical surface.
Warning
If you are mounting the router on drywall, use hollow-wall anchors (8mm - 5/16 inch) to secure the
screws. If the screws are not properly anchored, the strain of the cables connected to the router's
back panel could pull the router from the wall.
(2) Place the router on the wall and attach it using the screws (3.5x30).
3.2.4 Kensington lock
A Kensington lock can be used to secure RS123 devices.
3 Components and Power Supply Teldat S.A.
10 RS123 Router
 Loading...