User Manual E3
59300623 Rev.001
5.4.2018 3(20)
Installation
Mounting
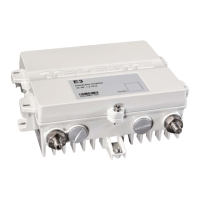
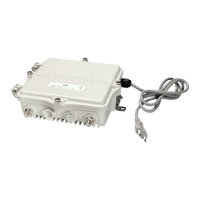
The E3 can be installed either into a street cabinet or to a sheltered outdoor
environment. The amplifier should be installed vertically so that the external
cable connectors and ventilation hole are facing downward. Figure 1 depicts for
the positions of mounting brackets as well as other installation dimensions.
Mount the E3 securely onto a wall using appropriate length 5 mm mounting
bolts/screws (not supplied) and tighten the mounting bolts/screws. The amount
of torque required depends on the mounting surface.
When installing the amplifier in its final location, make certain that it has
adequate ventilation on all sides. In particular, it is necessary to provide at least
150 mm of room above and below the node for air circulation. The lid of the
amplifier may be opened from either the left or right hand side or removed
altogether. This flexibility improves accessibility and permits greater freedom to
install the amplifier in confined spaces. Hint! Easiest way to remove the lid is to
pull it from retaining bolt after it has been detached from the base.
The lid retaining bolts are fastened with a 4 mm hex key. Use no more than 3
Nm torque. The E3 enclosure classification is IP67. However in standard
delivery condition the lowest side wall is equipped with a 1 mm ventilation hole.
Thus the practical class of enclosure is IP54 when amplifier is correctly installed
and tightened.
Note: IP54 type enclosure - This enclosure provides protection from airborne
dust and light sprays or splashing water from all directions.
Before closing the lid is should be checked that:
• nothing is trapped between the lid and the case
• all case gaskets are intact and in their correct positions
• lid seats evenly on the rubber gasket
E3 housing should be grounded using a copper conductor of least 4 mm
2
cross
section area from a proper earth to the housing ground lug.