20
Using the Run button
• There is a [RUN/STOP] button on the front panel. When this button is pressed your
oscilloscope stops acquiring data. To restart data acquisition, press it again.
Auto Setup:
• Auto Setup can simplify operation.
• Press [AUTO] and the oscilloscope can automatically adjust the vertical deection
factor and horizontal time base range according to the amplitude and frequency of
the waveform, so as to ensure stable waveform display.
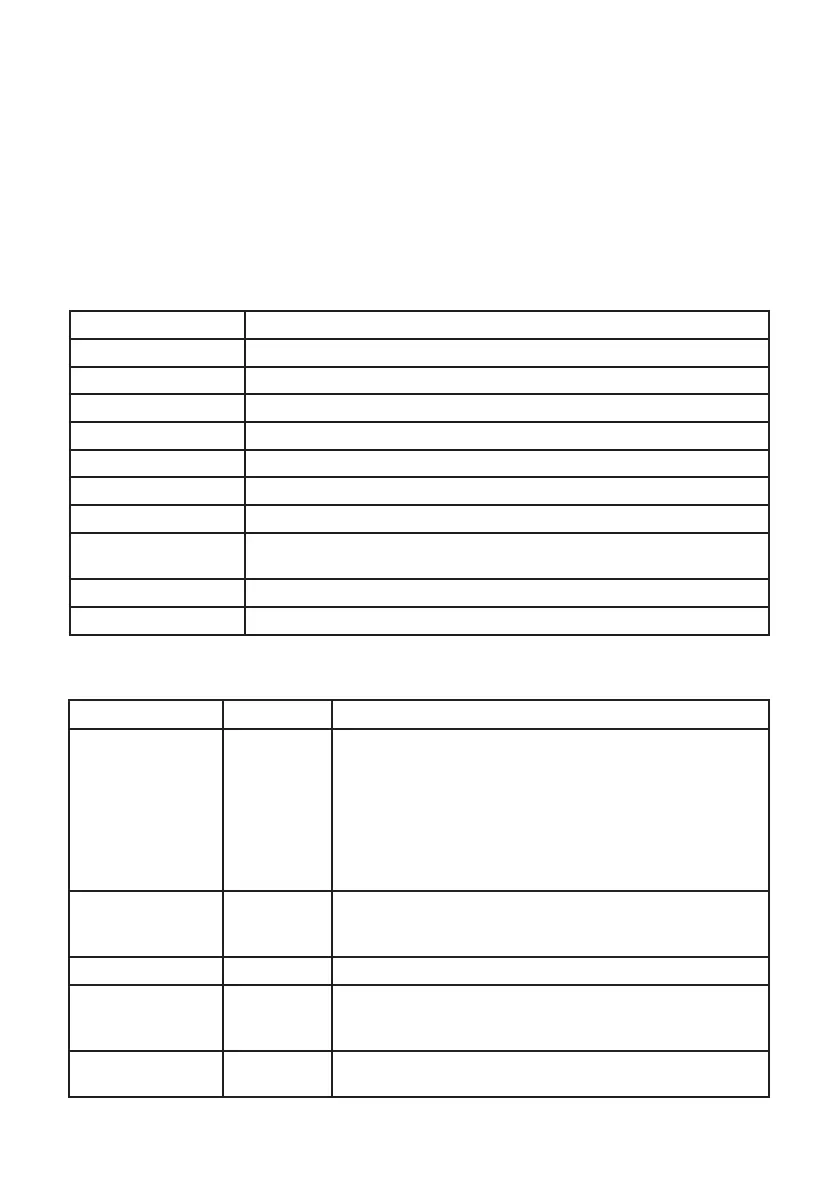
• When the oscilloscope is in auto setup mode, the system setup is as in the table
below.
Function Setup
Acquisition mode Sampling
Display format YT
SEC/DIV Adjusted according to signal frequency
VOLT/DIV Adjusted according to signal amplitude
Trigger mode Edge
Trigger level Mid point of the signal
Trigger coupling AC
Trigger source Set to A but if there is no signal in A and a signal is applied to B it will be
set to B
Trigger slew rate Rising
Trigger type Auto
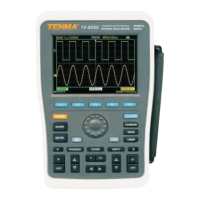
Multimeter Measurement
• Operation instructions: Open the multimeter function menu by pressing [METER].
Functions Menu Setup Notes
Type
DC voltage
AC voltage
Resistance
ON/OFF
Diode
Capacitance
DC current
AC current
Select the DC voltage measurement mode.
Select the AC voltage measurement mode.
Select the resistance measurement mode.
Select the ON/OFF measurement mode.
Select the diode measurement mode.
Select the capacitance measurement mode.
Select the DC current measurement mode.
Select the AC current measurement mode.
Range mode
Auto
Manual
The multimeter automatically selects an appropriate
range for measurement. The user manually selects an
appropriate range for measurement.
Range
Display the current measurement range.
Trend plot ON/OFF
Turn the trend plot function on/off. This function records
the moving trends of voltage, current, resistance within a
specied period.
Zero line value
When trend plot is on, the zero line value enhances the
trend plot resolution.
 Loading...