-8-
-9-
EN
EN
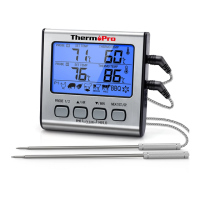
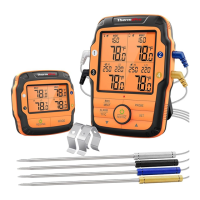
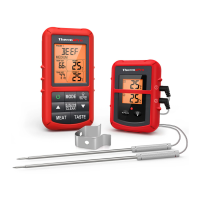
Slide the mode selector switch to the cook position “ ”.
You will see two temperatures on each top two rows
(the first row represents Probe 1 and the second row
represents Probe 2) of the screen. On the right is the
actual temperature reading as measured by the tem-
temperature in ˚F or ˚C.
perature probe and on the left is the set temperature.
Set your desired cooking temperatures for Probe 1 and
2 respectively by choosing Quick Temperature Setting
or Userdefined Temperature Setting. (see Section Quick
Temperature Setting and User-defined Temperature
Setting below)
Insert the tip of the probe at least 2”/5cm into the thickest
part of the meat, but not near bone or gristle. You can use
two probes to measure and monitor temperatures of two
pieces of meat or two sections of the same large piece of
meat simultaneously.
Place food into the oven. Before closing the oven door,
make sure there is enough slack in the steel mesh cable
to prevent the probe from being pulled out of the food
when the oven door is closed. The device must be
positioned outside of the oven on a stable surface and
must be firmly connected to the temperature probes.
To prevent damage to the device, it should not be placed
on a hot surface.
When the internal temperature of your food reaches the
temperature you have set, an audible alert will sound.
Press any button to stop the alert.
Before removing the food from the oven, disconnect the
steel mesh cables from the device. Do not touch hot
probe or wire with bare hands during or just after cooking.
Always wear a heat-resistant glove.
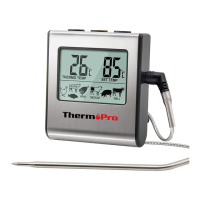
Quick Temperature Setting
Your digital cooking thermometer is pre-programmed
with temperatures for various cooking levels: poultry
(165˚F), beef well (170˚F), veal/pork (170˚F), beef
medium (160˚F), ham (160˚F) and beef rare/fish (145˚F)
based on the USDA recommendation. See the below
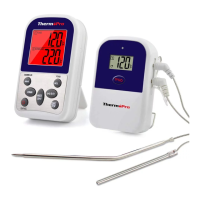
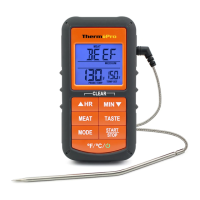
Slide the switch on the back of the device to display the
in properly or is crimped, the display will show “---”.)
the sockets completely. (Note: if the probe is not plugged
the sensor plug on the end of the cord is plugged into
Make sure the probe cable is free of knots. Make sure
Plug the temperature probe 1 and/or 2 into the
corresponding sockets on the right side of the device.