EasyManua.ls Logo

Thinkware VHL3Z-19G490-C - User Manual

Thinkware VHL3Z-19G490-C
4 pages
Print Icon
To Next Page IconTo Next Page
Loading...
Installation)Instru ct io n s)f o r)T h in k w a re )VHL3Z-19G490-C)&)VHL3Z-19G490-D)
Dash)Cam)
!
!
1 Locate!the!OBD!II!connector!inside!the!vehicle!and!remove!it!from!the!mounting!surface.!
For!this!it!may!be!necessary!to!remove!the!two!8mm!nuts!that!fix!it!to!the!bottom!of!the!
board!(Fig!a)!or!press!the!two!clips,!with!the!tool!of!the!lining!of!the!plastic!board,!which!
secure!it!behind!the!plastic!cover!protective!(Fig!b)!
!
2 Connect!the!male!end!of!the!HWK-TW01-HAR!Plug-n-Play!to!the!OBD!II!factory!
connector!of!the!vehicle!(Fig!A)!
!
3 Secure!the!OBD!II!connector!with!the!harness!using!one!of!the!straps!cut!the!excess!of!
the!strap!(Fig!B)!
!
!
!
4 In!the!case!of!the!bolt!and!nut!assembly:!place!the!left!flange!of!the!connector!on!the!
factory!left!bolt,!and!replace!and!adjust!the!nut!removed!in!step!1.!Secure!the!right!
flange!of!the!connector!under!the!board!using!the!included!self-tapping!screw!(FIG!C).!
In!the!case!of!clip!mounting:!place!the!body!of!the!harness!in!the!opening!of!the!board!
and!secure!the!connector!to!the!board!using!the!included!self-tapping!screws!(Fig!D).!
!
!
! !
Question and Answer IconNeed help?

Do you have a question about the Thinkware VHL3Z-19G490-C and is the answer not in the manual?

Summary

OBD II Connection and Harness Setup

Locate and Remove OBD II Connector

Find and detach the vehicle's OBD II connector from its mounting surface, possibly by removing nuts or clips.

Connect Plug-n-Play Harness

Connect the male end of the HWK-TW01-HAR Plug-n-Play harness to the vehicle's factory OBD II connector.

Secure OBD II Connector and Harness

Secure the OBD II connector and harness using straps, cutting excess strap length.

Mount Connector via Bolt;Nut or Clip

Secure the connector to the board using either the factory bolt/nut assembly or included self-tapping screws for clip mounting.

Power Cable Routing and Camera Mounting

Route Power Cable via A-Pillar

Remove the A-pillar panel and route the power cable along the A-pillar and front edge, avoiding airbag deployment paths.

Mount Dash Cam to Windshield

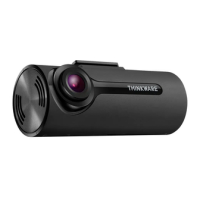
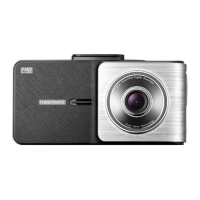
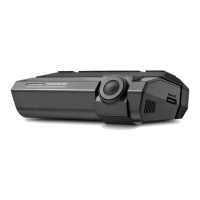
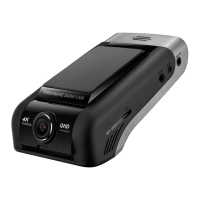
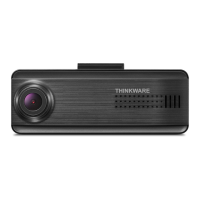
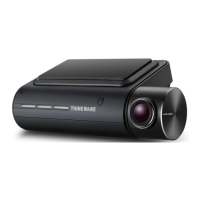
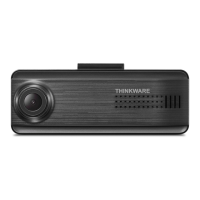
Clean the installation site and adhere the camera bracket to the windshield, ensuring it does not obstruct the driver's view.

Final Connections and Verification

Secure Excess Cable

Wind and secure any remaining excess cable to maintain a tidy installation.

Connect IGN-3 F to Molex Connector

With the vehicle ignition off, connect the IGN-3F to the 10-pin Molex connector on the HWK-TW01-HAR.

Verify LED Status and Operation

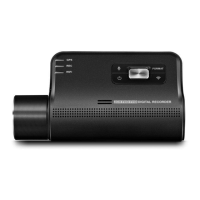
Check the LED indicator for correct flashing and continuous ON states, confirming ignition signal detection.

Final Checks and Optional Rear Camera Installation

Secure Module Connection and Trims

Ensure the module/OBD II connection is secure and does not impede airbags, then reposition all removed vehicle trimmings.

Route Rear Camera Cable

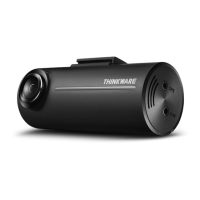
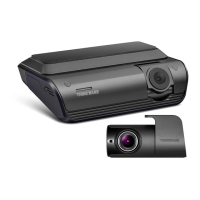
If using the optional rear camera, route its cable through the casing from the front camera to the rear mounting position.

Mount Optional Rear Camera

Adhere the rear camera to the rear window, ensuring correct orientation and that it doesn't interfere with the rearview mirror.

Thinkware VHL3Z-19G490-C Specifications

General IconGeneral
ModelVHL3Z-19G490-C
BrandThinkware
CategoryDash Cameras
GPSYes
Wi-FiYes
Parking ModeYes
Super Night VisionYes
StorageMicroSD card (up to 128GB)
Field of View140 degrees

Related product manuals