44
Work procedure:
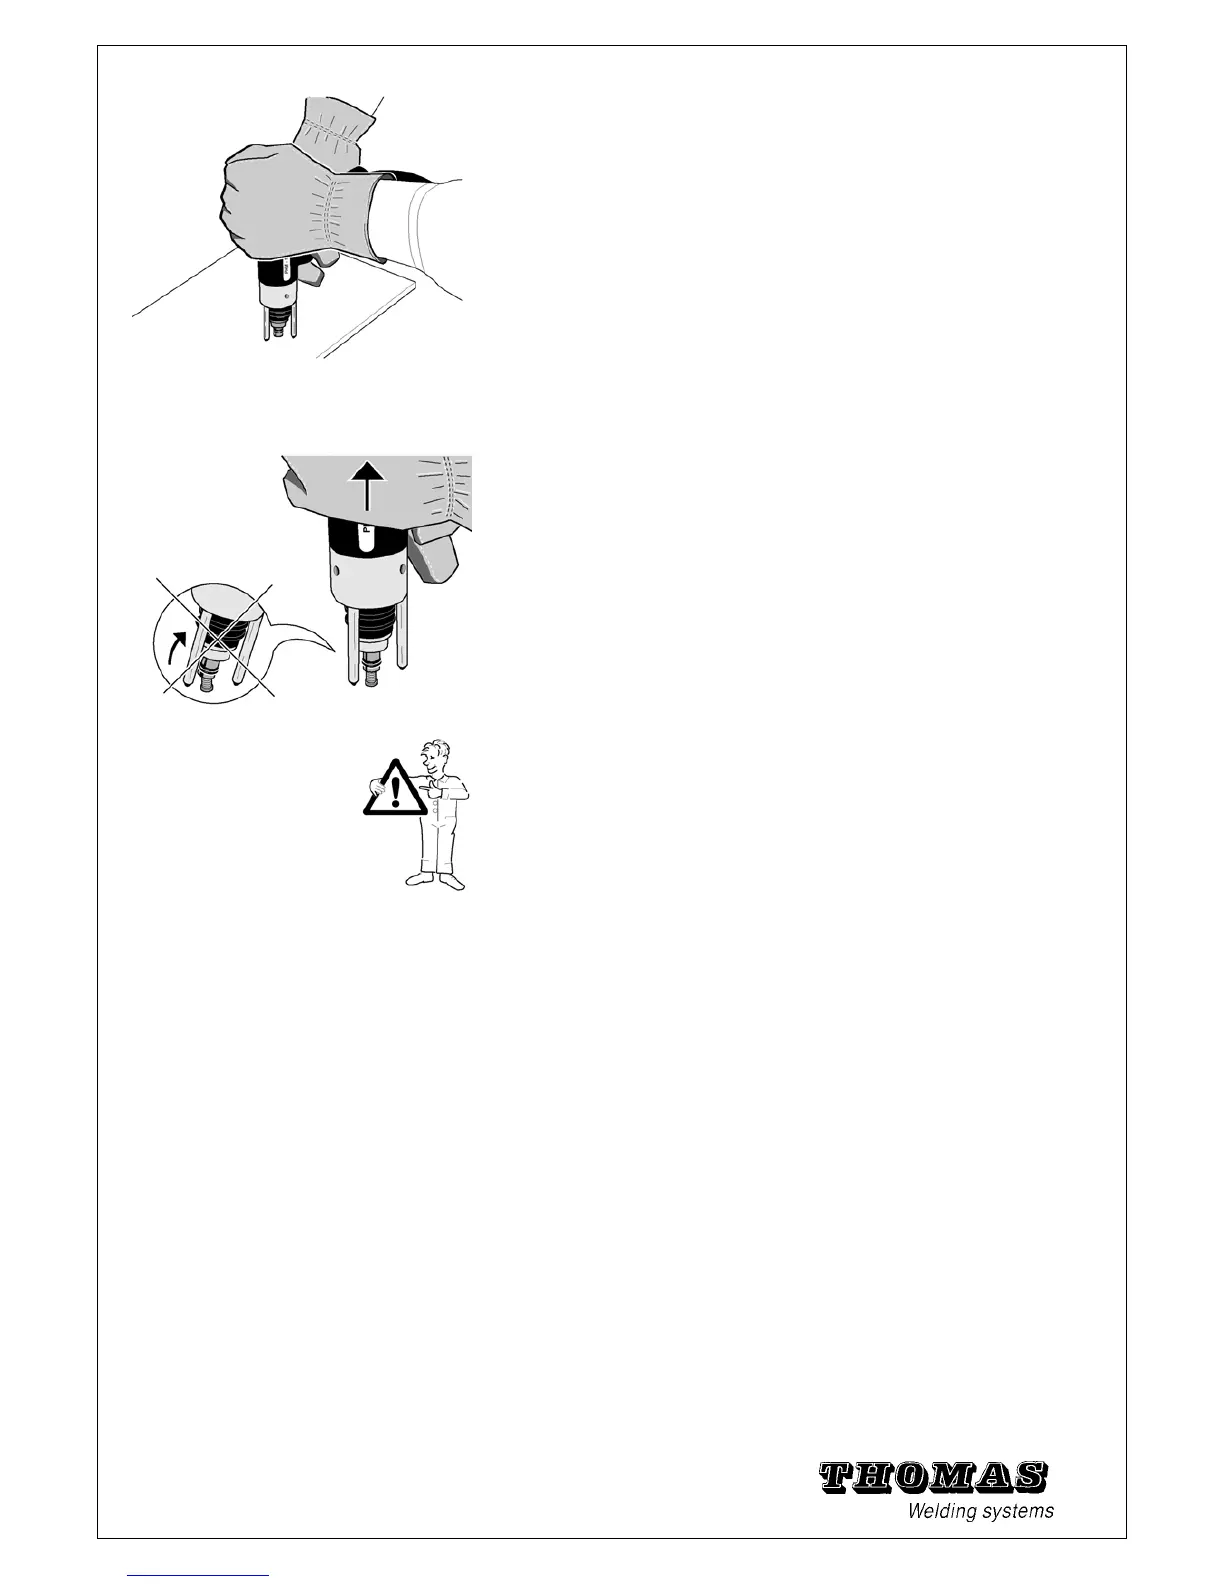
1. If not already done, insert a welding element in the
chuck. Position the welding gun on the welding spot
vertically. The contact LED lights up.
2. Press the welding gun vertically (90°) against the
workpiece surface
with both hands.
3. Hold the welding gun steady and press the start button.
The welding
process is started. At the same time the start LED lights up
A trigger block prevents the welded welding element from
being welded again. The power unit remains discharged.
4. After welding remove the welding gun vertically from the
welded welding element.
The LED "contact" go out and the power unit charges the
capacitors for the next welding operation.
5. Check the welding result in accordance with chapter 4.7.
If the welding result is not satisfactory, the settings must be
optimised.
Warning: After completing welding work or in the case of
longer breaks in welding work disconnect the machine from
the mains power supply and secure it against unauthorised
use.