7
TigerStop Installation
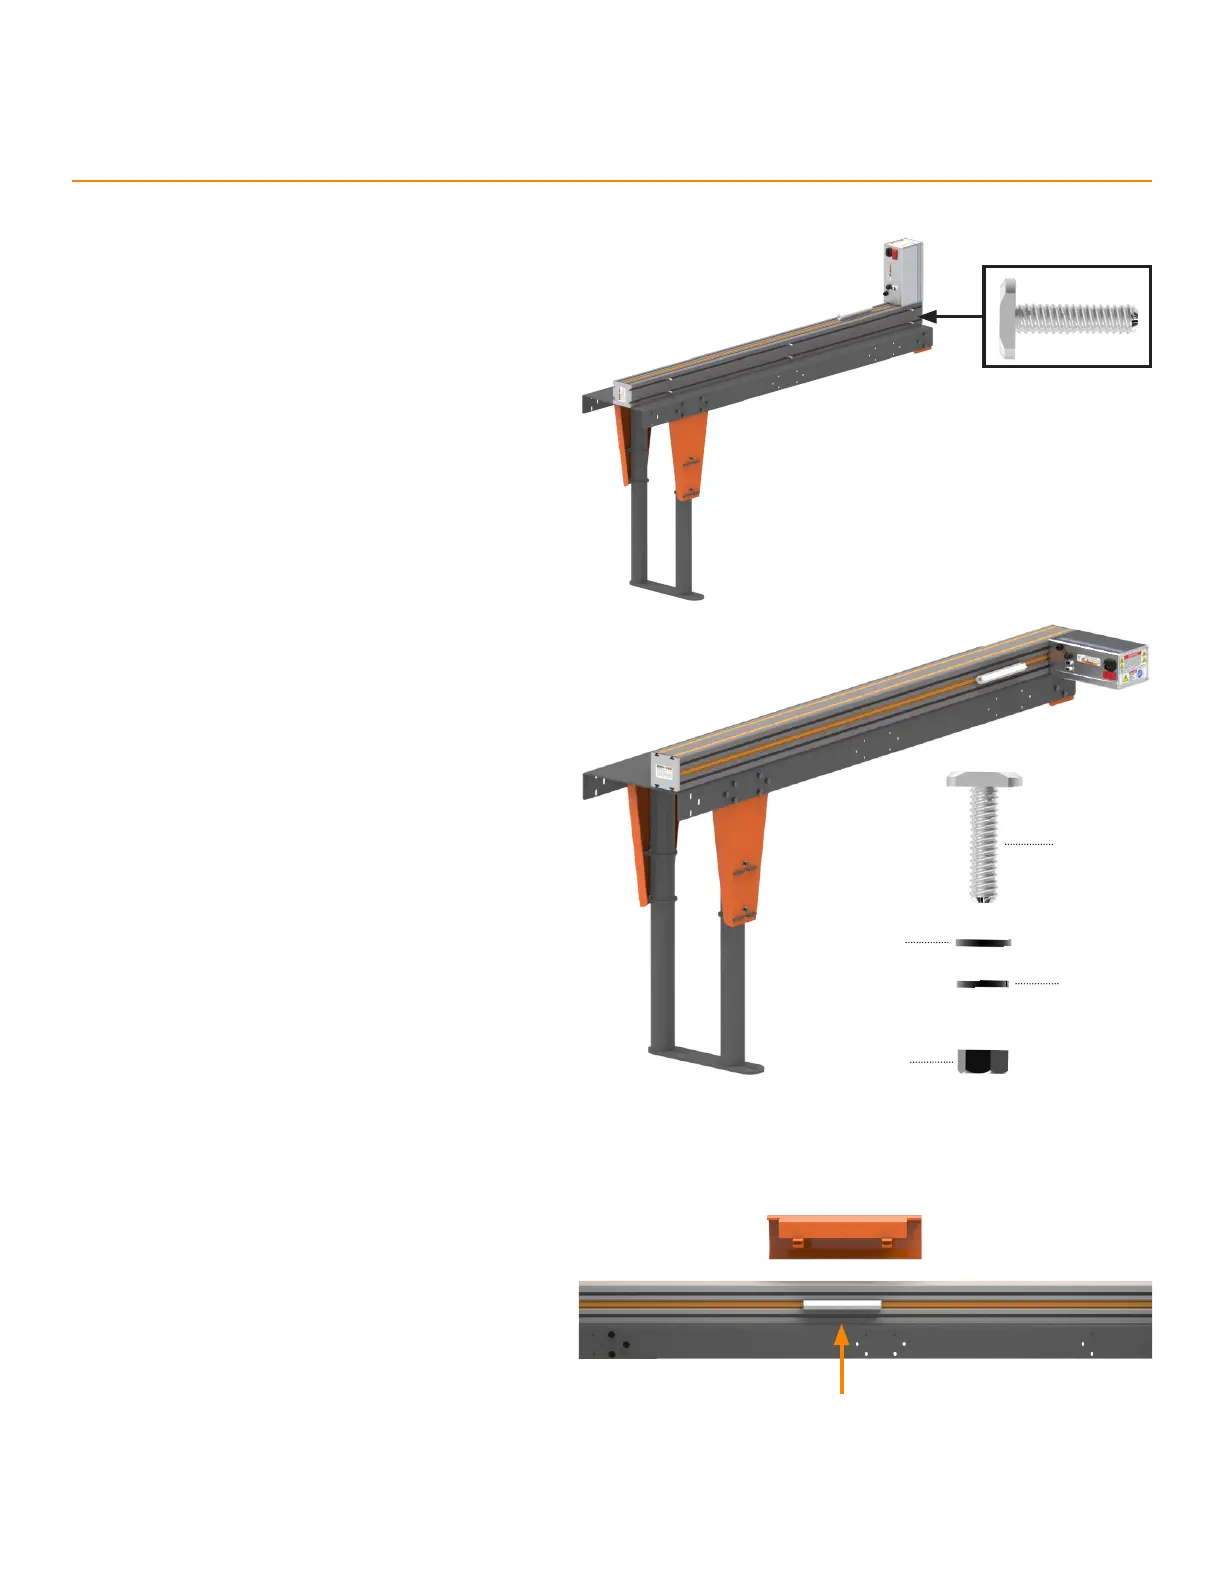
T-Bolt
Washer
Lock Washer
Nut
1. Place TigerStop on the mounting surface
with the motor box vertically up.
2. Insert the M8x35mm T-Bolts from the
hardware pack into the TigerStop’s 2
mounting slots. Space each pair of T-bolts
about 2’ (610mm) apart along the length of
the beam.
3. Rotate TigerStop so that the T-Bolts go
through the holes in the mounting surface
and the motor box is outside of the tool’s
feed path.
4. Attach the M8 Flat Washer, M8 Locking
Washer, and M8 Hex Nut on each T-Bolt, in
that order. Finger tighten the bolts.
5. Starting from the end closest to the tool,
align the beam with the tool’s back fence.
Tighten the bolts 1/4-turn past finger-tight.
6. Continue checking alignment and tightening
bolts until reaching the end of the beam.
MounTing TigerSTop
aTTacH THe flip-awaY STop
1. Align the through-holes of the Flip-Away
Stop with the TigerStop’s Carriage.
Carriage


 To Next Page