19
PREPARATIONS
OPERATING THE INSTRUMENT
1 Press the main switch on the CV power supply. The instrument is reset.
2 Perform the objective measurement by an auto refractometer and set the measurement
data in the instrument. In this case, optometry by fogging method and others can be omit-
ted. So, the examination time can be effectively shortened.
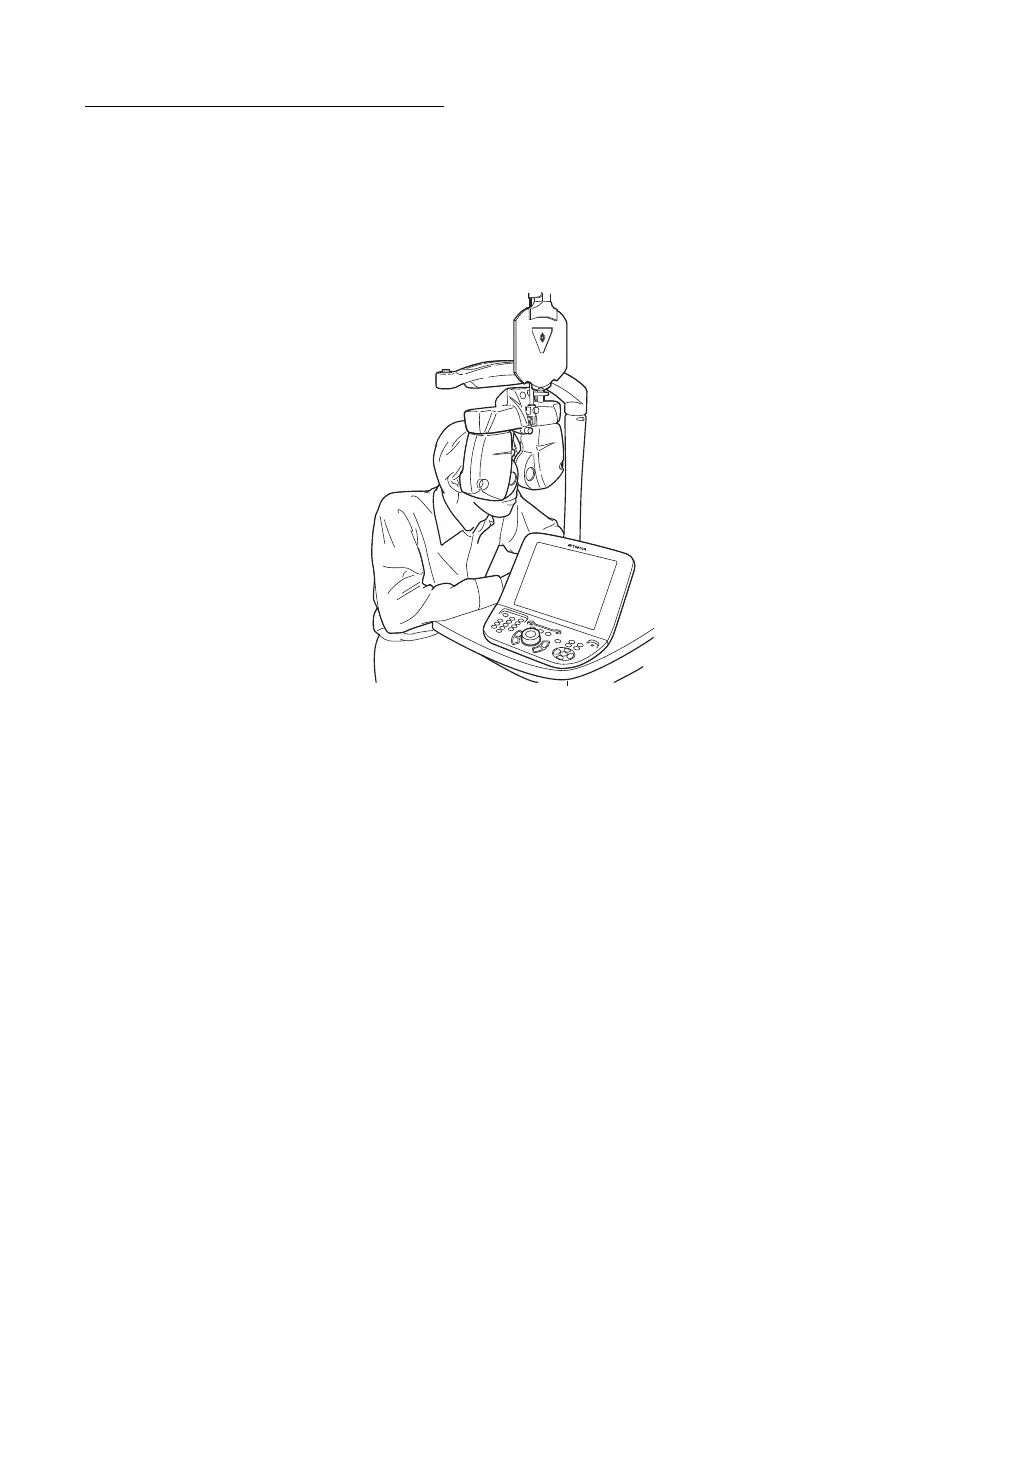
3 Let the patient sit at the optometry table.
4 Press either the table up/down switch or electric chair up/down switch to adjust the instru-
ment to the patient's posture.
5 Operate the lock switch or lock lever of the vision arm to unlock and move the instrument
to the patient's position.
Operate its lock switch or lock lever again to fix the vision arm.
6 Set the previously measured PD (interpupillary distance) in the instrument.
7 Let the patient place his/her forehead on the forehead rest.
8 Looking at the level, turn the leveling knob to bring the bubbles between the two lines.
9 Set the distance between the cornea vertex and instrument. (For adjusting the distance
between the cornea vertexes, refer to "CORNEAL ALIGNING DEVICE" on page 41.)
10 When you want to measure the right eye first, press "right eye" and occlude the left eye.
For assembling the optometry table or for connecting this instrument to other models, refer to
the instruction manual of each model.
 Loading...