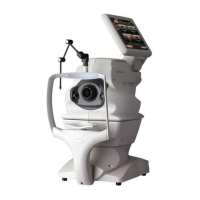
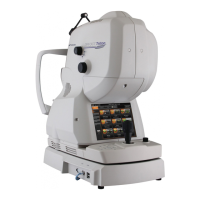
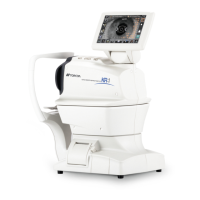
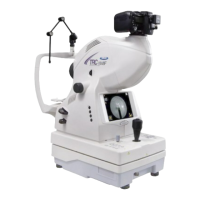
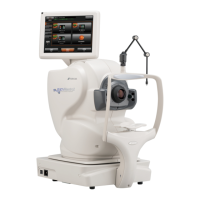
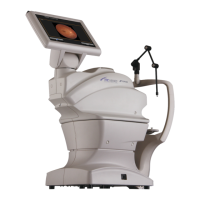
Do you have a question about the Topcon 3D OCT-1 Maestro and is the answer not in the manual?
Input necessary patient details and click 'Register' to add a new patient record.
Select a patient from the displayed list or use the search window to find them.
Choose the eye (OD/OU/OS) and select the desired scan mode from capture icons.
Align patient's eye on chinrest, touch 'Capture START' when pupil is within light-blue lines.
Manually adjust scanning beam position by touching the pupil center in Camera 1 and Camera 2.
Adjust scan position using green frames, then touch 'Capture START' when ready.
Adjust scan positions using directional buttons or by touching and dragging the scan line.
Access advanced options like diopter compensation, small pupil mode, illumination, and flash level.
Choose between Line Anterior seg. or Radial Anterior seg. scanning modes.
Ensure correct anterior attachment, adjust chinrest, and guide patient to look straight.
System auto-aligns for radial scans; manual adjustment is needed if alignment fails.
Adjust cornea vertex position using Z buttons and scan line using arrows for proper alignment.
Center the angle for line scans by adjusting the blue lines with Z-up/down buttons.
Review the scan preview; press 'OK' to save or 'Delete' to cancel the scan.
Tap the OCT screen and select the 'Fundus Photo' option for image capture.
Adjust chinrest height, then touch 'Capture START' for automatic focus and shooting.
Touch the 'Peripheral Photo' icon to initiate peripheral fundus imaging.
Set internal fixation, adjust chinrest, and the system will auto-focus and capture the peripheral image.
| Transverse Resolution | 20 µm |
|---|---|
| Wavelength | 840 nm |
| Fundus Camera | Yes |
| Imaging Mode | 3D OCT |
| OCT Technology | Spectral Domain |
| Scan Speed | 50, 000 A-scans per second |
| Axial Resolution | 5 µm |
| Scan Area/Width | 12 mm |
| Fundus Image Resolution | 12 Megapixels |
| Fundus Photography | Color |
| Power Requirements | AC 100-240V, 50/60Hz |
