Net-G3A Configuration and Setup
NET-G3A Operator’s Manual
3-10
• Shows the status of post-processing mode (static or dynamic)
when performing a Post-Processing Kinematic survey with the
help of the FN key (REC LED).
• Shows the power status for the receiver (PWR LEDs).
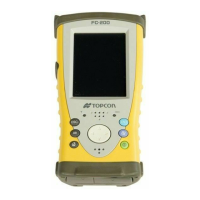
Use PC-CDU to configure MINTER settings. The procedure below
describes the most common settings; refer to the PC-CDU Reference
Manual for other possible MINTER configurations.
1. Connect your receiver and computer. See “Connecting the
Receiver and a Computer” on page 2-15 for this procedure.
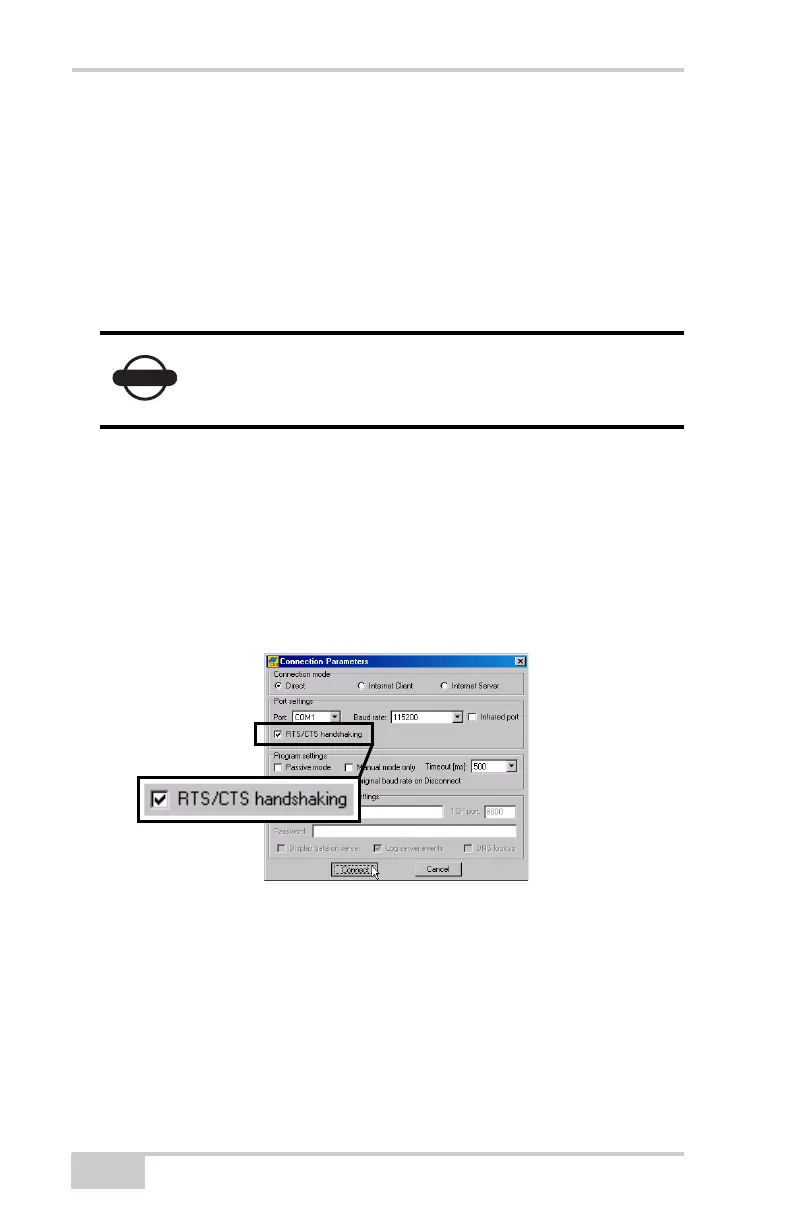
2. On the Connection Parameters dialog box, enable RTS/CTS
handshaking (Figure 3-9).
See “PC-CDU Connection Parameters” on page 2-22 for details
on setting other parameters.
3. Click Connect.
Figure 3-9. Connection Parameters – MINTER Settings
4. Click ConfigurationReceiver, and then click the MINTER
tab. Set the following parameters, and click Apply (Figure 3-10).
See the following pages for parameter descriptions:
• Recording interval on page 3-11
• Elevation mask for log file on page 3-11
• File name prefix on page 3-11
Clearing the receiver’s Non Volatile Random
Access Memory (NVRAM) will return all settings
made using PC-CDU to the factory default settings.
Net-G3A_OM_Book.book Page 10 Thursday, May 14, 2009 8:49 AM