2
TOR.089.--.M.4L-PL
09.16
-
-
-
-
RV
RVR
12) Odkręcić cztery śruby (a) i
zdjąć przekładnę redukcyjną
(b) z wału (jeżeli śluza cel-
kowa nie ma napędu, usu-
nąć mocowanie uszczelek
po uprzednim demontażu
przedniej pokrywy wraz z
pierścieniem uszczelniającym
pośrodku.
14) Śluza celkowa jest teraz
całkowicie rozłożona. (Infor-
macje na temat demontażu
uszczelek wału można zna-
leźć w rozdziale “DEMON-
TAŻ USZCZELEK WAŁU “).
23
MAINTENANCE-ROTARYVALVEDISASSEMBLY
WARTUNGSANLEITUNG-AUSBAUDERZELLENRADSCHLEUSE
ENTRETIEN-DÉMONTAGEDISTRIBUTEURALVEOLAIRE
KONSERWACJA-ROZBIERANIEŚLUZYCELKOWEJNACZĘŚCI
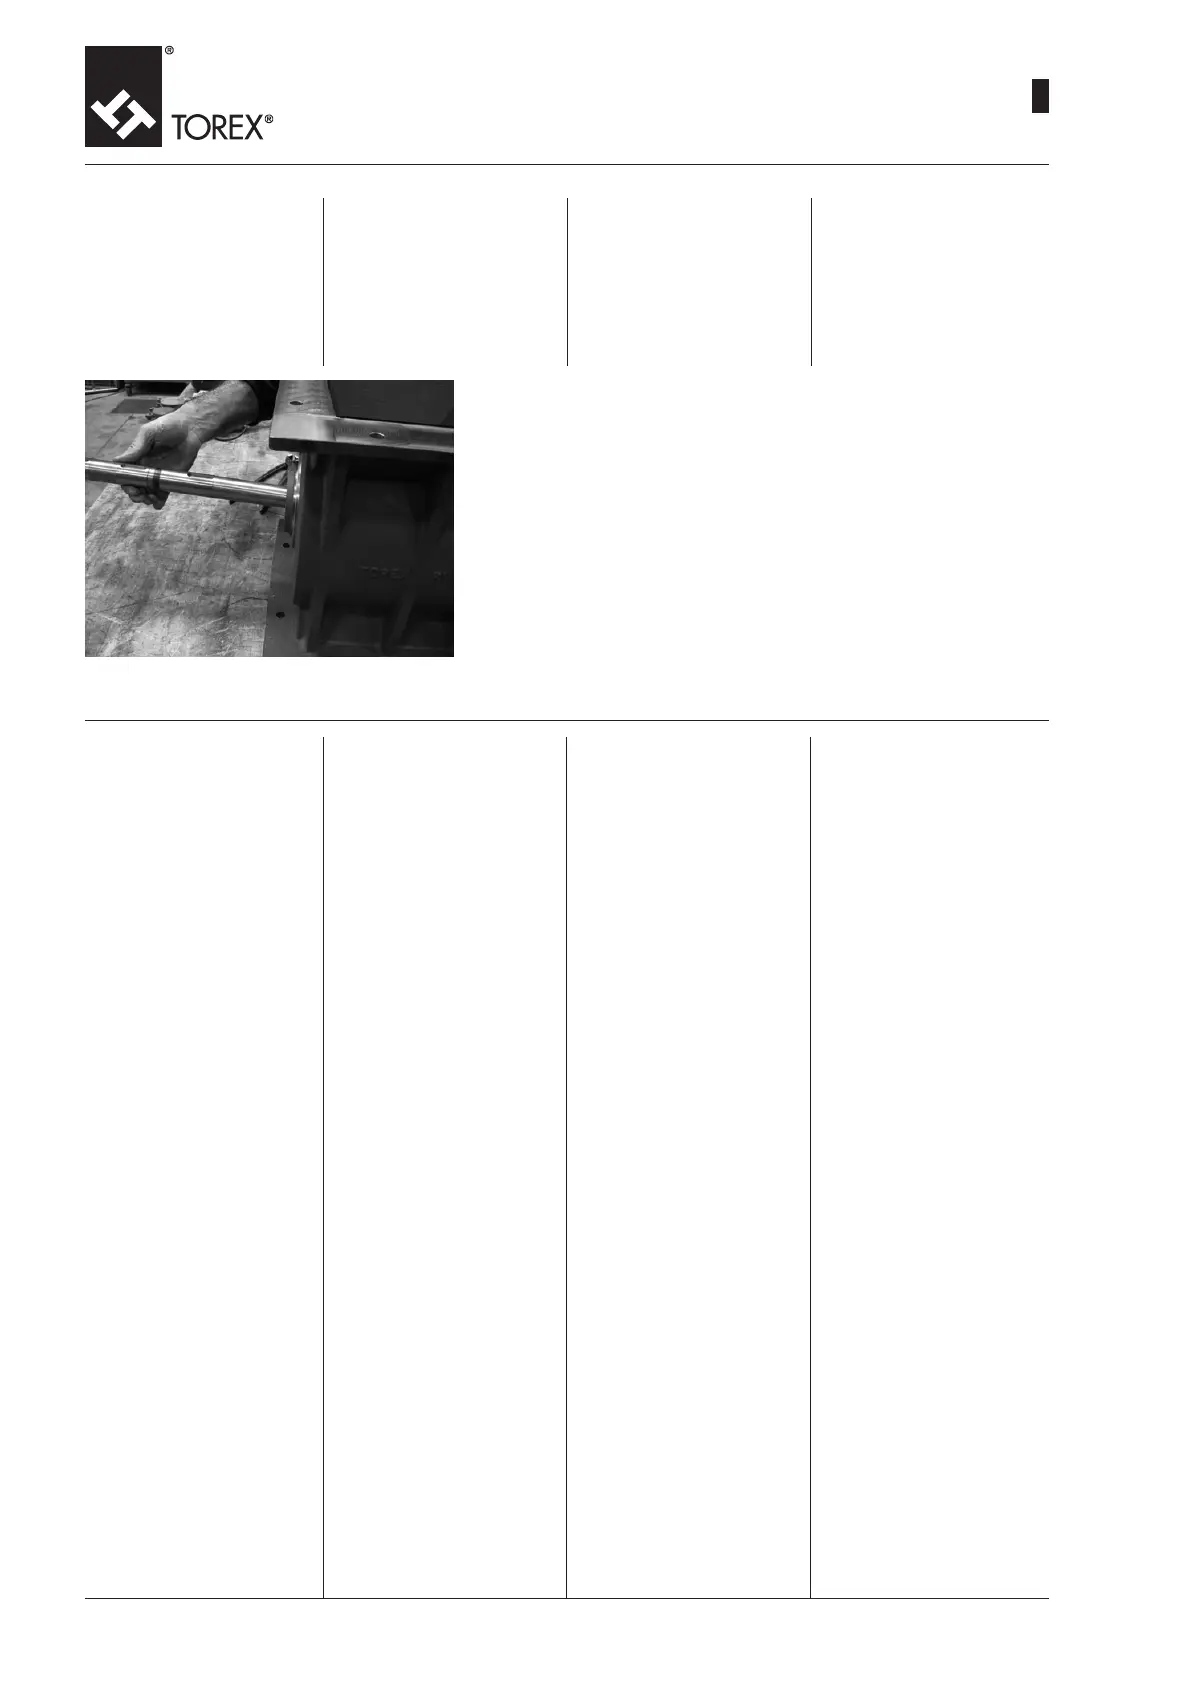
13) Remove the second snap ring (r) and the two keys (q) present in the
section of the shaft (p) outside the body. Extract the shaft (p) from the motor-
operated part taking care to avoid damaging the seals.
13) Auch den zweiten Seegerring (r) und die beiden Passfedern (q) entfernen,
die sich auf dem Teil der Welle (p) außerhalb des Gehäuses benden. Die
Welle (p) von der Antriebseite herausziehen, wobei darauf zu achten ist,
dass die Dichtungen nicht beschädigt werden.
13) Enlever aussi le deuxième circlip (r) et les deux clavettes (q) placées dans
la section de l’arbre (p) extérieure au corps. Sortir l’arbre (p) par la partie
motorisée en faisant attention à ne pas endommager les joints.
13) Usunąć również drugi pierścień Seegera (r) oraz oba wpusty pasowane
(q) umieszczone w części wału (p) poza obudową śluzy. Wyciągnąć wał (p)
od strony napędu, zwracając szczególną uwagę na to, aby nie uszkodzić
uszczelek.
12) Dévisser les 4 vis (a) et retirer
le réducteur (b) de l’arbre (En
cas de distributeur alvéolaire à
arbre nu, sortir le palier après
avoir enlevé le couvercle avant
avec la bague d’étanchéité au
centre).
14) Le distributeur Alvéolaire est
maintenant complètement
assemblé. (pour le démontage
des joints faire référence au
chapitre “REMPLACEMENT
DES JOINTS”
12)Die 4 Schrauben (a) losdrehen
und das Untersetzungsgetrie-
be (b) von der Welle abziehen
(Falls die Zellenradschleuse
keinen Antrieb hat, den Träger
abziehen, nachdem man die
vordere Abdeckung mit dem
Dichtring in der Mitte entfernt
hat).
14) Nun ist die Zellenradschleuse
vollkommen zerlegt. (Für das
Zerlegen der Dichtungen ist
Bezug auf das Kapitel “AU-
STAUSCH DER WELLEN-
DICHTUNGEN” zu nehmen).
12) Slacken the four screws (a)
and remove gear reducer (b)
from the shaft (In case of bare
shaft rotary valve, remove the
support after having removed
the front cover with the sealing
ring at the centre).
14) The Rotary valve is now
completely disassembled. (for
disassembly of the seals, refer
to the “REPLACEMENT OF
SEALS” section)