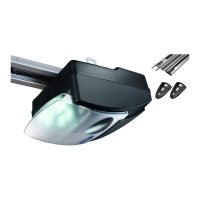
36 W-800
Installation
Prepare the site for installation
1. The maximal distance between the drive head and wall socket is 1.2m.
2. Check the stability of the garage door. If necessary, tighten the screws and
nuts of the garage door.
3. Make sure that the garage door runs smoothly.
- Lubricate shafts and bearings.
- Check the pretension of the springs and adjust if necessary.
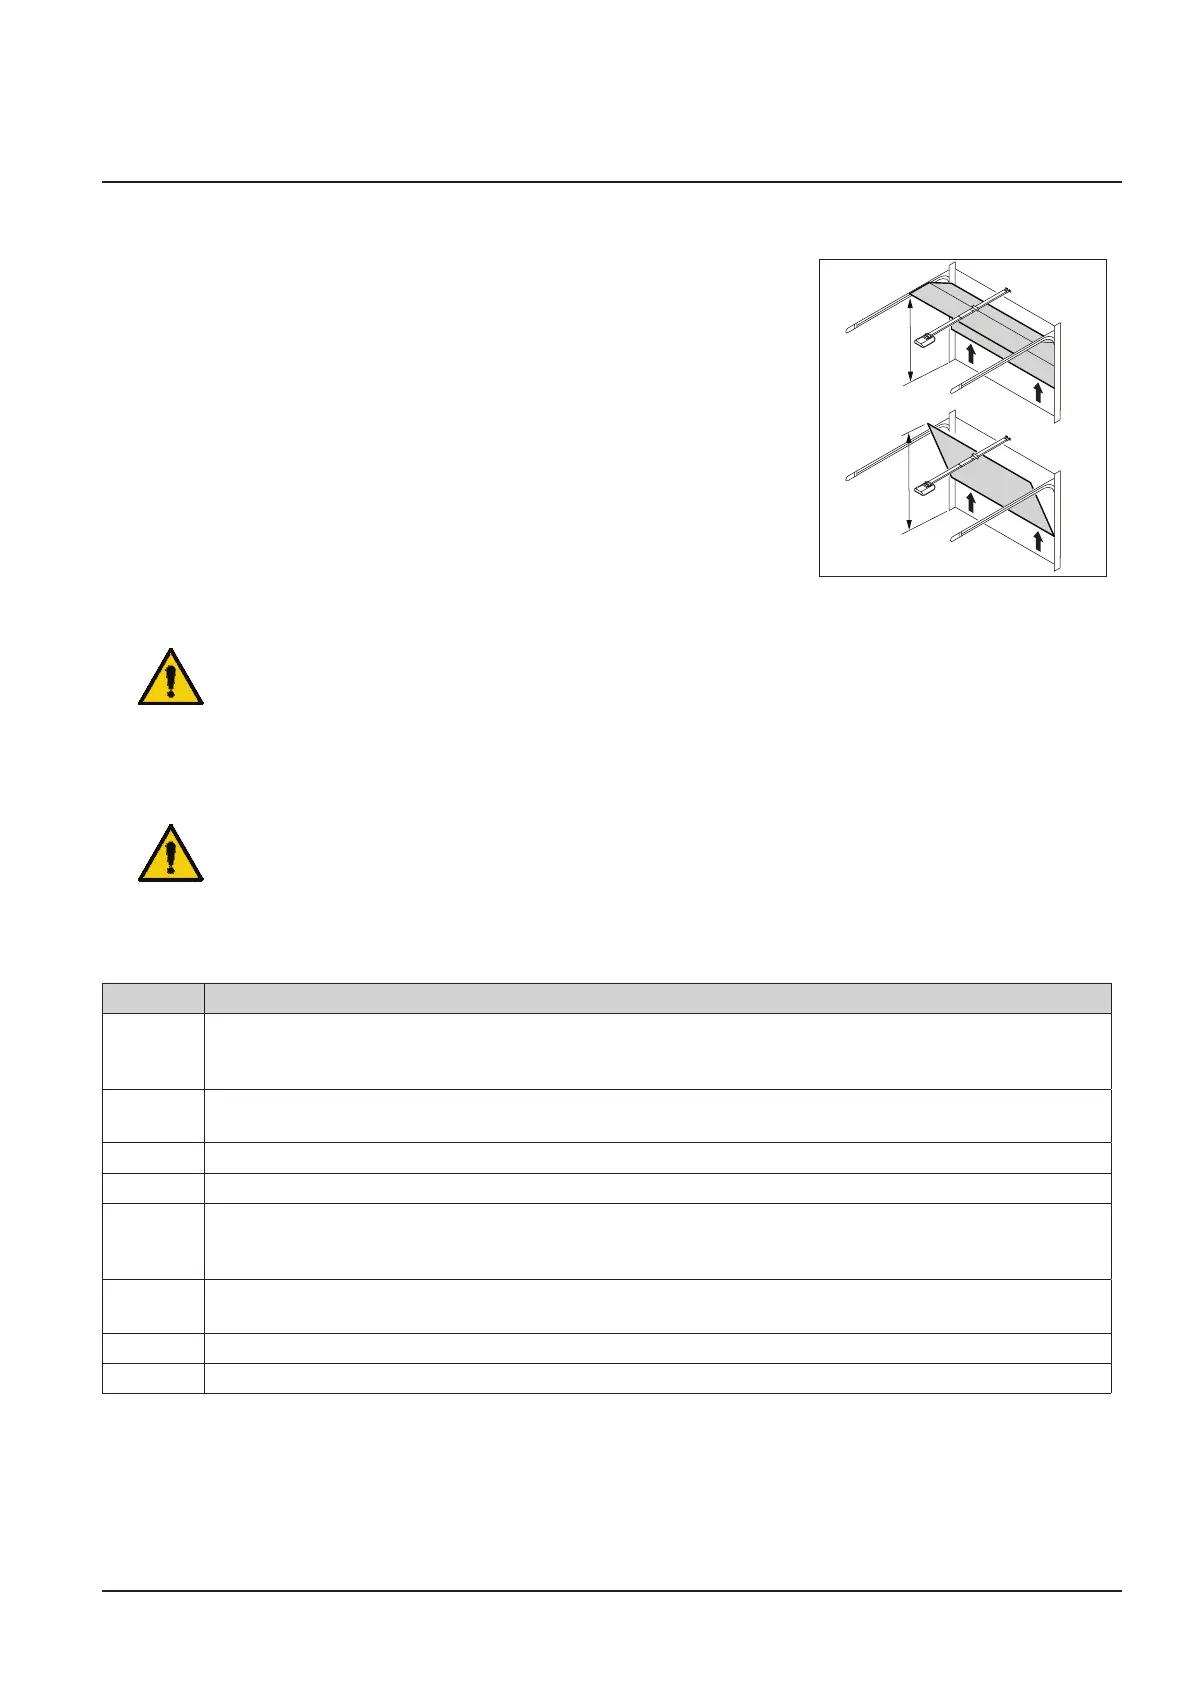
4. Establish the clearance at opening and closing of the garage door (h).
h
h
5. Close the garage door and disable any existing locks. Dismantle the locks if necessary.
Warning:
Some parts of the latching devices on the existing garage door can form pinch or shear points.
If necessary, remove hazardous parts before installation.
6. For garages without a second entrance, an emergency release is required (accessory).
7. If the garage door is a wicket/pass door, install the wicket door contact rst.
Warning:
Do not allow parts of the gate to enter public footpaths or roads.
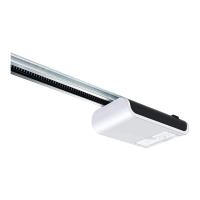
Mount the garage door operator
Follow instructions as shown in the A3 Instruction poster.
Step Installation
1 Fold out the track to its full length (3&8).
Push the track connector (7) centrally over the joints. The chain or the toothed belt may have to be
re-stressed. See illustration.
2 Mount the center suspension (13) to the guide rail.
Mount the mounting brackets (18) on the drive head (1).
3 Mount the connector attachment (11) to the garage door.
4 Mount the wall bracket (10).
5a
5c/d
Mount the guide rail (3&8) to the wall bracket (10).
Mount the ceiling mountings (16) to the center bracket (13) and to the drive head (1).
Then, mount the ceiling mountings (16) to the ceiling.
6 Connect the linking bar (12) between the carriage (4) and the garage door connector attachment
(11).
7 For programming, open the cover of the drive head with a screwdriver or a similar tool.
8 Attach the warning sticker (19) to the inside of the garage door so that it is easily visible.