7.Ifadjustmentisneeded,loosenthenutandjamnut
againsttheyoke(Figure40).
8.Applyingslightrearwardpressureonthe
motion-controllever,turntheheadoftheadjustment
boltintheappropriatedirectionuntilthecontrollever
iscenteredintheNEUTRAL-LOCKposition(Figure40).
Note:Rearwardpressureontheleverkeepsthepin
attheendoftheslotandallowtheadjustmentboltto
movethelevertotheappropriateposition.
9.Tightenthenutandjamnut(Figure40).
10.Repeatsteps4through9fortheothercontrollever.
11.Installthefrontpanel.
AdjustingtheTractionDrive
forNeutral
Makethisadjustmentwiththedrivewheelsturning.
DANGER
Mechanicalorhydraulicjacksmayfailtosupport
themachineandcauseaseriousinjury.
•Usejackstandswhensupportingthemachine.
•Donotusehydraulicjacks.
WARNING
Theenginemustberunningtoperformthis
adjustment.Contactwithmovingpartsorhot
surfacesmaycausepersonalinjury.
Keephands,feet,face,clothing,andotherbody
partsawayfromrotatingparts,mufer,andother
hotsurfaces.
1.Raisetheframeontostablejackstandssothatthedrive
wheelscanrotatefreely.
2.Slidetheseatforward,unlatchit,andswingitupand
forward.
3.Disconnecttheelectricalconnectorfromtheseat
safetyswitch.
4.Temporarilyinstallajumperwireacrosstheterminals
inthewireharnessconnector.
5.Starttheengine,ensurethatthethrottleleverismidway
betweentheFASTandSLOWpositions,andreleasethe
parkingbrake.
Note:Themotion-controlleversmustbein
theNEUTRAL-LOCKpositionwhileyoumakeany
adjustments.
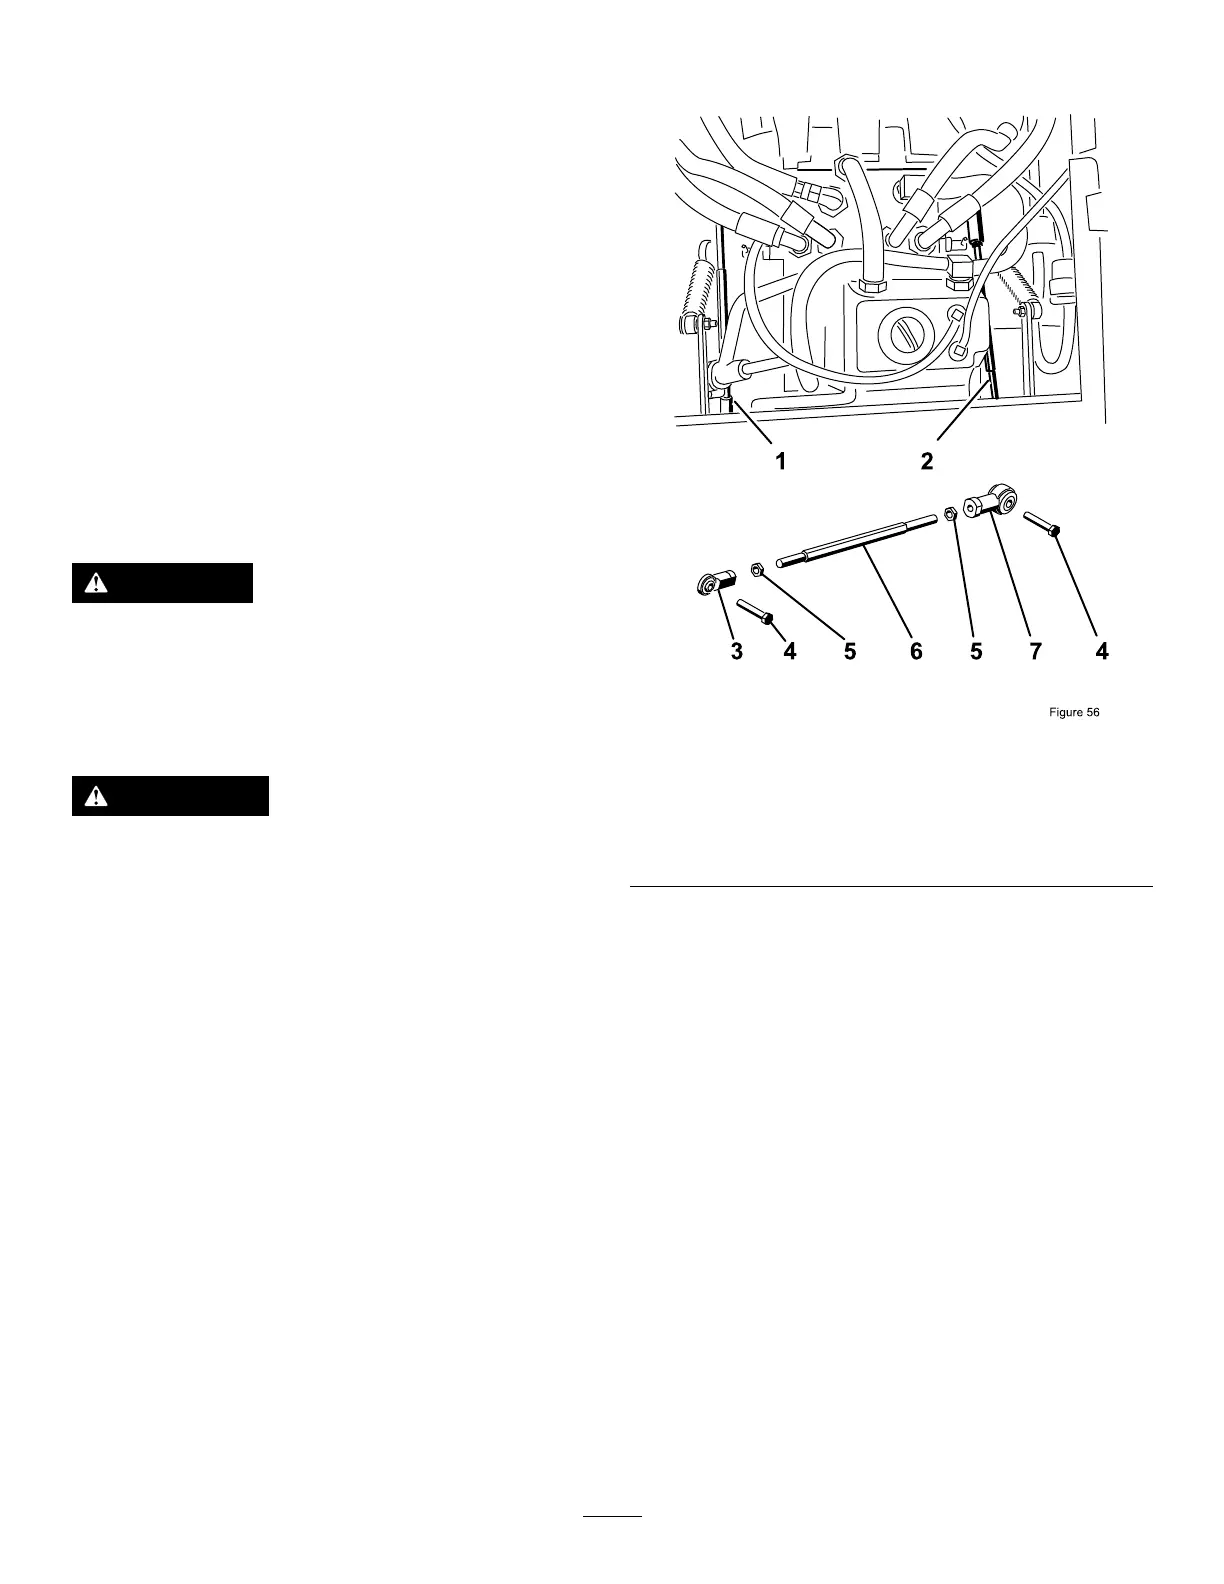
6.Adjustthepumprodlengthononesidebyrotating
thehexshaft,intheappropriatedirection,untilthe
correspondingwheelisstillorslightlycreepingin
reverse(Figure42).
Figure42
1.Rightpumprod5.Jamnut
2.Leftpumprod6.Hexshaft
3.Balljoint7.Balljoint
4.Bolt
7.Movethemotion-controlleverforwardandreverse,
thenbacktoneutral.
Note:Thewheelmuststopturningorslightlycreep
inreverse.
8.MovethethrottlelevertotheFASTposition.
Note:Makesurethatthewheelremainsstoppedor
slightlycreepsinreverse;adjustitifnecessary.
9.Repeatsteps6through8fortheothersideofthe
machine.
10.Tightenthejamnutsattheballjoints(Figure40).
11.MovethethrottlelevertotheSLOWpositionandshut
offtheengine.
12.Removethejumperwirefromthewireharness
connectorandplugtheconnectorintotheseatswitch.
32