CheckingandCorrecting
MismatchofBlades
Ifthereismismatchbetweentheblades,thegrasswillappear
streakedwhenitiscut.Thisproblemcanbecorrectedby
makingsurethatthebladesarestraightandalloftheblades
arecuttingonthesameplane.
1.Usinga1meter(3foot)longcarpenterslevel,nda
levelsurfaceontheshopoor.
2.Raisetheheight-of-cuttothehighestposition;referto
AdjustingtheHeight-of-Cut.
3.Lowerthecuttingunitontotheatsurface.Remove
thecoversfromthetopofthecuttingunit.
4.Rotatethebladesuntiltheendsfaceforwardand
backward.Measurefromtheoortothefronttipof
thecuttingedge.Rememberthisdimension.Then
rotatethesamebladesothattheoppositeendis
forward,andmeasureagain.Thedifferencebetween
thedimensionsmustnotexceed3mm(1/8inch).If
thedimensionexceeds3mm(1/8inch),replacethe
bladebecauseitisbent.Makesuretomeasureallof
theblades.
5.Comparethemeasurementsoftheouterbladeswith
thecenterblade.Thecenterblademustnotbemore
than10mm(3/8inch)lowerthantheouterblades.If
thecenterbladeismorethan10mm(3/8inch))lower
thantheouterblades,proceedtostep6andaddshims
betweenthespindlehousingandthebottomofthe
cuttingunit.
6.Removethebolts,atwashers,lockwashers,andnuts
fromtheouterspindleintheareawheretheshims
mustbeadded.Toraiseorlowertheblade,addashim,
PartNo.3256-24,betweenthespindlehousingand
thebottomofthecuttingunit.Continuetocheckthe
alignmentofthebladesandaddshimsuntilthetipsof
thebladesarewithintherequireddimension.
Important:Donotusemorethanthreeshimsat
anyoneholelocation.Usedecreasingnumbersof
shimsinadjacentholesifmorethanoneshimis
addedtoanyoneholelocation.
7.Installthebeltcovers.
ReplacingtheDriveBelt
Thebladedrivebelt,tensionedbythespringloadedidler
pulley,isverydurable.However,aftermanyhoursofuse,
thebeltwillshowsignsofwear.Signsofawornbeltare:
squealingwhenbeltisrotating,bladesslippingwhencutting
grass,frayededges,burnmarksandcracks.Replacethebeltif
anyoftheseconditionsareevident.
1.Lowerthecuttingunittotheshopoor.Removethe
beltcoversfromthetopofthecuttingunitandsetthe
coversaside.
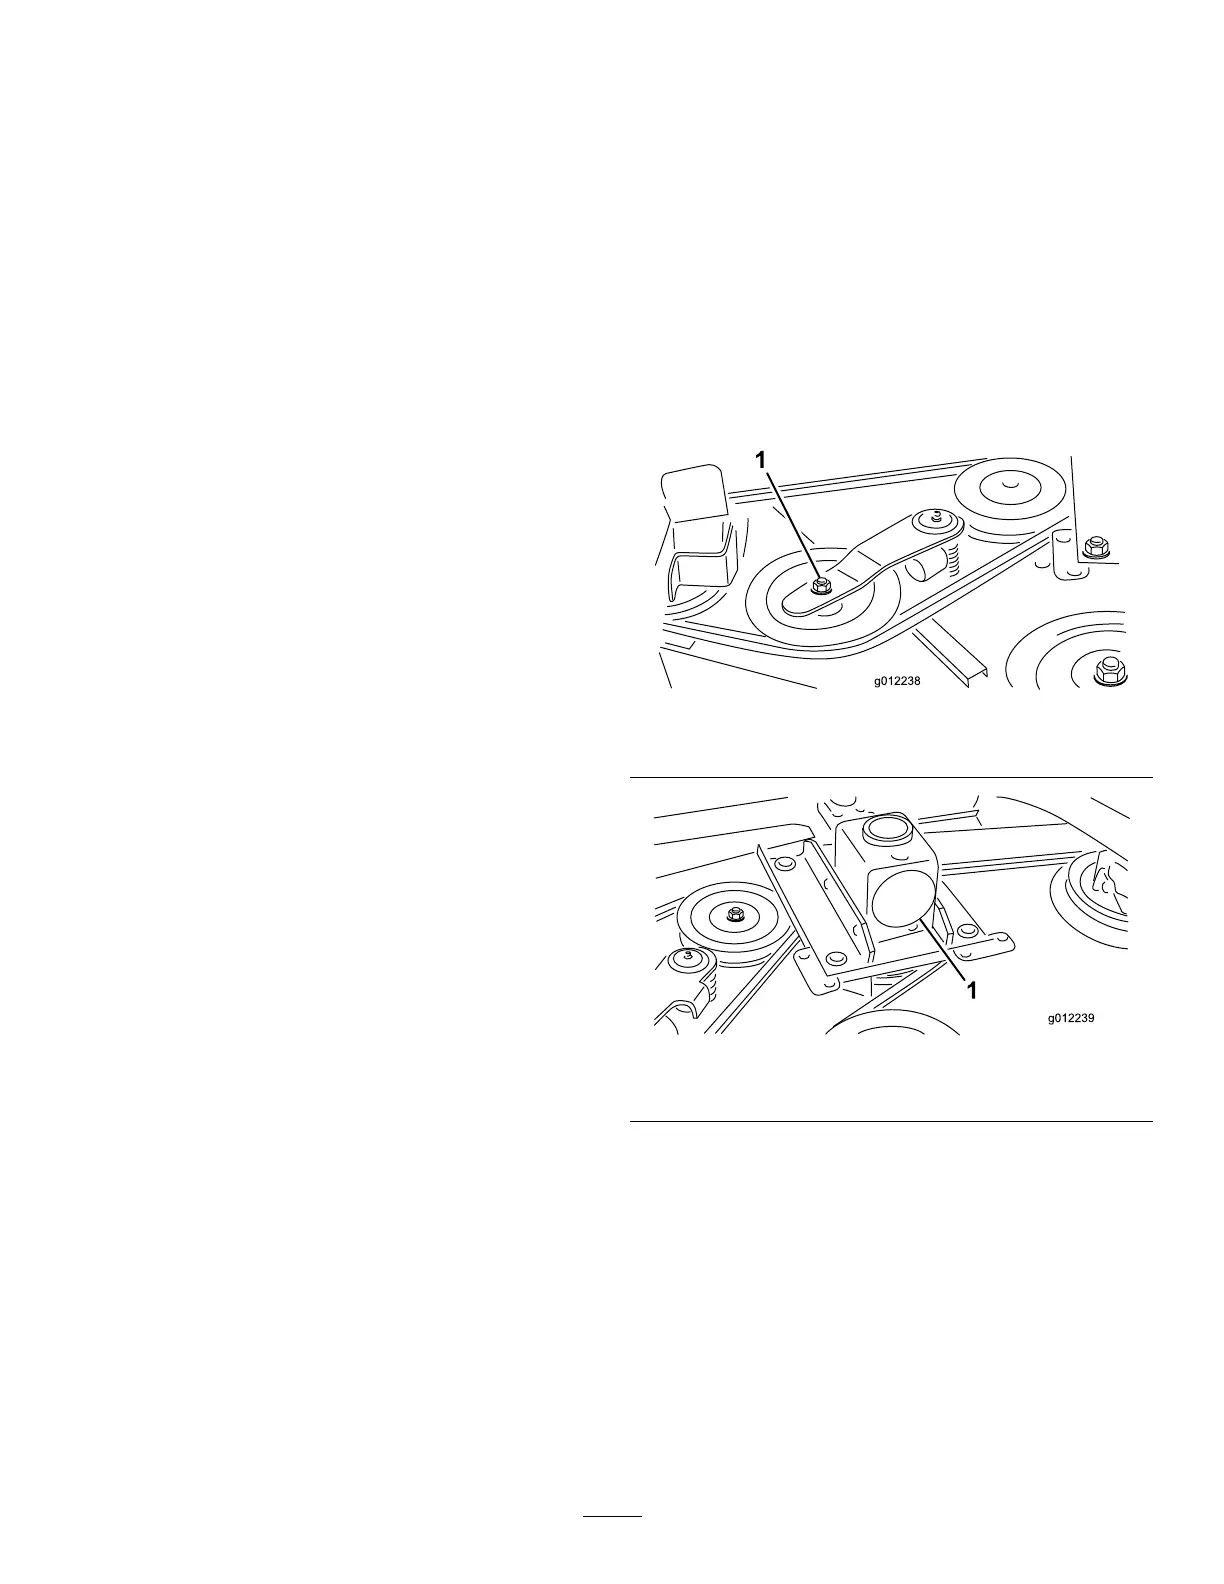
2.Usingatorquewrenchorsimilartool,movetheidler
pulley(Figure33)awayfromthedrivebelttorelease
thebelttensionandallowthebelttobeslippedoffthe
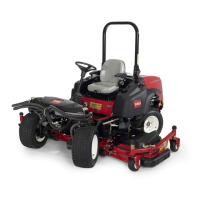
gearboxpulley(Figure34).
Figure33
1.Idlerpulley
Figure34
1.Gearbox
3.Removetheoldbeltfromaroundthespindlepulleys
andidlerpulley.
4.Routethenewbeltaroundthespindlepulleysandidler
pulleyassemblyasshowninFigure35.
24