byothermanufacturersmayresultinnon-conformancewith
safetystandards.
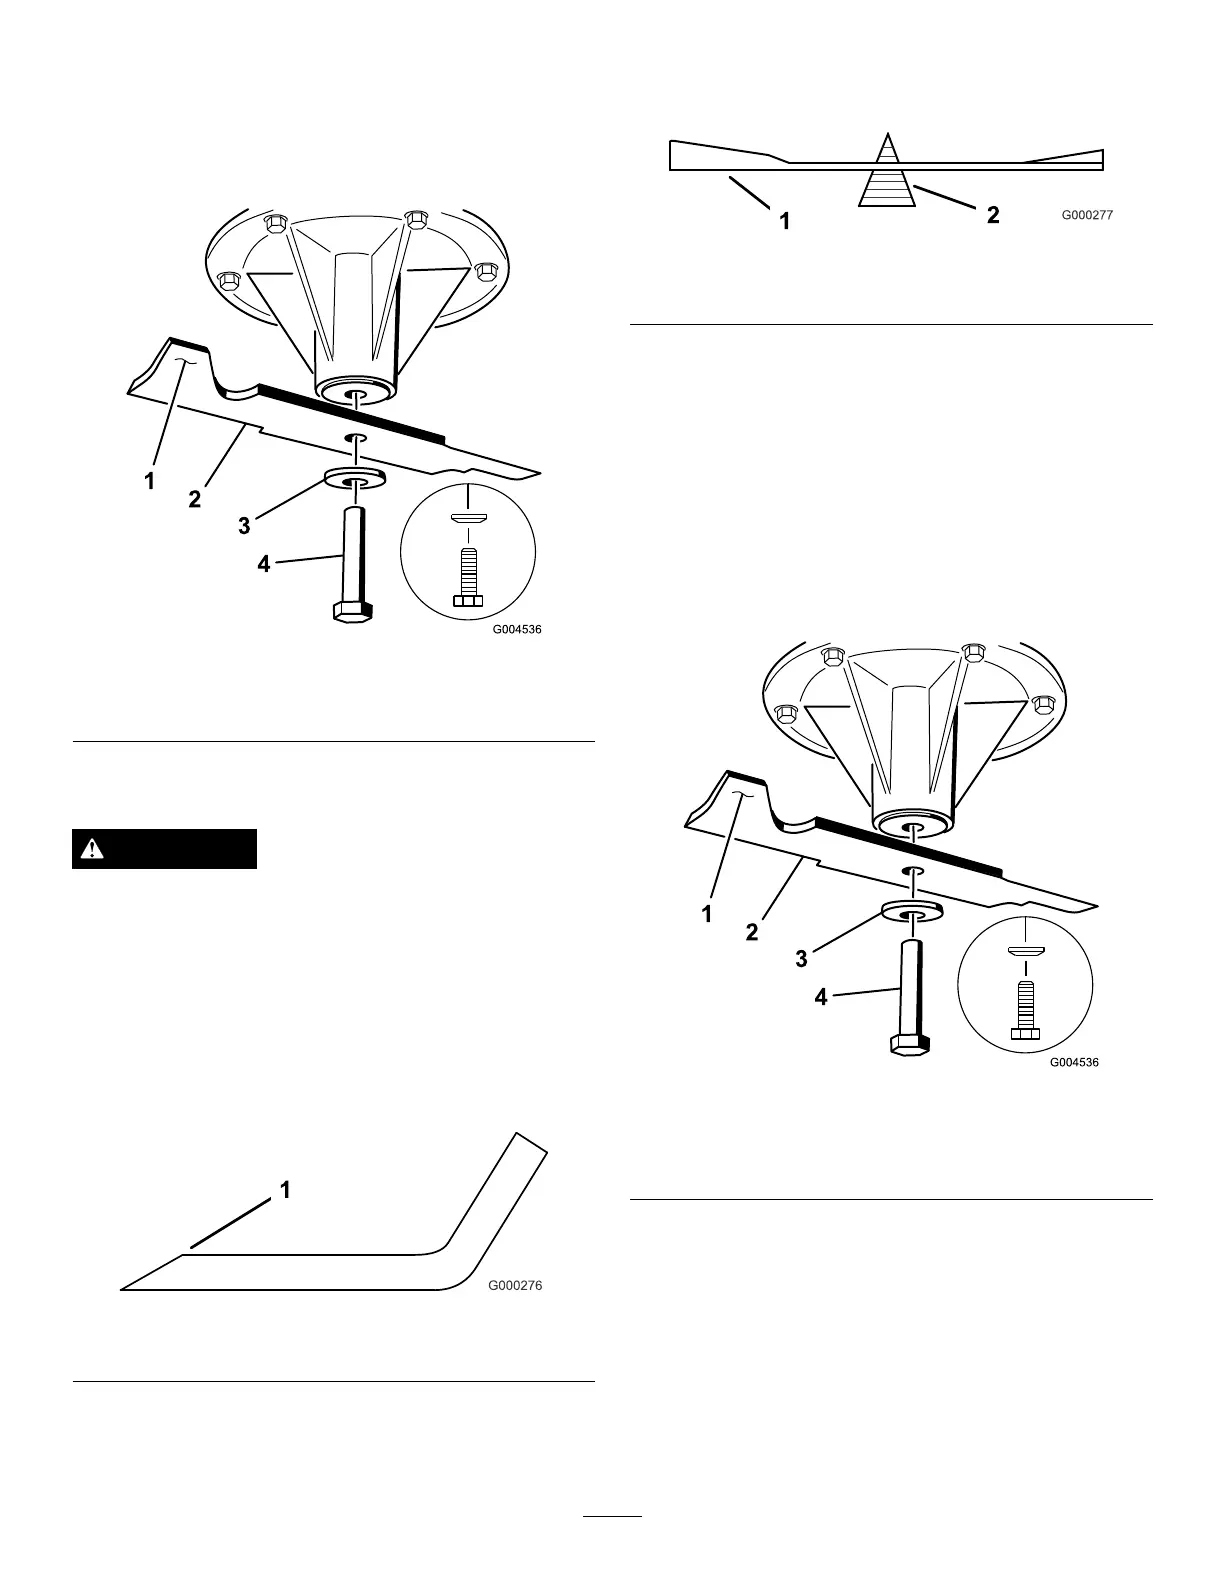
1.Holdthebladeendusingaragorthickly-paddedglove.
2.Removethebladebolt,curvedwasher,andbladefrom
thespindleshaft(Figure99).
Figure99
1.Sailareaofblade3.Curvedwasher
2.Blade4.Bladebolt
SharpeningtheBlades
WARNING
Whensharpeningblades,piecesofabladecouldbe
thrownandcauseseriousinjury.
Wearpropereyeprotectionwhensharpening
blades.
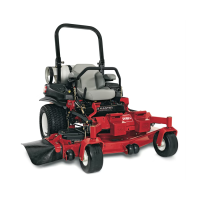
1.Usealetosharpenthecuttingedgeatbothendsof
theblade(Figure100).Maintaintheoriginalangle.The
bladeretainsitsbalanceifthesameamountofmaterial
isremovedfrombothcuttingedges.
Figure100
1.Sharpenatoriginalangle
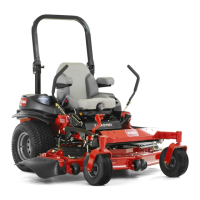
2.Checkthebalanceofthebladebyputtingitonablade
balancer(Figure101).Ifthebladestaysinahorizontal
position,thebladeisbalancedandcanbeused.Ifthe
bladeisnotbalanced,lesomemetalofftheendof
thesailareaonly(
Figure102).Repeatthisprocedure
untilthebladeisbalanced.
Figure101
1.Blade2.Balancer
InstallingtheBlades
1.Installthebladeontothespindleshaft(Figure102).
Important:Thecurvedpartoftheblademustbe
pointingupwardtowardtheinsideofthemowerto
ensurepropercutting.
2.Installthespringdiskandthebladebolt.Thespring
diskconemustbeinstalledtowardthebolthead
(Figure102).Torquethebladeboltto115to150N-m
(85to110ft-lb).
Figure102
1.Sailareaofblade
4.Bladebolt
2.Blade
5.Conetowardsbolthead
3.Curvedwasher
60