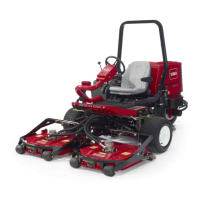
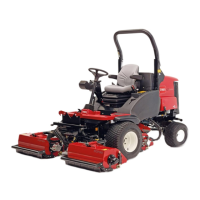
Groundsmaster 3500 Hydraulic SystemPage 5 − 69
Counterbalance Logic Valve (LC1) Adjustment:
The counterbalance system helps distribute the overall
unit weight across the drive wheels and cutting decks for
improved traction and reduced turf marking. The system
is functioning properly if the machine settles slightly
when the engine is started while the cutting decks are in
the fully lowered position.
1. Park machine on a level surface with the cutting units
lowered and PTO switch off. Make sure engine is off and
the parking brake is engaged.
2. Read Precautions for Hydraulic Testing in this
chapter.
3. Remove cap from test fitting at manifold port (G2)
(Fig. 43 and 44).
4. Install test gauge with hydraulic hose attached to
port (G2).
5. Start engine and move throttle to full speed (Diesel
engine = 3220 +
50 RPM, Gas engine = 3420 + 30
RPM).
6. Make sure hydraulic fluid is at normal operating tem-
perature by operating the machine for approximately 10
minutes.
The standard counterbalance pressure should be 250
PSI (17 Bar) with a range of 180 to 300 psi (12.4 to 20.7
Bar). A lower counterbalance pressure is more desir-
able for flat terrain, while a higher counterbalance pres-
sure will improve performance in hilly terrain. Adjust the
Logic Valve (LC1) as necessary.
7. Adjust the Logic Valve (LC1) with the engine running
as follows:
A. Remove hex cap from logic valve (Fig. 43 and
44).
B. Loosen locknut.
C. To increase pressure setting, turn the adjustment
shaft on the valve in a clockwise direction. A 1/8 turn
on the shaft will make a measurable change in coun-
terbalance pressure.
D. To decrease pressure setting, turn the adjust-
ment shaft on the valve in a counterclockwise direc-
tion. A 1/8 turn on the shaft will make a measurable
change in counterbalance pressure.
E. Tighten locknut. Check counterbalance pressure
and readjust as needed.
F. Replace hex cap to Logic valve (LC1).
1. Hydraulic manifold
2. Manifold port (G2)
3. Logic valve
4. Hex cap
Figure 43
1
3
4
Unit Serial No. Prior to 314000001
2
1. Hydraulic manifold
2. Manifold port (G2)
3. Logic valve
4. Hex cap
Figure 44
Unit Serial No. 314000001 & Up
1
2
4
3
8. Shut off engine.
9. Disconnect test gauge and install cap on test fitting
at manifold port (G2).
Hydraulic
System

 Loading...