4. Mo v e the speed selector lev er to P osition R2.
5. Dip y our fing er in automoti v e engine oil and lightl y
lubricate hex shaft.
6. Mo v e the speed selector lev er to P osition 6.
7. Lubricate the other end of the hex shaft.
8. Mo v e the speed selector lev er forw ard and rearw ard
a few times .
9. Install the bac k co v er and retur n the sno wthro w er to
the operating position.
Inspecting and Replacing the
Spark Plug
Use a Champion RJ-19LM or equi v alent spark plug . Chec k
and g ap the spark yearly , and re place the plug if necessar y .
1. Clean around the base of the spark plug .
2. R emo v e the spark plug .
3. Examine the spark plug and re place it if it is crac k ed,
fouled, dir ty , or if the electrodes are w or n.
Important: Do not clean the electr odes because
g rit could enter the cylinder and dama ge the
engine.
4. Set the g ap betw een the electrodes on the spark plug at
0.030 inc h (0.76 mm) ( Figure 46 ).
Figure 46
1. 0.030 inch (0.76 mm)
5. Install the spark plug b y hand and then tor que it to 15
ft-lb (20.4 N·m).
Note: If y ou do not ha v e a tor que wrenc h, tighten
the plug fir mly .
Adjusting the Discharge Chute
Latch
If the disc harg e c hute does not loc k into the desired
position or does not unloc k so that y ou can mo v e it to
another position, adjust the disc harg e c hute latc h.
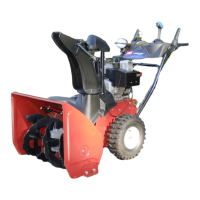
1. R emo v e the fastener on the g ear co v er ( Figure 47 ), lift
the front of the co v er up , and slide it bac k and out of
the w a y .
Figure 47
2. Loosen the bolt on the cable clamp ( Figure 48 ).
Figure 48
1. Cable conduit 2. Cable clamp
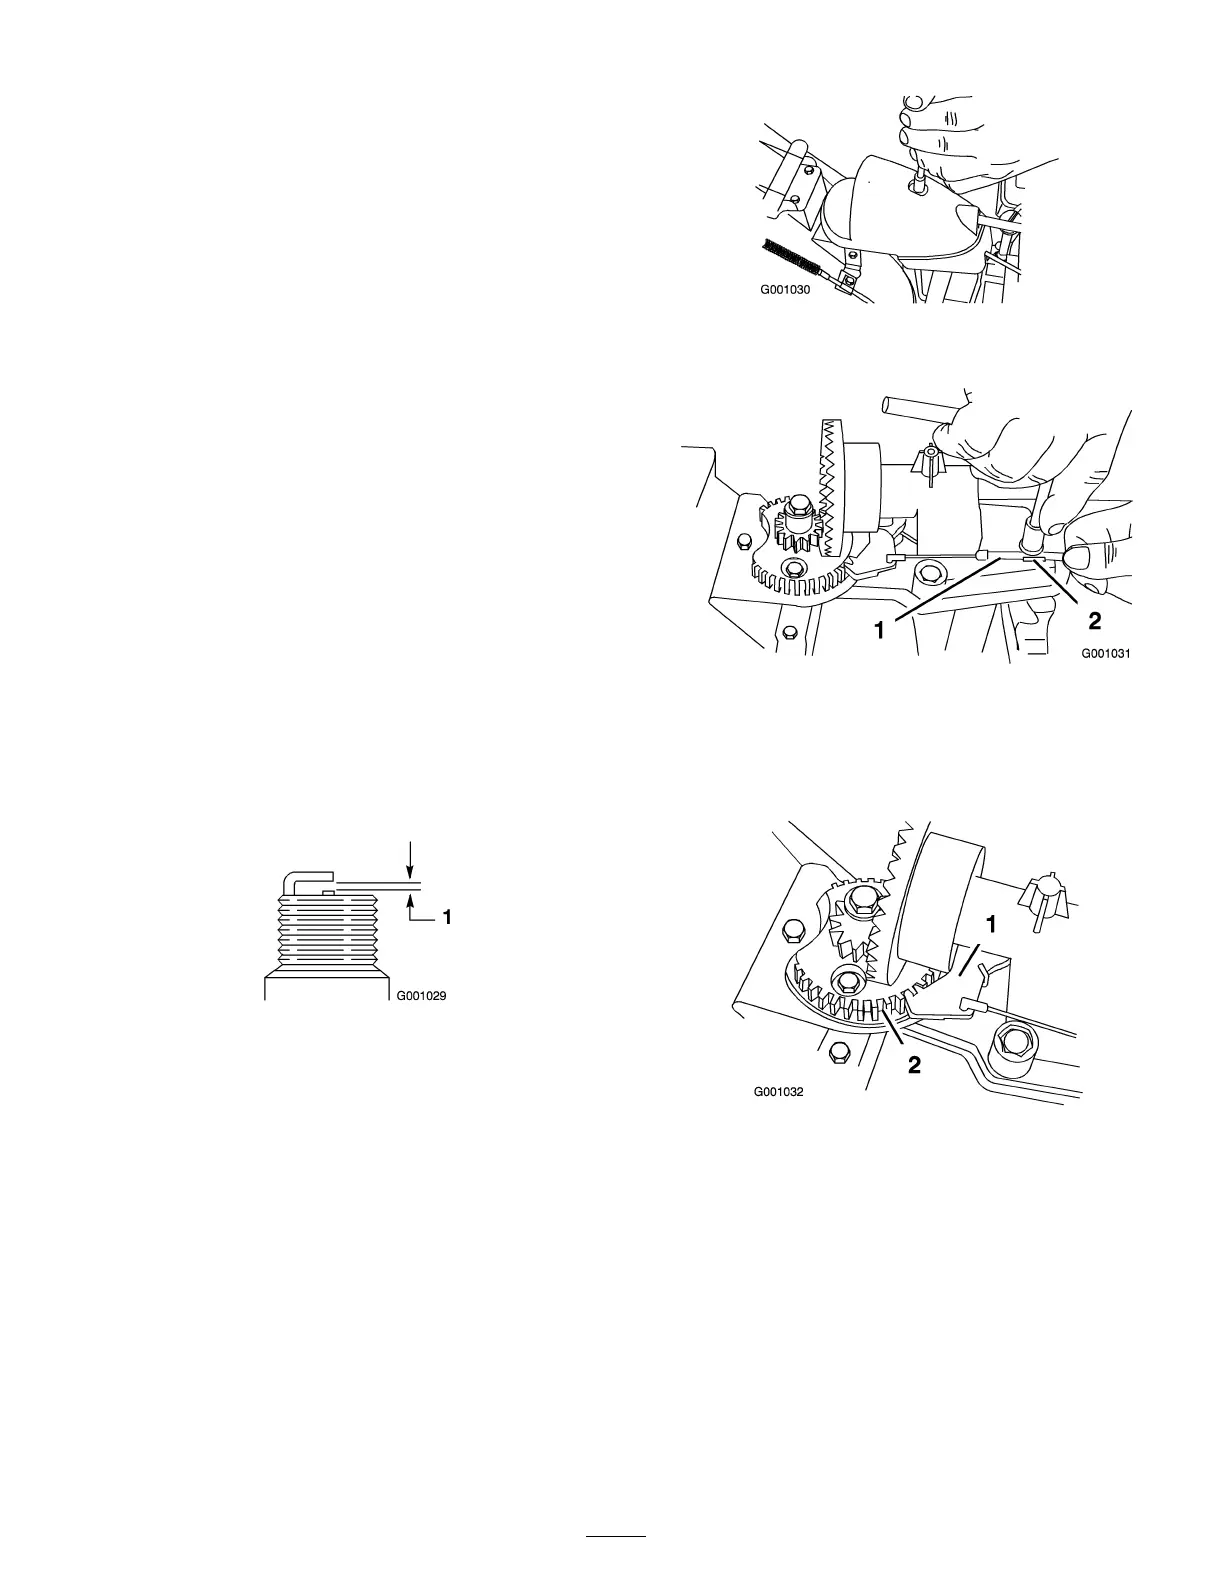
3. Grasp the cable conduit and mo v e it to w ard the front of
the mac hine until the disc harg e c hute latc h fully eng ag es
the g ear teeth ( Figure 48 and Figure 49 ).
Figure 49
1. Discharge chute latch 2. Gear teeth
Note: T he latc h is spring loaded and will naturally
mo v e into the teeth of the g ear ( Figure 49 ).
4. R emo v e any slac k in the cable b y pulling the cable
conduit rearw ard.
5. Tighten the bolt on the cable clamp .
6. Install and secure the g ear co v er .
Replacing the Drive Belts
If the aug er/impeller dri v e belt or the traction dri v e belt
becomes w or n, oil-soak ed, or otherwise damag ed, g o to
18
 Loading...