Note: If the tr unnion does not fit into the hole when
y ou lift up on the speed control rod, rotate the tr unnion
upw ard or do wnw ard on the speed control rod until
it fits .
7. Secure the tr unnion and upper end of the speed control
rod with the outer w asher and a hair pin cotter y ou
previously remo v ed.
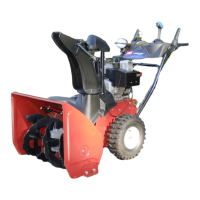
Note: F or easier installation, look do wn through the
opening in the speed selector ( Figure 8 ).
Figure 8
1. Speed selector
3. Installing the Chute Control
Rod
1. Unwrap the Quic k Stic k and rotate it so that it is upright
and in the center .
2. Hold the blue trig g er cap do wn and pull the lev er fully
rearw ard.
Note: T he disc harg e c hute and deflector should face
forw ard. If they do not, hold the blue trig g er cap
do wn (but do not mo v e the Quic k Stic k) and rotate the
disc harg e c hute until they do .
3. Align the flattened bac k end of the long c hute control
rod with the flattened front end of the shor t rod
that extends from the control panel so that they nest
tog ether ( Figure 9 ).
Figure 9
1. Short rod 2. Long chute control rod
4. Inser t the front end of the rod into the opening in the
bac k of the c hute g ear co v er until it slides into the c hute
g ear ( Figure 10 ).
Figure 10
5. Align the holes in the nested ends of the rods and inser t
2 car riag e bolts (in the loose par ts bag) through the
shor t rod from the left side of the sno wthro w er (from
the operating position).
6. Inser t the cable clip that suppor ts the deflector cable
onto the forw ard car riag e bolt, and secure the car riag e
bolts with loc kn uts from the loose par ts bag ( Figure 11 ).
Figure 11
1. Cable clip 2. Deector cable
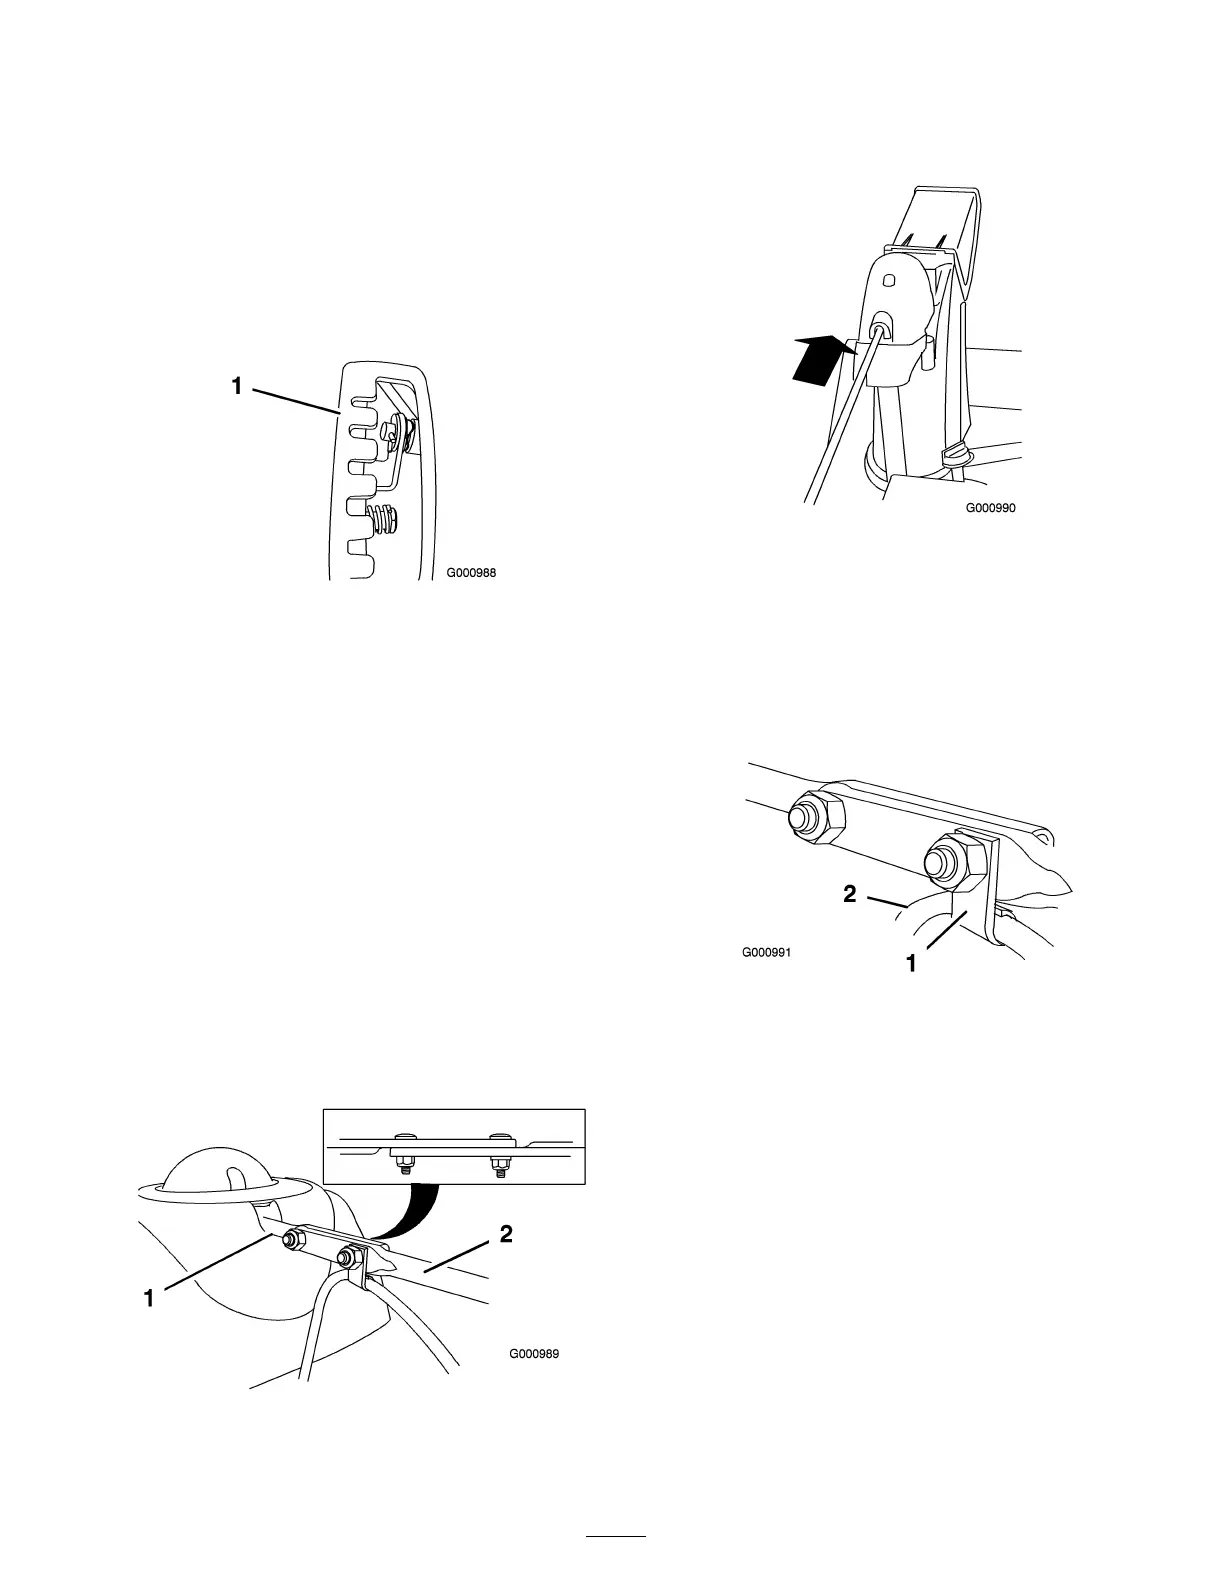
7. Hold the blue trig g er cap do wn and rotate the Quic k
Stic k in a circle to ensure that the c hute and deflector
operate smoothly .
4. Connecting the Wire to the
Headlight
1. Inser t the wire connector on the loose end of the wire
straight into the bac k of the headlight until it is securely
in place ( Figure 12 ).
7
 Loading...