EasyManua.ls Logo

Toro PowerPlex 40 V MAX User Manual

Toro PowerPlex 40 V MAX
56 pages
To Next Page IconTo Next Page
Page #1 background imageLoading...
Page #1 background image
FormNo.3417-957RevB
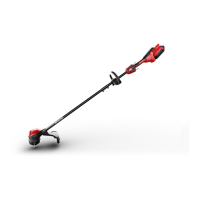
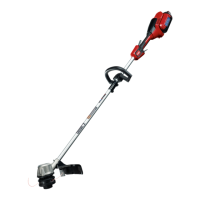
PowerPlex13in40VMAX
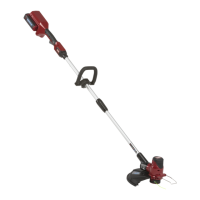
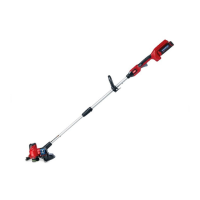
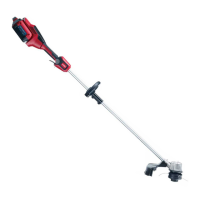
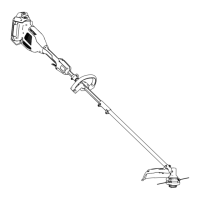
StringTrimmer/Edger
51481,51481T
Desbrozadora/cortabordes
PowerPlex™40VMAXde33
cm(13")
51481,51481T
Débroussailleuse/
CoupeborduresàlPowerPlex
33cm(13po)40VMAX
51481,51481T
www.T oro.com.
*3417-957*B

Questions and Answers:

Toro PowerPlex 40 V MAX Specifications

General IconGeneral
Battery Voltage40V
Power SourceBattery
Battery TypeLithium-Ion
Line Diameter0.080 inches
Run TimeUp to 45 minutes

Summary

Introduction

Safety

Work Area Safety

General precautions for maintaining a safe work environment.

Personal Safety

Guidelines for operator's personal safety and protective measures.

Power Tool Use and Care

Best practices for operating and maintaining the power tool.

Service

Guidelines for professional servicing and using identical replacement parts.

Battery Safety

Specific safety instructions for handling and using the battery pack.

Safety and Instructional Decals

Setup

Loose Parts

Lists parts to verify shipment and their use.

Mounting the Battery Charger

Instructions for securely mounting the battery charger indoors.

Unfolding the Handle

Installing Components

Installing the Auxiliary Handle

Procedure for attaching the auxiliary handle to the trimmer.

Installing the Guard

Steps to install the guard onto the trimmer base using screws.

Product Specifications and Edge Guard

Installing the Edge Guard

Instructions for attaching the wire edge guard to the trimmer housing.

Specifications

Lists appropriate temperature ranges for battery and product use/storage.

Operation

Starting the Trimmer

Steps to safely start the string trimmer.

Shutting Off the Trimmer

How to stop the trimmer operation.

Removing the Battery Pack

Instructions for safely detaching the battery from the tool.

Battery Charging and Line Management

Charging the Battery Pack

Detailed steps for charging the battery pack and interpreting LED indicators.

Advancing the Line

Method for advancing the trimmer line using the auto-feed head.

Adjustments and Trimming

Advancing the Line Manually

Procedure to manually advance the trimmer line using the spool retainer.

Adjusting the Auxiliary Handle

Steps to adjust the height of the auxiliary handle.

Adjusting the Handle Height

Instructions for adjusting the telescoping shaft to the desired height.

Trimming

General illustration of the trimming operation.

Specialized Operations

Edging

Steps to use the trimmer as an edger by rotating the head.

Operating Tips

Advice for efficient and safe operation, including cutting techniques and avoiding damage.

Maintenance

Routine Maintenance

Routine maintenance tasks to be performed after each use.

Replacing the Spool

Instructions for replacing the spool with new string.

Replacing the String

Detailed steps for replacing the trimmer line on the spool.

Storage and Battery Recycling

Storage

Guidelines for storing the tool, battery pack, and charger properly.

Preparing the Battery Pack for Recycling

Instructions for preparing the battery pack for recycling.

Troubleshooting

The tool does not start

Solutions for when the trimmer fails to start.

The tool does not reach full power

Corrective actions for insufficient power output.

Excessive vibration or noise

Troubleshooting steps for unusual tool vibration or sound.

Battery pack loses charge quickly

Reasons and fixes for rapid battery discharge.

Battery charger is not working

Solutions for a non-functional battery charger.

Battery pack shows 3 LED indicators

Explains the meaning of three LED indicators on the battery pack.

All 4 LED indicators blinking (battery not in use)

Interprets four blinking LEDs when the battery is idle.

All 4 LED indicators blinking (battery in use)

Interprets four blinking LEDs during tool operation.

2 LED indicators blinking (battery not in use)

Interprets two blinking LEDs when the battery is idle.

2 LED indicators blinking (battery in use)

Interprets two blinking LEDs during tool operation.

1 LED indicator blinking

Explains the meaning of a single blinking LED on the battery pack.

Difficult to remove battery pack

Solutions for difficulty in removing the battery from the tool.

Related product manuals