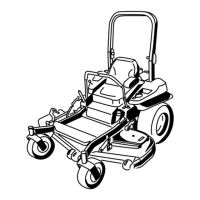
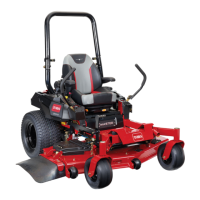
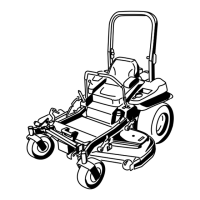
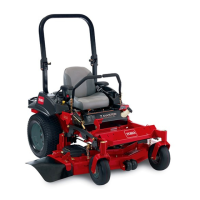
Figure16
HoodInstallation
1.Hood4.Pivotbracketwith
keyed-pivotpin
2.Hoodbracketwithkeyhole
slot
5.Hoodinstalled
3.Hopper-supportframe
3.Rotatethehoodsothatthekeyholeslotisup,andalign
thehoodtotherightofthekeyed-pivotpins(Figure
16).
4.Assemblethehoodtothehopperframebyslidingthe
keyholebracketsoverthekeyedpins(Figure16).
5.Rotatethehooddowntosecurethehoodtothe
hopper-supportframeasshowninFigure16.
Installtheair-cleanercoverasfollows:
Note:Ensurethattheprimaryairlterisfullyseatedby
pushingonitsouterrim.
Important:Donotpressonthesoftinsideareaofthe
lter
1.Positiontheair-cleanercoversothatthebreathervalve
islocatedatapproximately5o’clock(Figure17).
Figure17
Air-CleanerCover
1.Air-cleanercover3.Air-cleanerlatch
2.Breathervalve
2.Securethelatches(Figure15).
Installthebagassembliesontothehopper-supportframe
asfollows:
1.Raisethehoodtoexposethenotched-bagbracketson
thehopper-supportframeasshowninFigure18.
15
 Loading...
